Lecturer in Game Design | PhD Student | Indie Dev

Honours Blog

Posts tagged 3D
19/03/15 Project Update

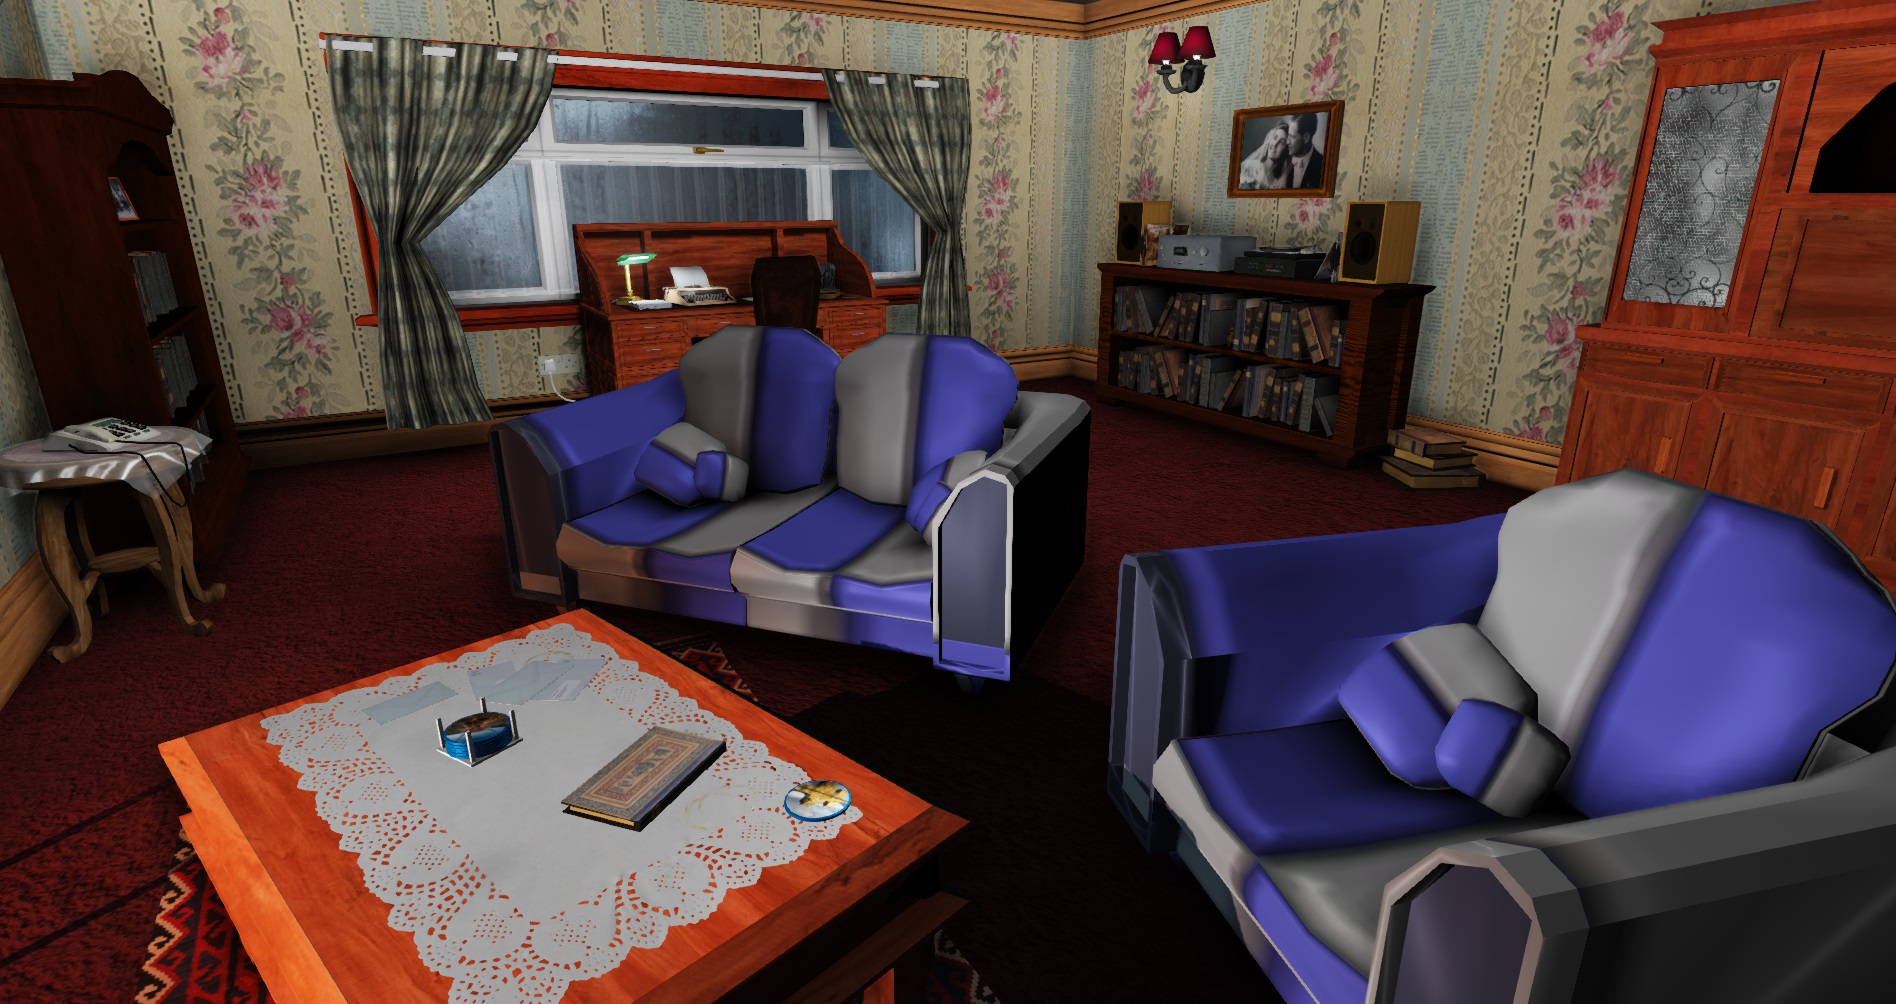
Quite a large update for this week seeing as we have a demo-day this Friday; some new features and some bug fixes. This week I had finally gotten round to modelling the new couch and chair and implemented a new 'Object Inspection' mechanic for key objects in the game.

Models:

  • Clock (Hands set to "One Past Midnight"- Reference to Andrew Lindsay's Project)
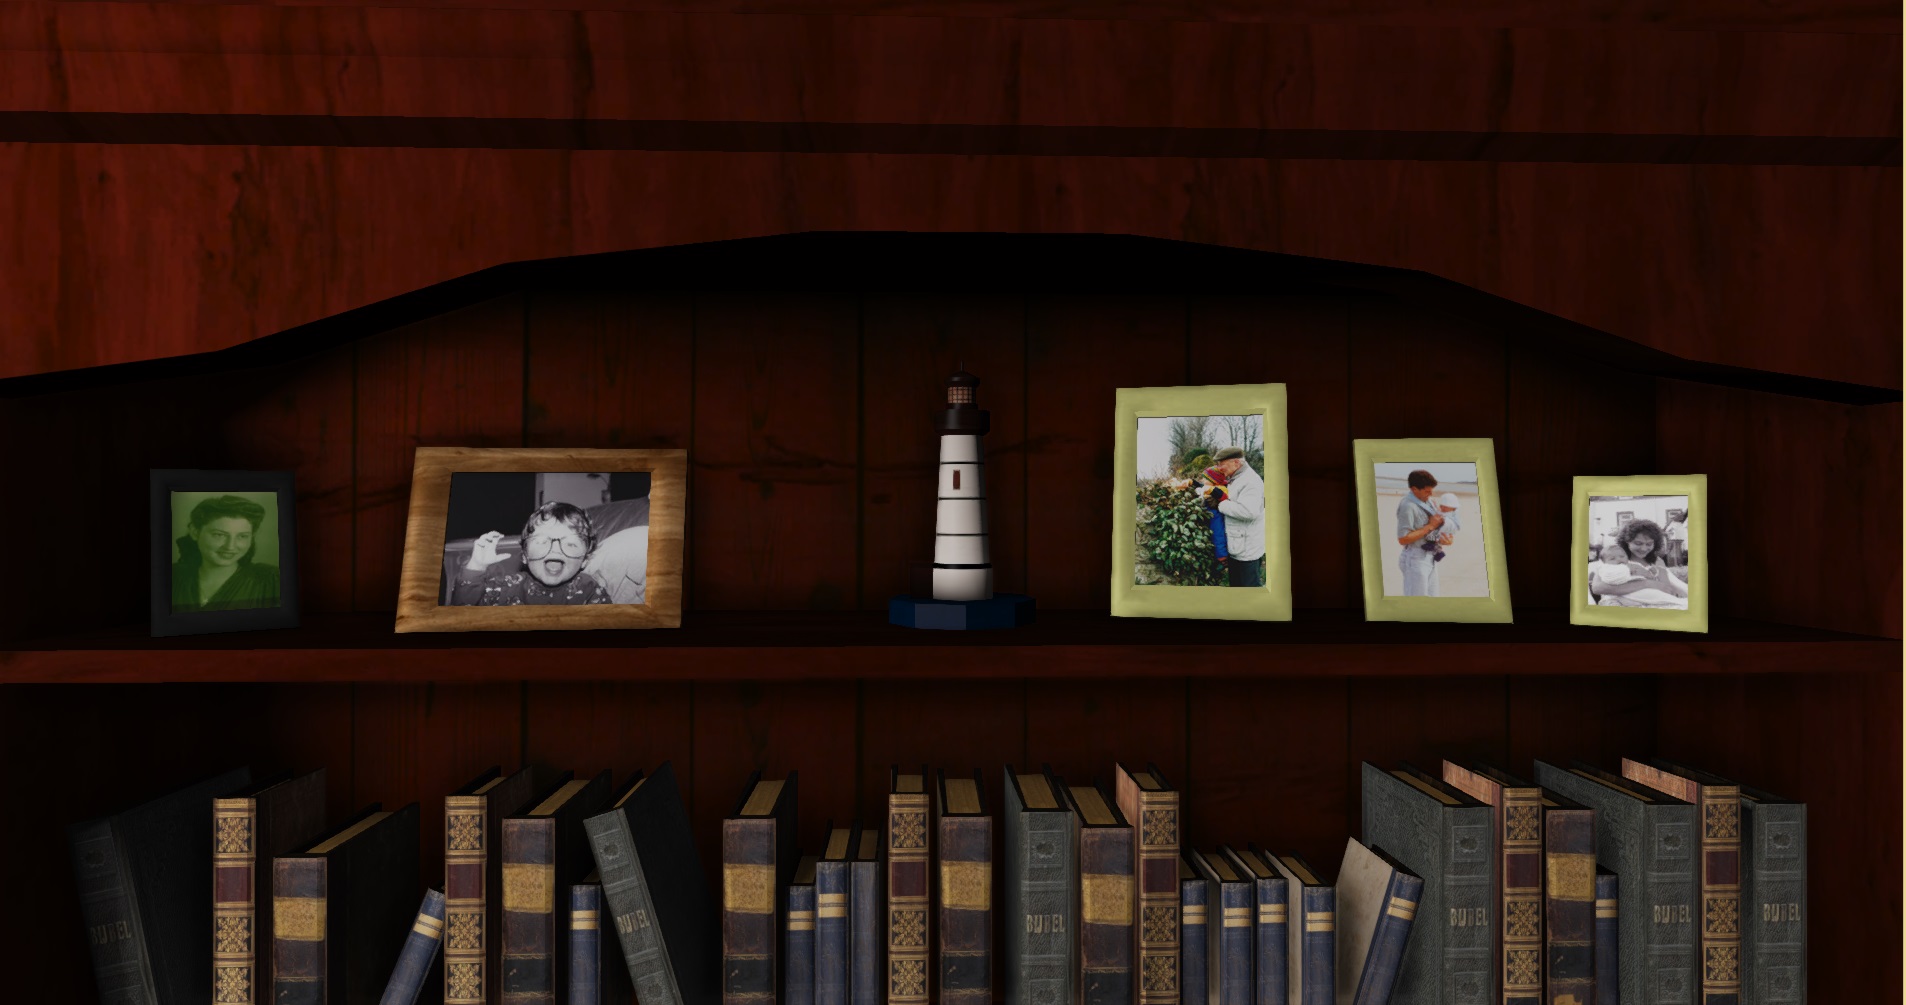
  • Lighthouse Ornament (Last Solus - Reference to Jamie King's Project)
  • High-Backed Chair
  • Couch
  • Side-Table
  • Cushion
  • Medicine Container + Tablet
  • Pill Organiser 
  • Radio
  • Cup
  • Plate/Saucer
  • Log
  • Ash
  • Firepit thing
  • Card x2
  • Picture Frame (Free-Standing) - Visual Update

Textures & Materials:

  • Clock (Face, Body, Glass, Door)
  • Lighthouse Ornament
  • High-Backed Chair & Couch (Sharing the same material for the time being - Placeholder)
  • Side-Table
  • Cushion (Placeholder)
  • Medicine Container
  • Pill Organiser
  • Radio
  • Cup
  • Plate/Saucer
  • Log
  • Ash
  • Firepit thing
  • Card x2
  • Video Tape Box x2
  • Picture Frame Texture (Small) x12
  • Large Picture x1

Lighting:

  • I have removed the ambient point lights that illuminate the room when the main lights are off. They have now been replaced with a togglable sky light to make the lighting model less 'patchy'.

Interaction:

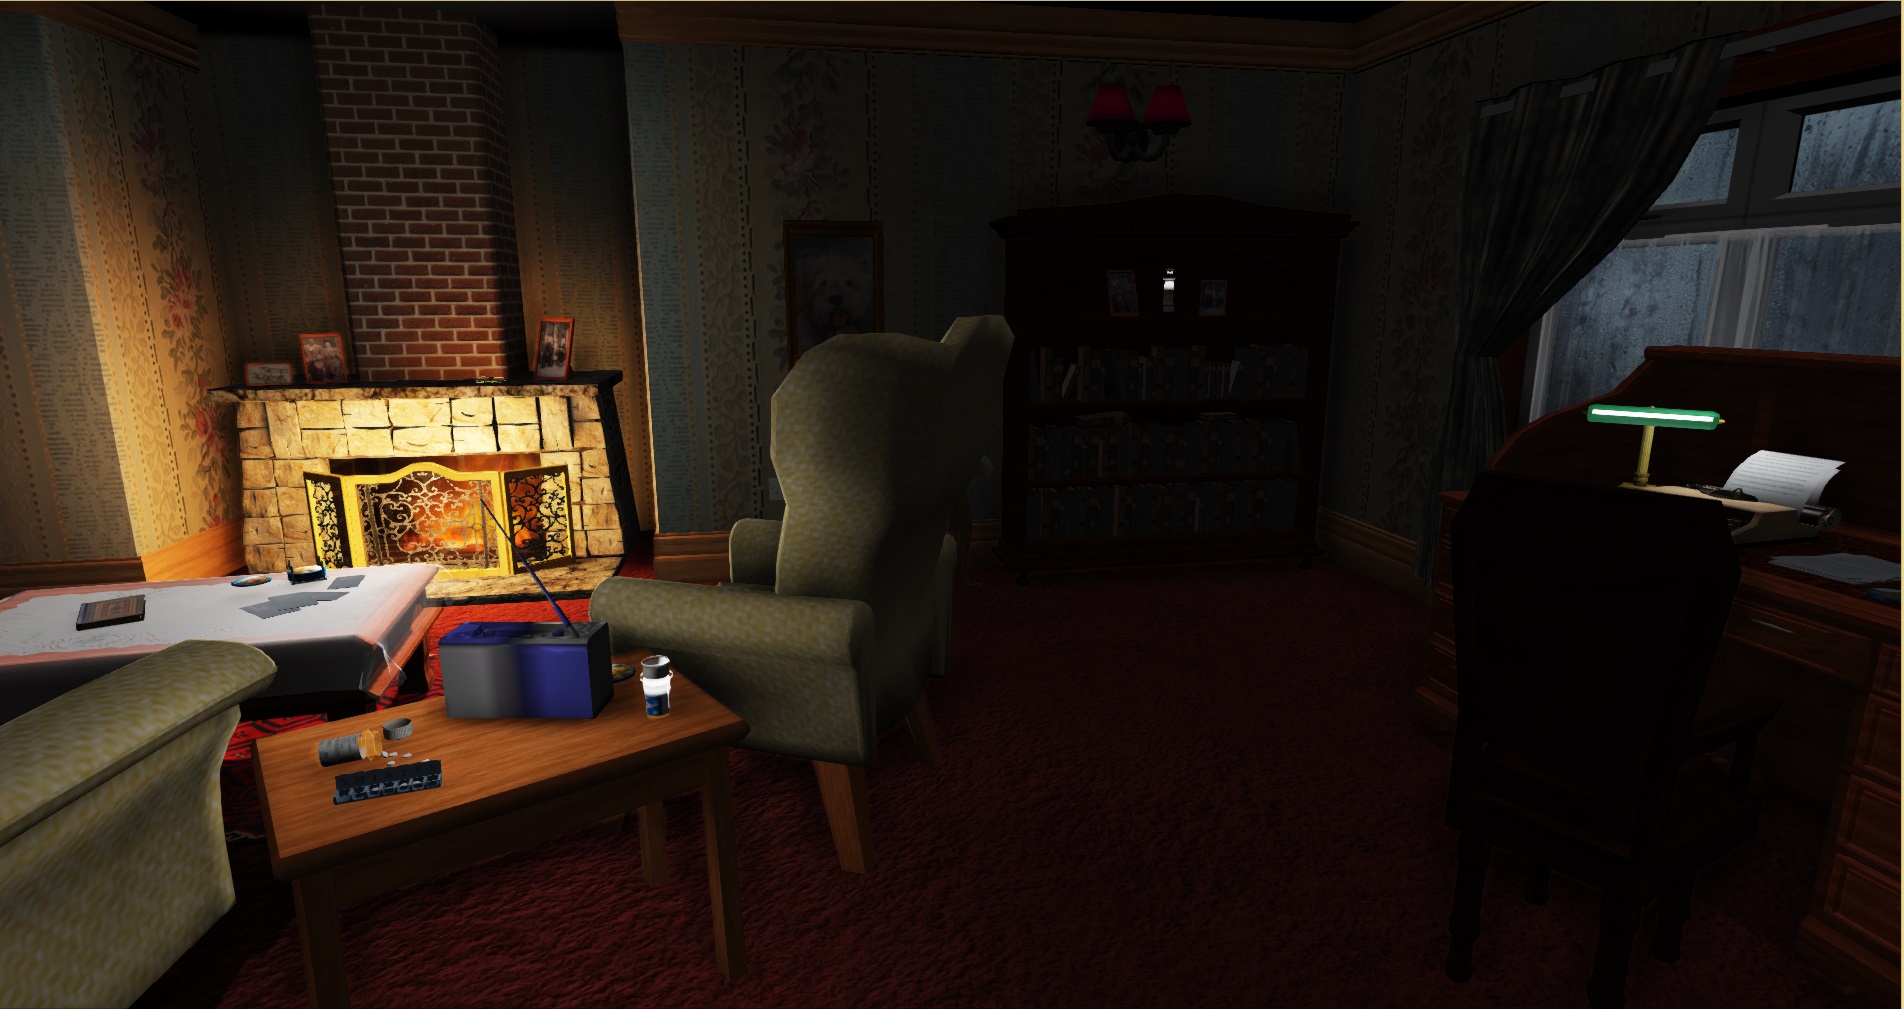
  • This week I made good progress on the new mechanic where the player can "inspect" key objects in the scene (Started last week). There was little/no documentation on how to achieve this mechanic online through kismet so I spent most of this week and last trying to get this to work. When the player presses "E" on a key object they be able to view the model in a full 360*. The player controls the object using the arrow keys and leaves the viewer by pressing the "Enter" key.
  • Pressing the "H" key displays a hint to the player showing which key objects they can inspect. This hint mechanic is implemented by having a secondary model (slightly larger) that is toggled on when the "H" key is pressed: This model has a scrolling white emissive material that should make the interact-able object temporarily more visible.

SFX:

  • Clock Tick
  • Clock Chime
  • Light Switch (On + Off)

Animation:

  • Initial "Waking Up" cut-scene has been updated.
  • Clock Pendulum (Attempted to Sync with Clock Tick Audio, still not 100% synced)
  • Fade transition between main scene and object inspection scene.

Fixes:

  • Fixed some unintentional hard edges, overlapping UV's and lightmaps.

GALLERY OF UPDATES:

OBJECT INSPECTION:

HINT MECHANIC:

SUMMARY:

This week's work has been some of the most rewarding so far. Managing to get my object inspection kismet sequence working was difficult (and its still got bugs!) but having that extra mechanic in there gives my honours project another layer of depth and interaction. The animated clock pendulum and sound of the clock ticking make the room feel more "alive" which is a nice touch in my opinion. I'm pleased with how it's going so far and hope that my project goes down well during the demo-day. Over the next week work on the honours project shall start to slow down drastically due to shifting focus to other course work. I feel that the honours project in its current state is "Submit-able" whereas the rest of my coursework is not. I would like to add more notes, some audio narrative and extra environmental objects at a later date.


NEXT STEPS:

Models:

  • Dog Bed
  • Dog Toys
  • Plates
  • Cups
  • Folded Linen
  • Notes
  • Pocket Watch
  • Key
  • Phone Plug (Currently just plugged into power)

Textures:

  • Dog Bed
  • Dog Toys
  • Plates
  • Cups
  • Folded Linen
  • Notes
  • Pocket Watch
  • Key
  • Phone Plug

Interaction:

  • Fix bug with Object Inspection mechanic.
05/03/15 Project Update

This week's work was focused towards the engine side of the project. There were a few issues regarding lighting that I wanted to fix, alongside implementing a new feature. The new additions and edits are listed below:

Models:

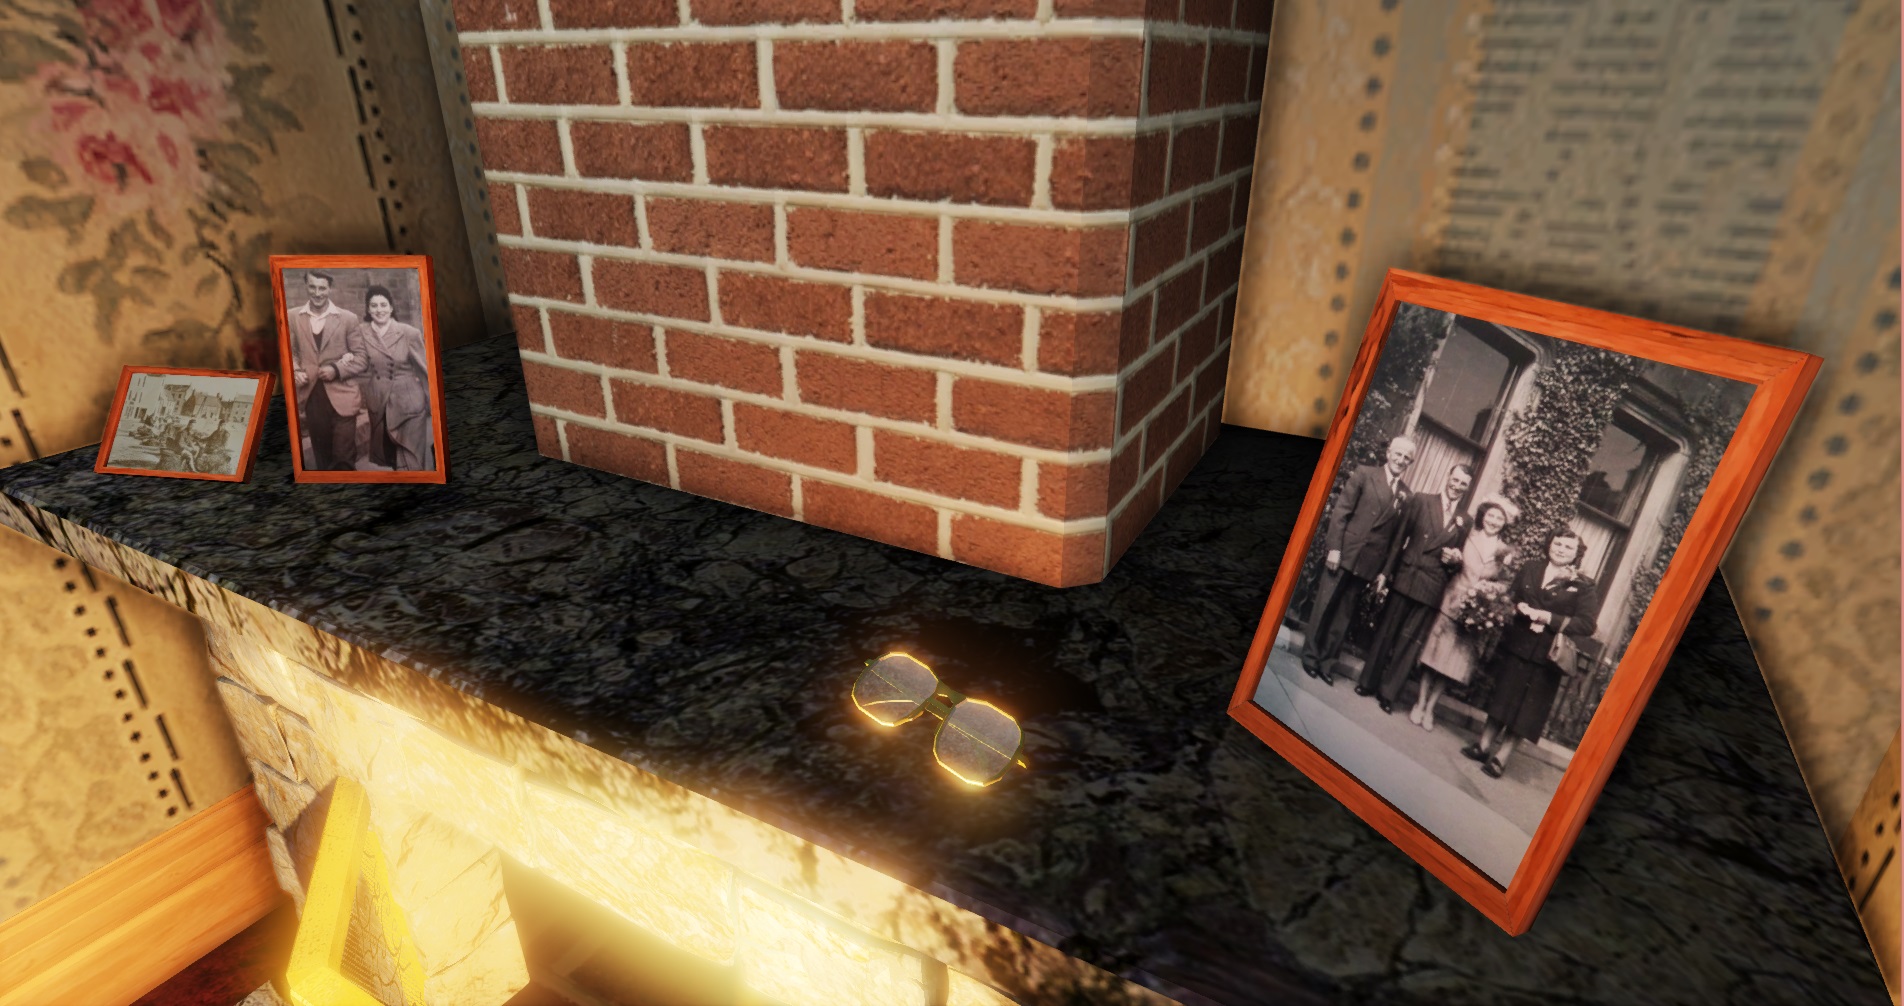
  • Glasses
  • Video Box
  • Video Cardboard Sleeve
  • Plastic Wrap for Coffee Table

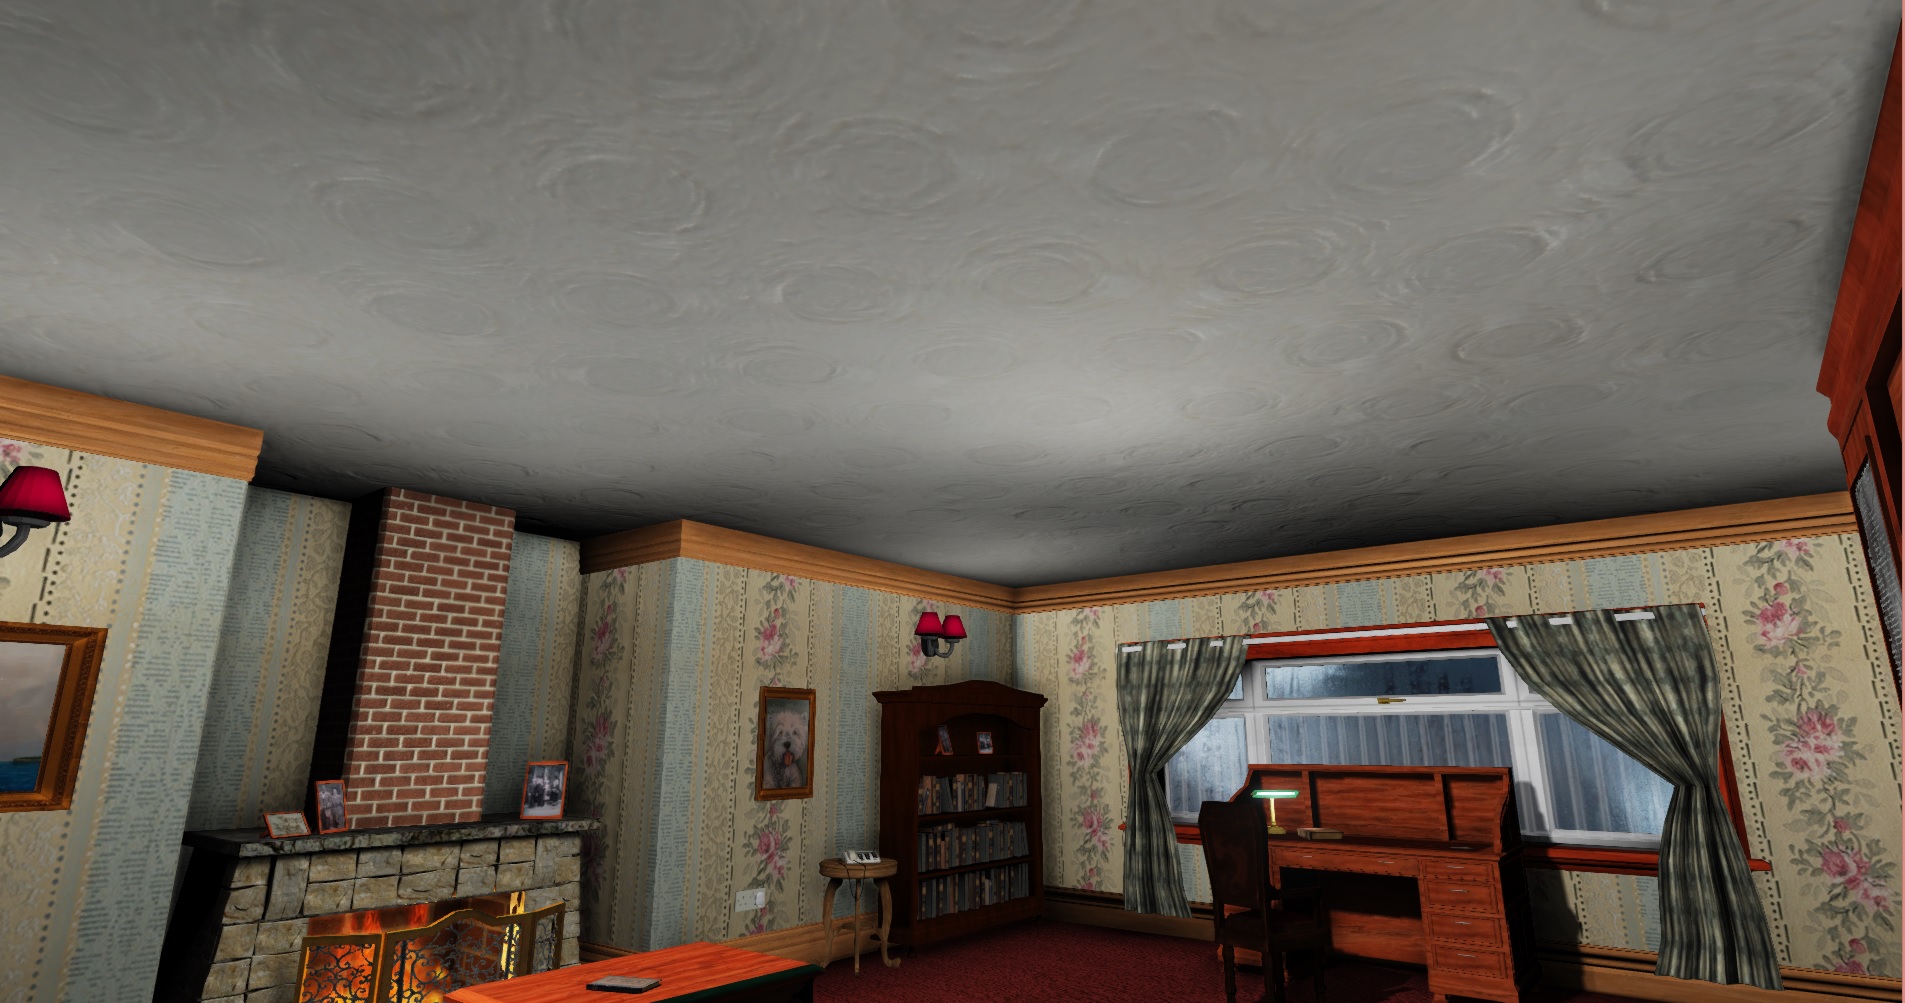
Textures & Materials:

  • Glasses
  • TV - Stronger Specular Map on Screen & Body
  • Roof - Removed Normal Map
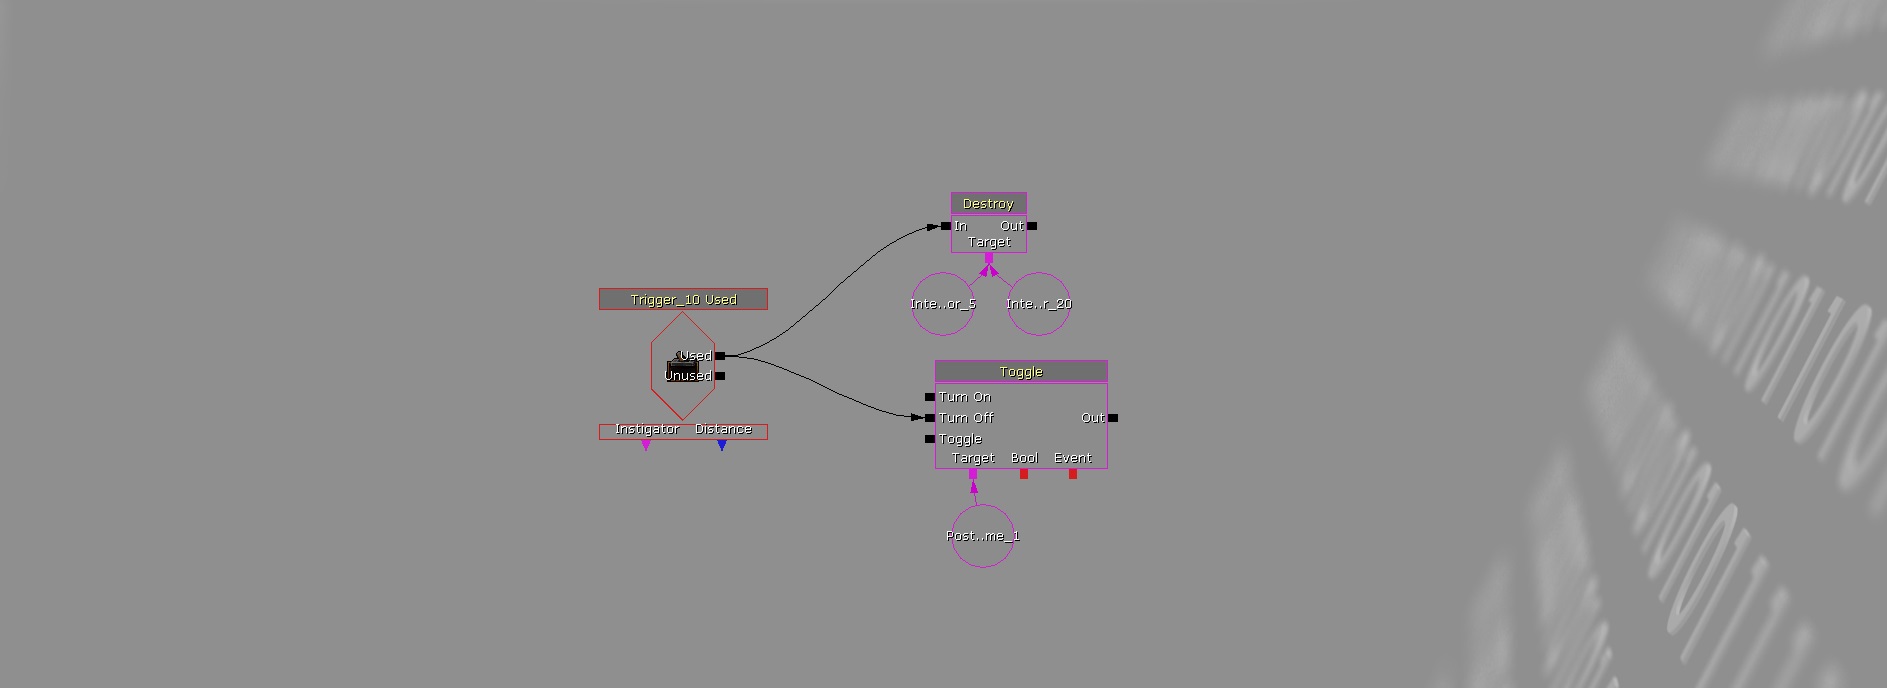
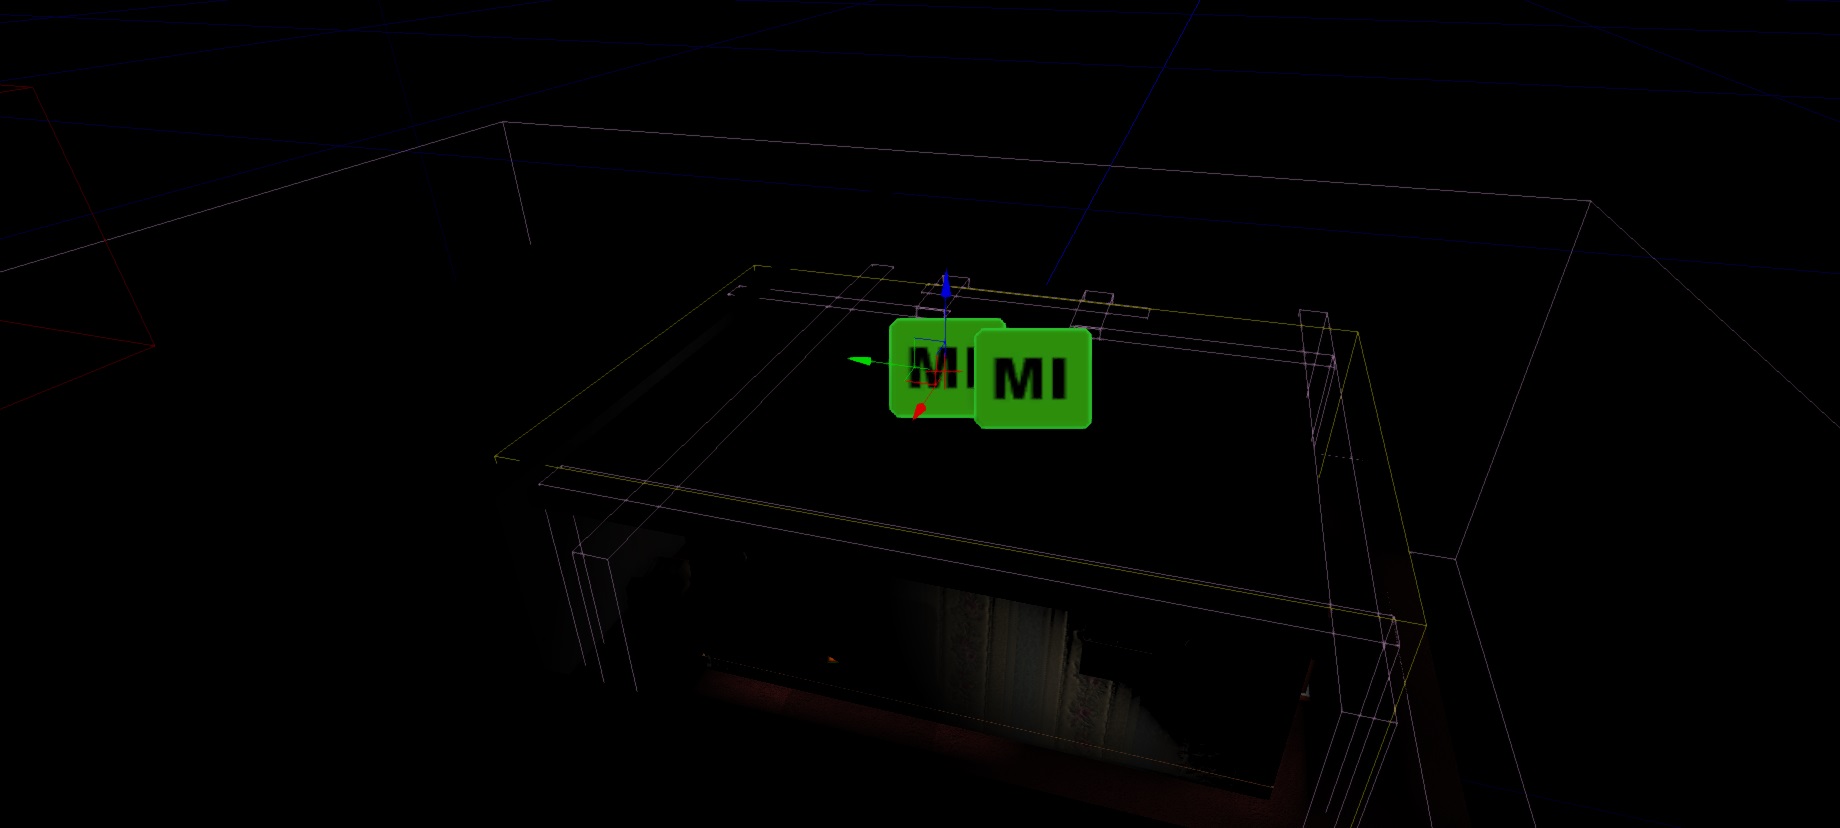
  • Material Instances added to emissive textures for objects related to lighting

Lighting:

  • Brighter lighting when lights are 'on'.
  • More ambient lighting when lights are 'off'.
  • Warmer and more vibrant fireplace light.

Interaction:

  • Added a new mechanic where the character is short-sighted. This means the player has the ability to locate the glasses in the room to clear up their vision. I felt this touch adds an extra layer of depth to the character and setting. The mechanic is completely optional as the player is not forced to locate the glasses.

GALLERY OF UPDATES:

MATERIAL INSTANCING:

In the prior lighting system the player could turn off the lights, but the bulbs and glass remained illuminated (as this was done through the material properties). To sort this issue I researched material instancing which allowed me to alter the emissive properties of the materials during play through kismet. These changes mean that the emissive channel of my materials can be toggled on or off through a matinee sequence similar to the lights (Toggle between a value of 0 and 1).


SUMMARY:

Although not as productive a week for modelling as any prior weeks, I've decided to start implementing more mechanics to support atmosphere and narrative. The room is more natural now with the only major items that are required in the room now being the final Armchair and Sofa models. I wish to start adding in more environmental narrative in the coming weeks.


NEXT STEPS:

Models:

  • Armchair
  • Sofa
  • Magazines/Newspaper
  • Magazine Rack
  • TV Remotes

Textures:

  • Magazines/Newspaper (A few variations hopefully)
  • Magazine Rack
  • TV Remotes

Interaction:

  • GFX Movies for showing written text and investigating objects.
26/02/15 Project Update

To make up for the slow progress in the last few weeks I increased asset production. Some of the assets - such as the typewriter - will need partially remodelled/retextured, but I am pleased with the progress that I had made. I also had an unfortunate accident while moving items between packages: UDK crashed and corrupted half of my package, thus I had to spend a day rebuilding the materials and re-importing the static meshes. (I forgot to back up... for about a week or two... rookie error!)

Models:

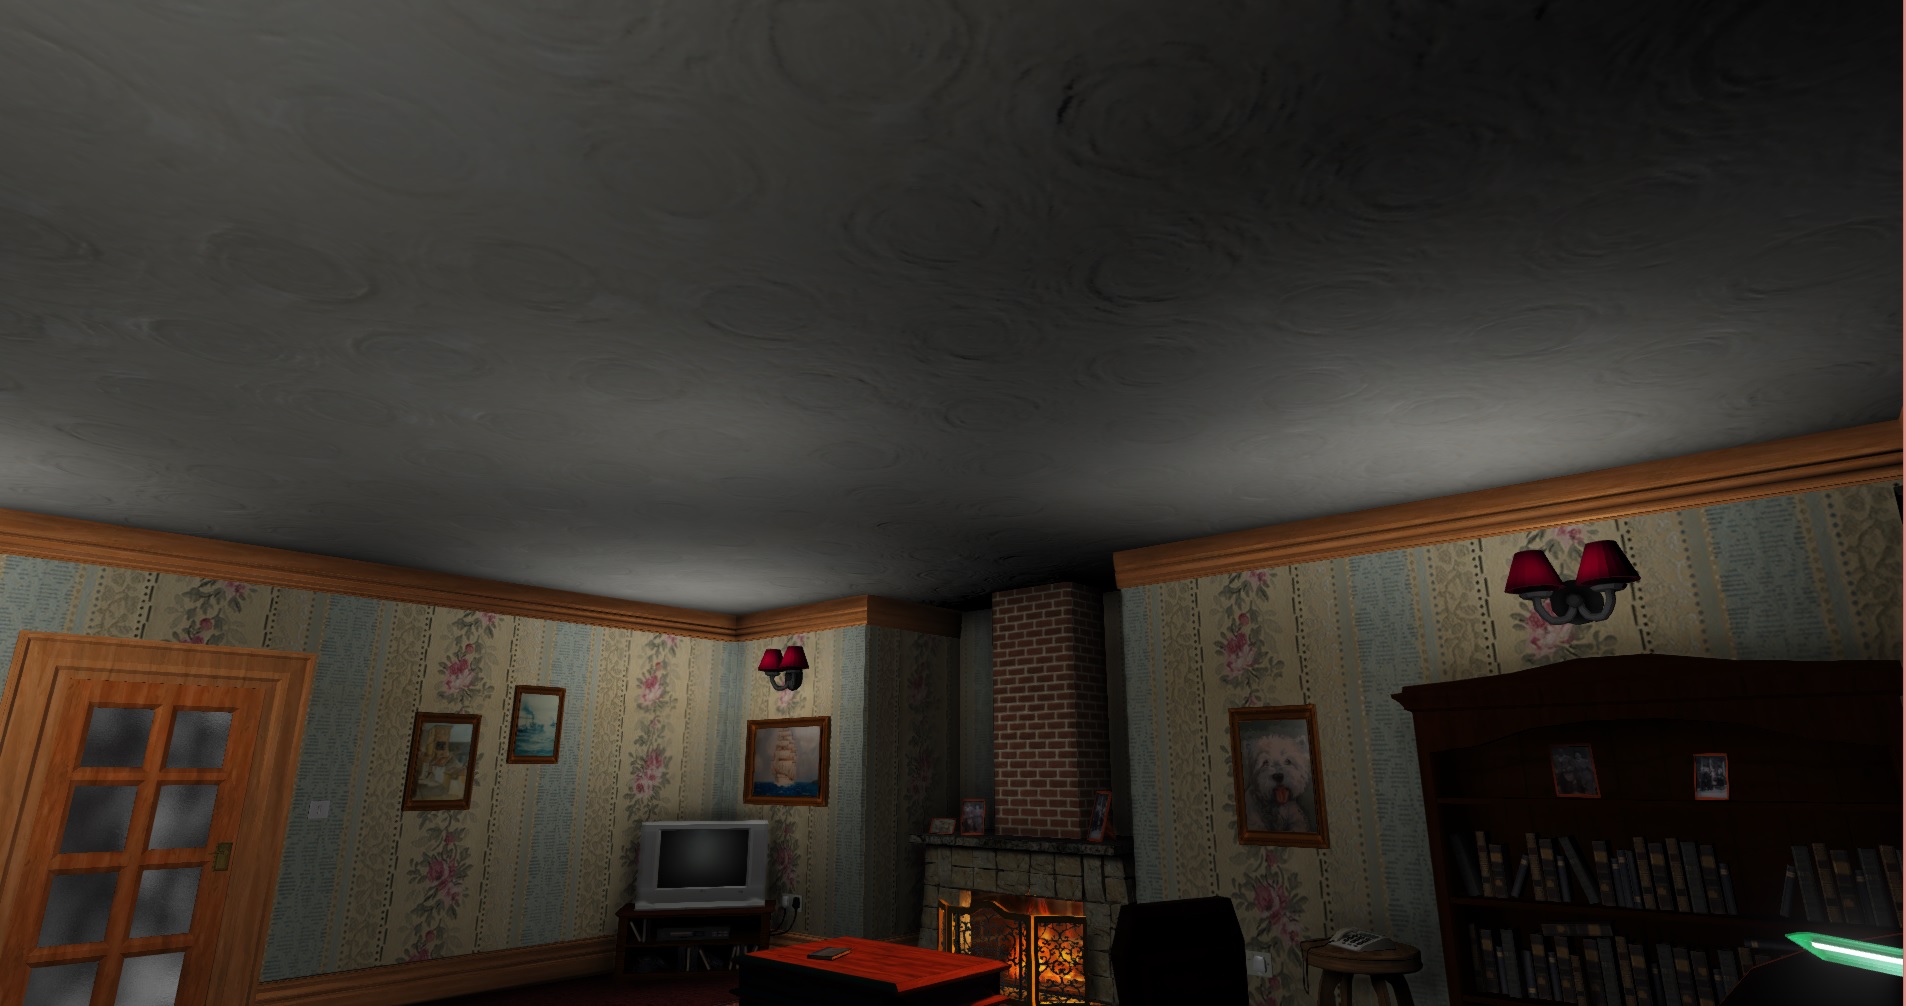
  • New Roof Model
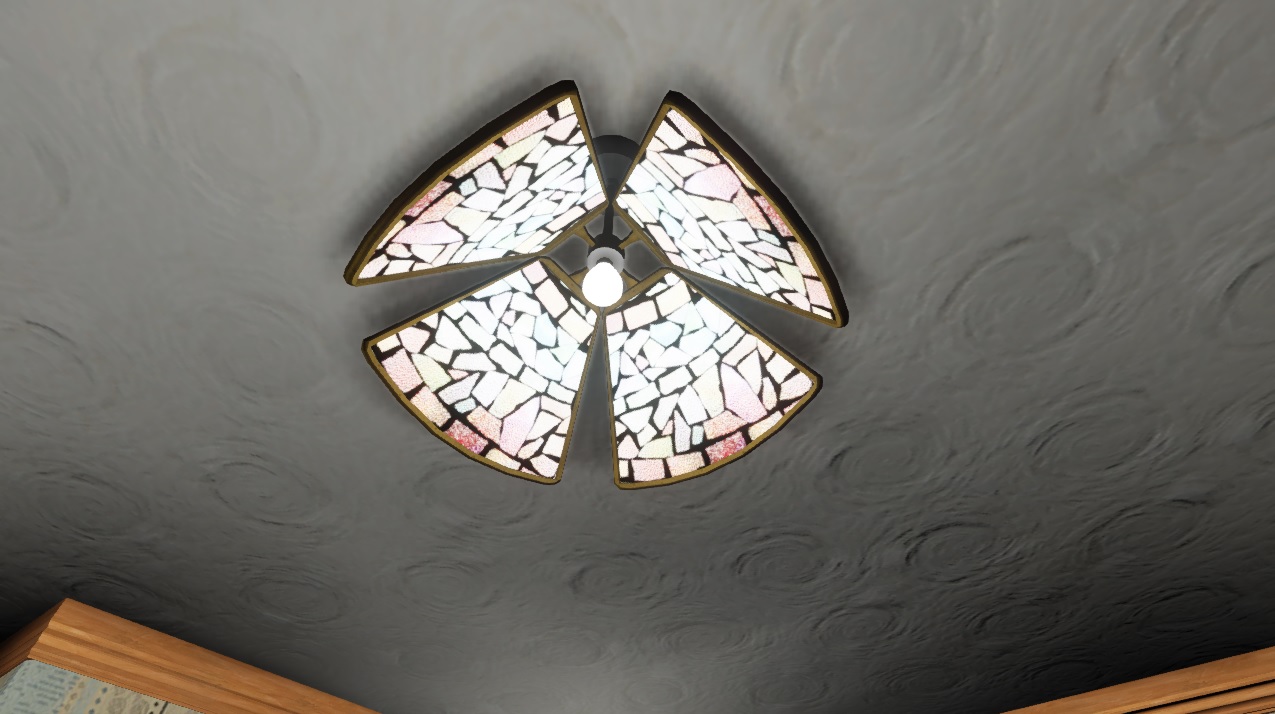
  • Ceiling Light + Light bulbs
  • Doily's (Rectangular & Round)
  • Plastic Wrap for Small Table
  • Coasters & Coaster Holder
  • Mail (Letters)
  • A4 Paper (Clean & Typed)
  • Typewriter
  • Bin
  • Placeholder Couch & Chair (Testing Space)

Textures:

  • Artex Texture + Normal Map
  • Ceiling Light Texture (Emissive)
  • Light bulb (Emissive)
  • Doily         x2
  • Coaster    x2
  • Letter        x1
  • A4 Paper x2
  • Typewriter
  • Bin (Transparent)

GALLERY OF UPDATES:


SUMMARY:

The scene is beginning to feel more natural and inhabited with the recent inclusions. Even with the placeholder couch and chair, there is still good space for the player to maneuver and explore the environment. I seem to never do what I've written in my asset list below, but I really just use it as a reminder for objects I can include. (I tend to model whatever comes into my head first)


NEXT STEPS:

Models:

  • Remodel part of the Typewriter (FIX)
  • Plastic Wrap for Coffee Table
  • Armchair
  • Magazines/Newspaper
  • Magazine Rack
  • TV Remotes

Textures:

  • Typewriter (FIX)
  • Magazines/Newspaper (A few variations hopefully)
  • Magazine Rack
  • TV Remotes
19/02/15 Project Update

As stated in the previous blog entry, i'm starting to shift my focus a bit from my honours project to my dissertation. This week's work consisted of 2 larger models and 2 smaller prop models. Alongside modelling I also attempted to migrate my project to Unreal Engine 4, sadly to no avail. 

Models:

  • Book Shelf
  • Side Table
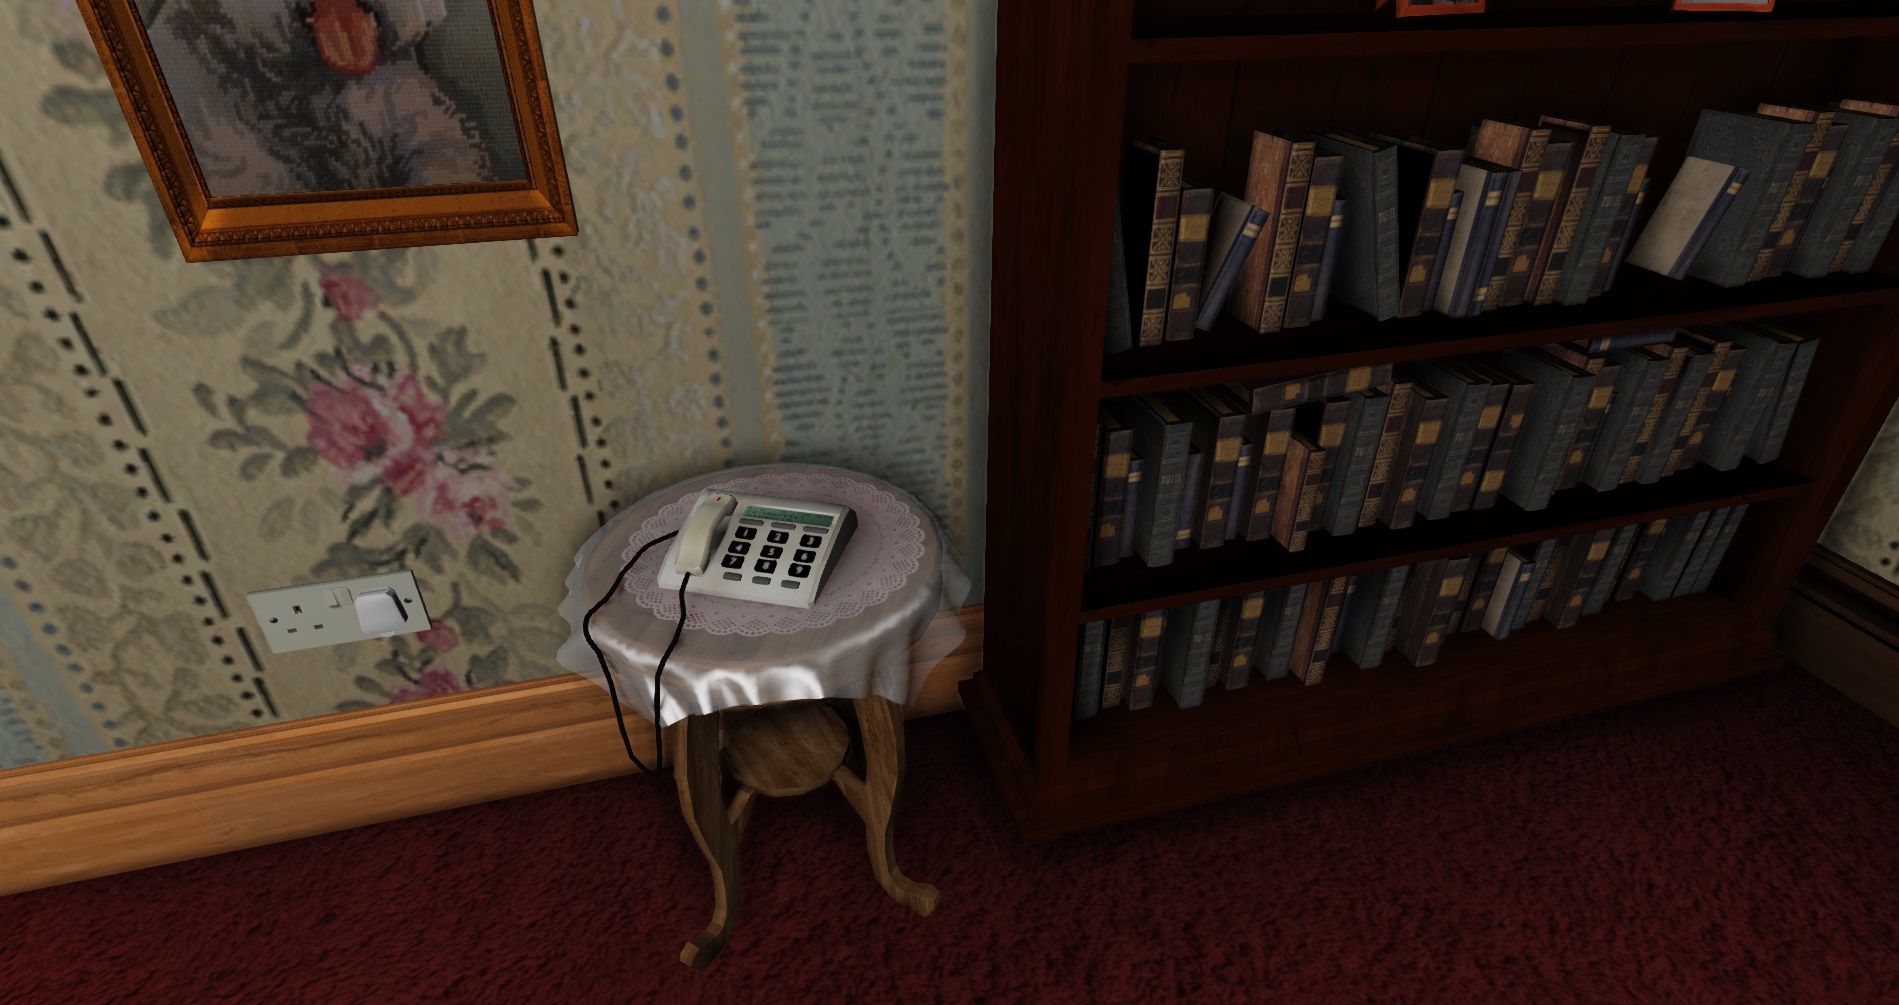
  • Telephone
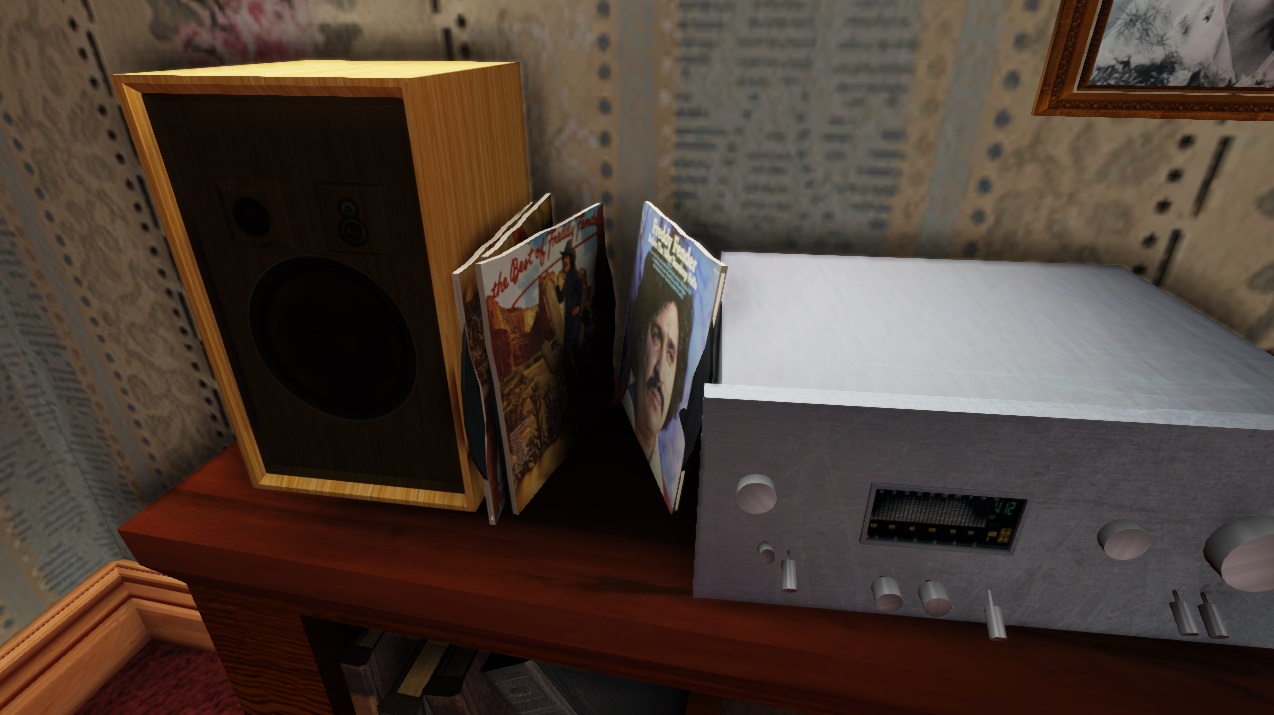
  • Record Sleeve

Textures:

  • Book Shelf
  • Side Table
  • Record Sleeve

Engine:

  • I attempted to use Unreal Engine 4 (UE4) once more as I had sorted an old lighting issue with walls. Unfortunately this was another failed attempt as for some reason a much less populated scene in UE4 was far more processor intensive than my fuller UDK scene.  I am once more abandoning UE4 in favour of UDK. This is my last attempt at using UE4 for Forget-Me-Knot. 

Gallery of Updates:


Another attempt at using Unreal Engine 4


Summary:

At my supervisor meeting we discussed plans for my honours project and what to focus on. Myself along with my peer (who is in the same allocated meeting slot) were told that our focus should be on 'selling' our projects for their art value. If this is the case for the honours submission and showcase, I will have to cut down the scope of the project and limit it to one room setting. This will strip most of the narrative progression and a lot of the intentions out of my honours project, but I can see why he has suggested to focus on making a more visually striking piece. I still intend to complete the project with a full narrative and progression at some point, but with 6 weeks until the deadline the focus will be more on creating a room with strong environmental storytelling aspects to it. By narrowing the scope further, I will try to concentrate on creating better textures with more "depth" to them so that the wear and tear on certain objects will hopefully spark thought in the player.

In terms of the dissertation i'm nearly at a stage where I can start properly writing my case studies. These will make up a large sum of the dissertation so this will be my primary focus for the time being in terms of the dissertation.


Next Steps:

Models:

  • Typewriter
  • Magazines/Newspaper
  • Magazine Rack
  • TV Remotes

Textures:

  • Typewriter
  • Magazines/Newspaper (A few variations hopefully)
  • Magazine Rack
  • TV Remotes
12/02/15 Project Update

This week was less productive than I had intended it to be in terms of the honours project due to illness. I didn't feel up to creating some of the bigger assets so instead produced some smaller ones to make the scene appear more busy/lived in. A list of what changes I have made to my honours project are listed below:

Models:

  • TV
  • Desk Lamp
  • Plugs & Cables
  • Cardboard Boxes
  • Video Tapes

Textures:

  • Paintings + Photographs
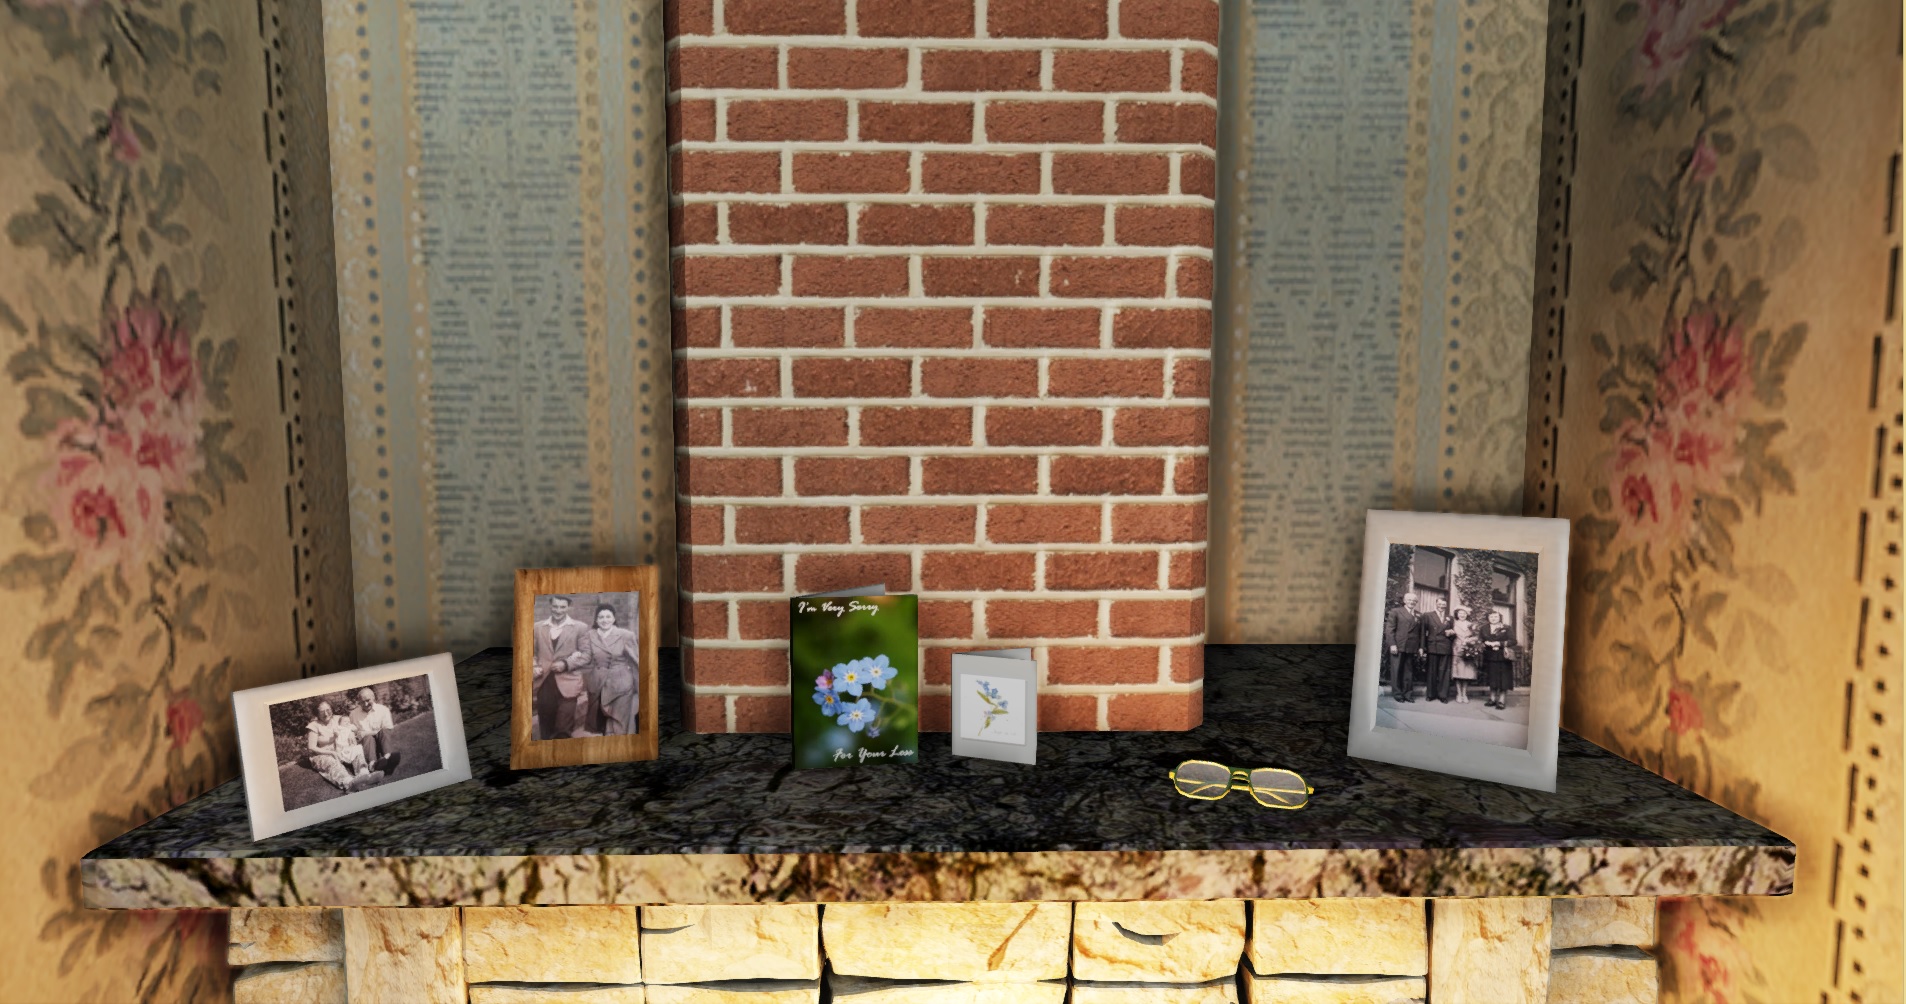
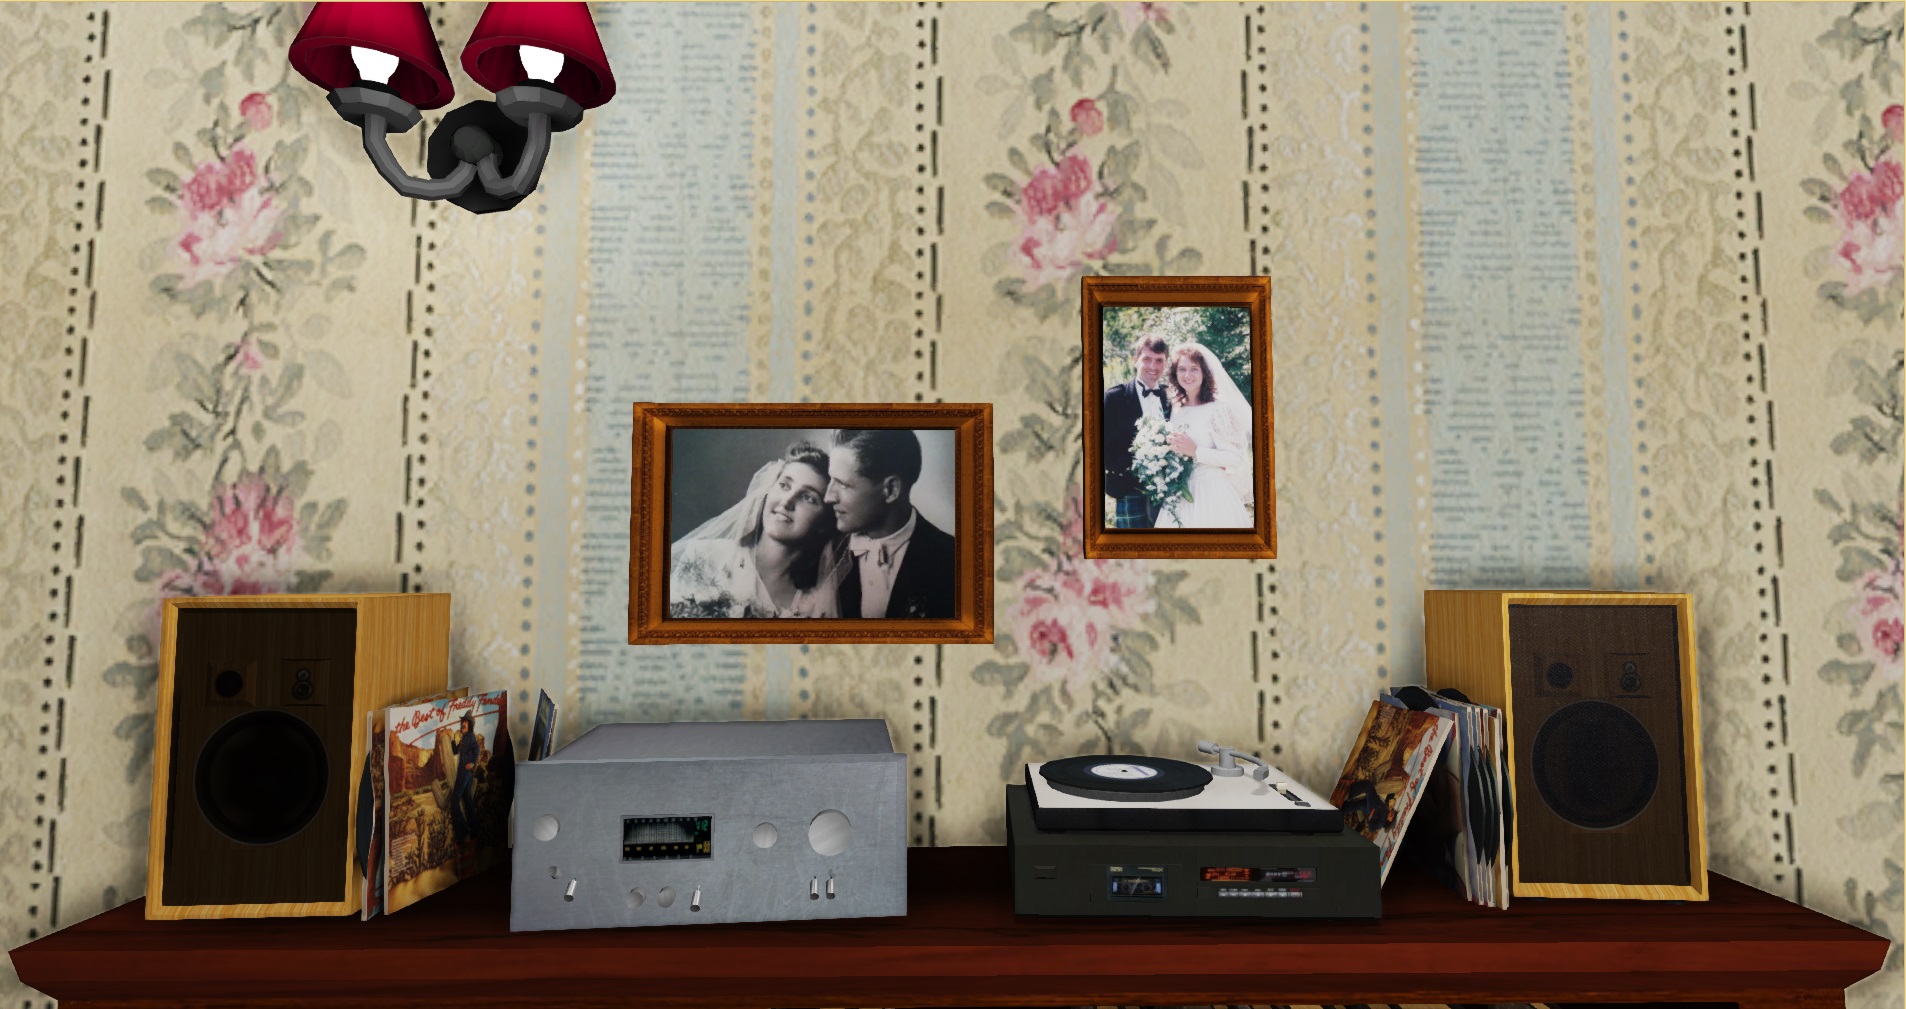
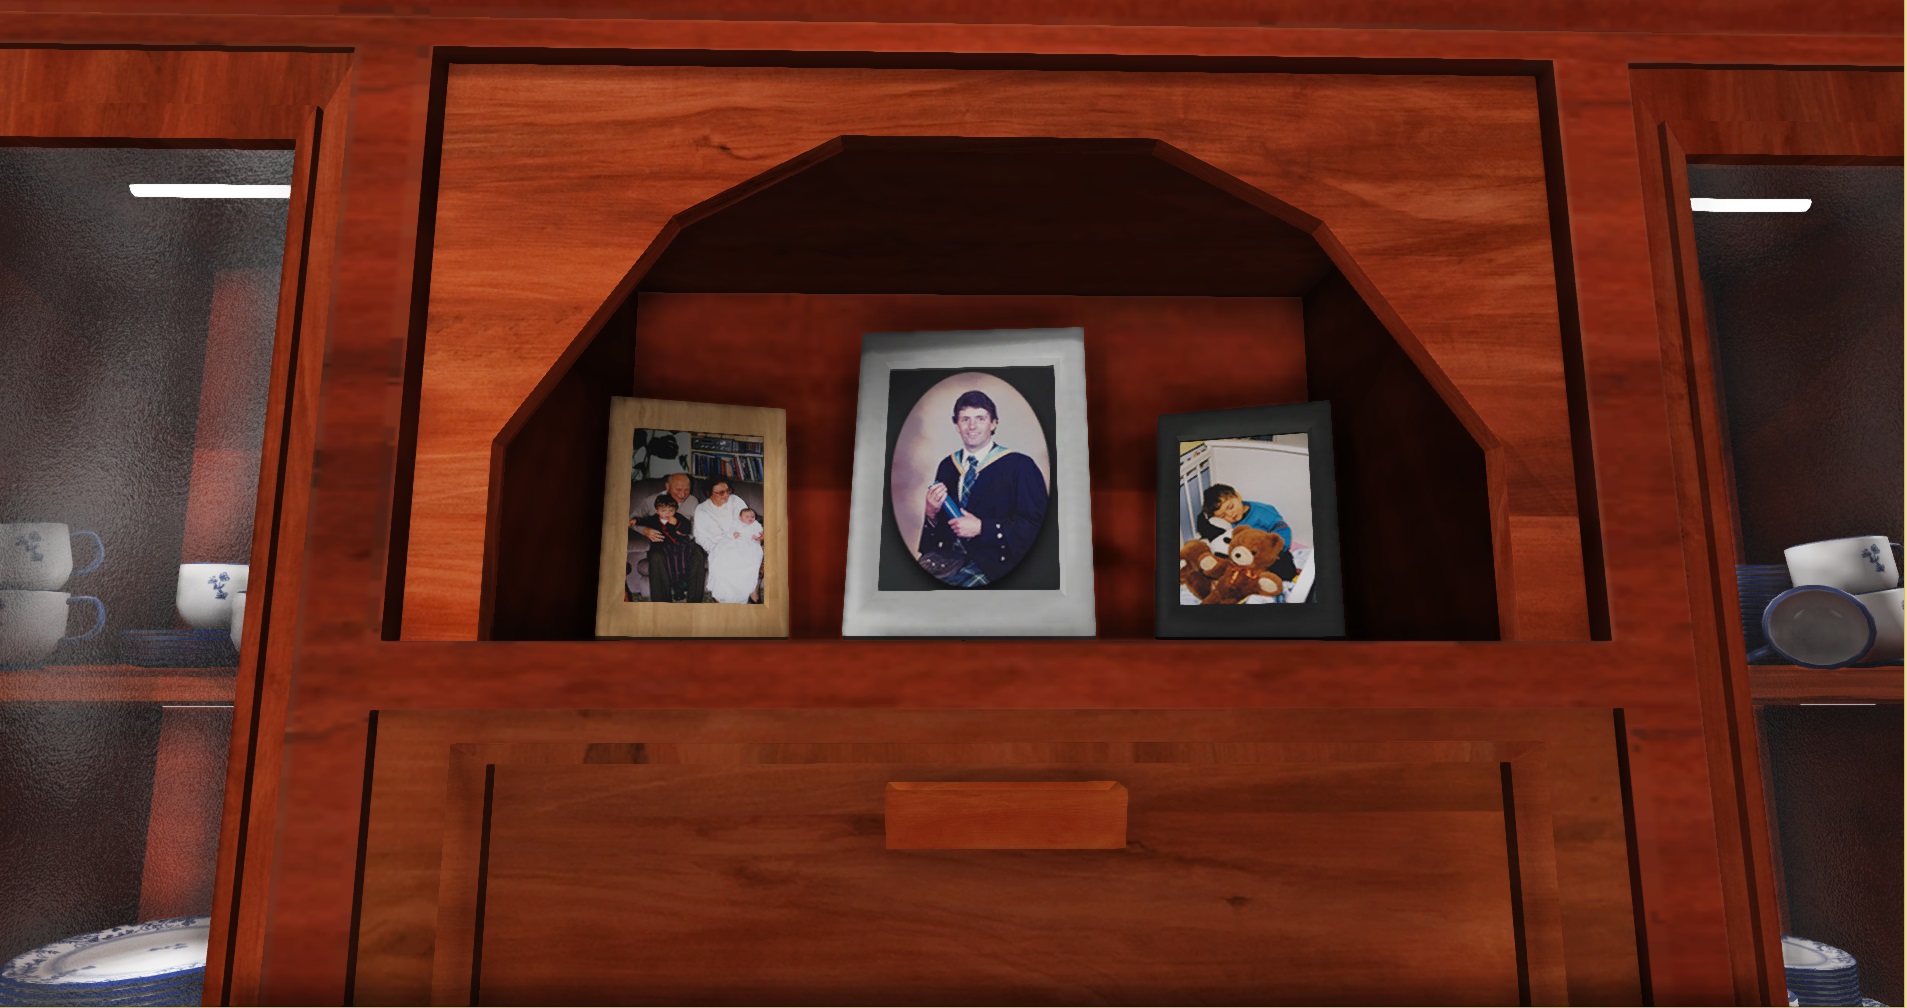
    • These new textures are paintings/photographs/tapestry at my grandparents house. The paintings are done by my grandfather.
  • TV Box + Screens (Off and On)
  • Desk Lamp

Interaction:

  • TV can be turned on and off using the "interact" button

Lighting:

  • I have animated the lights in the fireplace to emulate the flickering of the flames. I am still not too happy with how it was animated, but I now know the process and can alter it at a later date.

Gallery of Updates:

Video of TV:


Script:

I have started working on a script for Forget-Me-Knot. I am still trying to decide the manner in which the key story beats will be conveyed, either narrated as a story or as the current thoughts of the character. Once I am happy with the script I will post it on my blog. Currently I feel it requires more work before I will upload it.


Summary:

As previously mentioned, I felt that this week's productivity was heavily hampered by being ill. I hope that for this coming week I will be able to complete this list of models as I feel that these items will make the scene look considerably fuller. I intend to work more on my dissertation (gathering data and making a concrete framework) in the next coming weeks, so progress with the honours project will slow down.


NEXT STEPS:

A lot of the assets on the list from the previous week have returned to be on this week's list. 

Models:

  • Telephone
  • Sideboard
  • Typewriter
  • Book Case
  • Record Sleeves

Textures:

  • Update record player texture
  • Create textures for above assets
05/02/15 Project Update

Starting this week I have decided that I will now be using a weekly blog format posting every Thursday. This new format will allow me to better formulate my blog posts as they were previously sporadic and of a lower quality than I was hoping to publish. Now that most of my process in terms of asset creation has been explained I will be condensing the content in these posts.

The latest update to Forget-Me-Knot was rather large due to the lack of recent blog posts. I will quickly list the assets and changes made to the game in its current state:

Models:

  • Door (Handle, Glass, Body)
  • Door Frame
  • Skirting Board & Roof Trim
  • Record Player

Textures:

  • Normal Map for Walls
  • Normal Map for Carpet
  • Emissive Maps for Window Glass
  • Emissive & Normal Map for Door Glass

Interaction:

  • Door Handle Animation
  • Animations can now be reversed (closing) by reactivating the trigger (No longer requires a seperate closing volume
  • Drawer SFX added
  • Cupboard Door SFX added
  • Record Player Animation(s) & SFX

Lighting:

  • The previous lighting model has been redone. Lighting now looks more natural with the additions of a new spotlight that is activated when the room lights are turned off. This spotlight replicates the natural light coming in from the window.

Video of Updates:


Record Player:

The current textures for the record player and speakers are not final as I was more concerned about the animation and interactivity aspect. The player can toggle the record player on which plays 2 animation sequences (The first moves the Pickup Arm over the record and moves it down to make contact with the spinning record disk. The second animation is a subtle looping 'bobbing' animation for the Pickup Arm.)  The player can activate the record player by pressing the interact button, and deactivate it whenever they please.


Global Game Jam - Narrative Progression

During the Global Game Jam 2015 at Abertay I created a prototype game called "Respire" with a team of 4 of my peers. My task on the project was to work in the engine to build the environment and add interaction. I worked on creating a sequencer in Kismet that would allow the player to progress to different "Story Beats" once the previous one has been completed. The original Kismet for this was created within 24 hours so it was messy and badly optimised. The day after the game jam, I worked on refining the Kismet Sequencer so that It both ran better and was easier to understand. I think will adopt a similar system in Forget-Me-Knot to handle narrative progression.

Old Sequencer:

New Sequencer:


Summary:

I feel that I am making good progress towards my 'end goal' for the honours project. The main concern with Forget-Me-Knot is that I am essentially creating a "whole package" of audio, visuals, gameplay and narrative. Although it is a lot of work, I shall try not to let it overwhelm me. I am finding that these blog updates are a great way for me to gauge both my progress on this project, but also my progress as a game designer/creator.


Next Steps:

Models:

  • Television
  • Telephone
  • Record Sleeves
  • Sideboard
  • Typewriter

Textures:

  • Update record player texture
  • Create textures for above assets

Audio:

  • Start scripting narrative and implement the narrative sequencer.

Lighting:

  • Make the lights in the fireplace flicker.
A New Desk

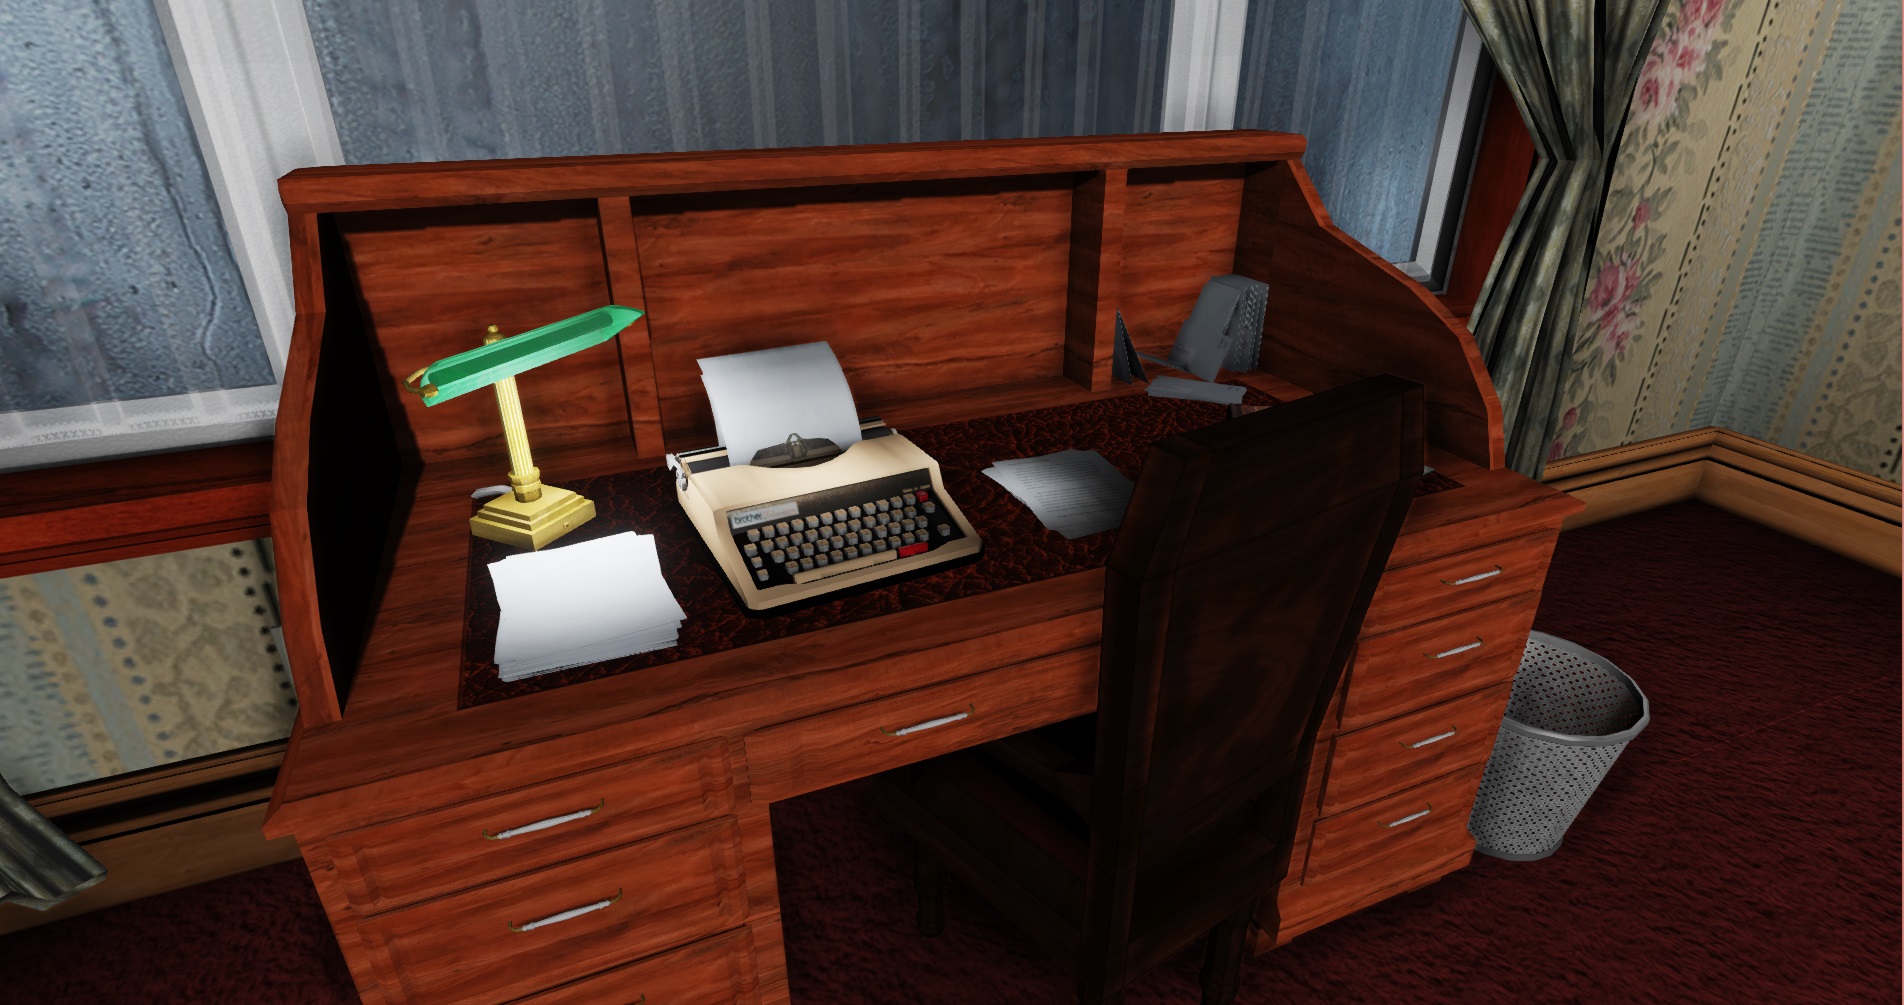
The desk has received a visual update! Seeing as the desk will play a relatively big part in the game, it was only fitting for it to look the part. I wont describe the process as I normally do, as it is nearly the exact same as with previous models. Overall i'm happy with the new model as it is a large improvement on the previous desk.

Small Texture Update

I have decided to give the textures on some of the older assets a temporary make over. The new textures will hopefully improve the look of the game until I have the time to re-model the actual assets. 

Old:

New:

Old:

New:

Old:

New: (Still not too happy with this one yet, so will revisit it again later)

I added a few more book textures to the shelf, each book will have its own texture by the completed project. I would have re-textured the book shelf, but have decided it is one of the next assets requiring re-modeling.

Installing Walls & Windows (8.1)

After reworking the shape of the room from the previous prototype, I decided it was about time to add some windows for a more 'natural' and less 'jail cell' look. To begin, I cut a large hole in the wall, then built a placeholder mantel and frame to gauge how the final window might look.

Once the placeholders are created, I rebuild each piece in greater detail. Once all of the pieces are reworked, I will UV all of the pieces, then create all of the textures. In the case of the windowsill to keep consistency in textures I prefer to batch texture as it keeps the techniques I use fresh in my mind.  I decided that the next stage in modelling my window would be to create the curtains. The curtains were built from a poly-plane which I positioned to create rough material folds then extruded the plane back to give the curtain some depth.

To shape the curtain in a more natural position I used the Lattice Deformer tool to retain the previous fold detail whilst also giving it the appearance of being drawn back.

The plastic frame for the window glass was a relatively low poly model. I found that the level of detail of the placeholder model was sufficiently realistic thus didn't require editing further. To create the net-curtain I used a basic plane, created similar folds to the original curtain and applied a semi-opaque texture to it.

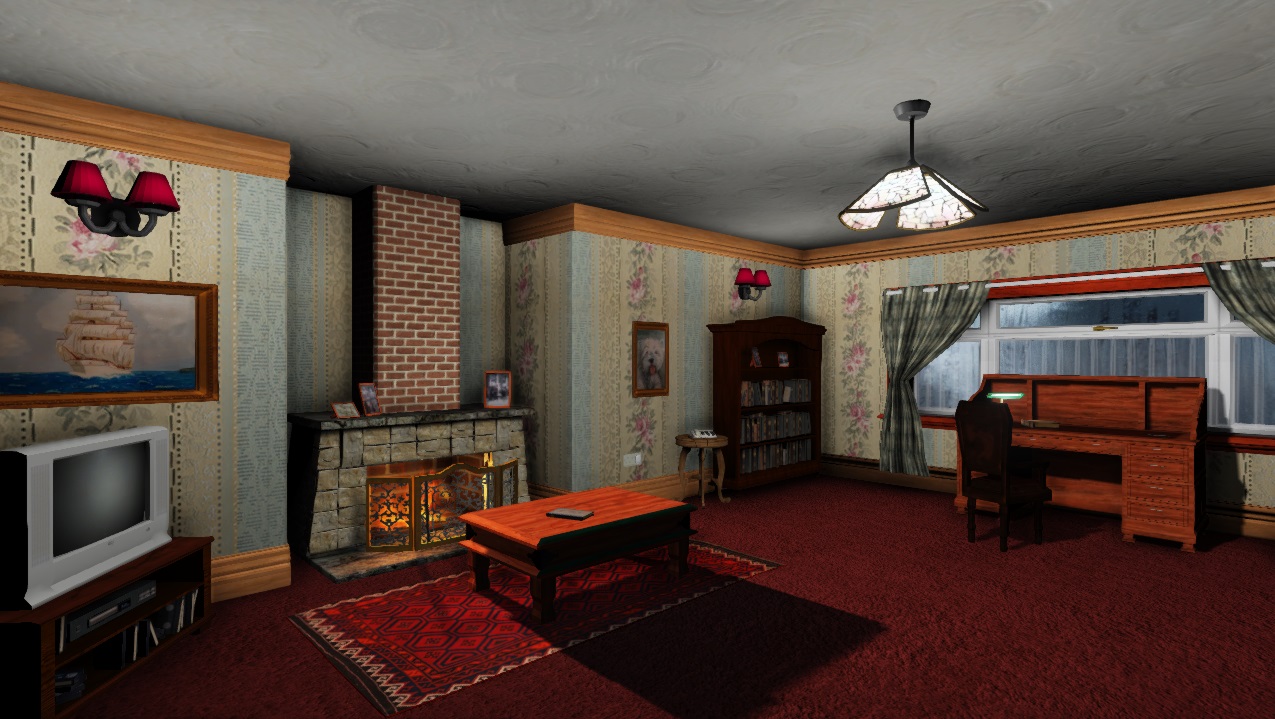
Below is the final image taken from the UDK engine.

Visual Update

Forget-Me-Knot is getting a visual update over the Christmas period. I will be editing/replacing the current geometry in favour of slightly more detailed models. Even the slightest of changes to improve the quality will drastically impact on the overall visuals of the game.

Old Fireplace:


New Fireplace:

UDK Project Start

As each asset is created, I tend to import them straight into UDK to apply the textures and get a rough indication of how much space I have left for further assets. Although this is a very simple approach, it is effective at keeping the interactive aspect of the project progressing. When modelling objects for environments it's easy to find yourself engrossed in the modelling process and completely forget about the game aspect of the Honours project. By constantly going between Maya and UDK it allows me to judge my rate of progression as well as check for alterations required in textures, models or their positioning in UDK to create a believable environment.

Asset Creation Process

As stated previously; for this project I intend to create my game assets as lower-poly models that are still easily recognisable as the intended object. The lower-poly aspect will allow me to build a higher volume of assets which I believe is required to make a scene appear more natural. In striving for quantity, some quality is sacrificed, but I feel that the level of assets that I can create in this way is still more than acceptable for the game.

My first step is to find a reference image. In Forget-Me-Not I intend to base most of the furniture items on ones that were owned by my grandfather. Above is an image of a cabinet that he used to have in his living room. I will use this photograph as a rough reference for the creation of the 3D model. 

I started modelling this cabinet with the intentions of the player being able to open every compartment or drawer that it has. Although this will require a lot of trigger work in UDK, it will increase the amount of areas in the game to explore as well as make the environment more believable. I began the modelling process with a cuboid and extruded the basic shape of the object out. I made further extrusions into the body of the cabinet to allow space for drawers and doors to be fitted later on.

As with the previous stage, I used a basic cuboid shape and extruded it to fit gaps I cut into the object. I kept the topology of the drawers and doors simple so as to make UV'ing the assets slightly less taxing in the later stages.

Here is a quick render in Maya of how the basic shape would appear in the game engine, I was happy with the basic geometry and object silhouette so decided to move on to the texturing phase of asset creation.

From here, I separate the modular assets from each other to make it easier for the UV mapping process. After moving the modular pieces into place I can gauge how many textures will be needed to complete the object. For the above object, I made it relatively symmetrical, so the final cabinet will only require 6/7 textures to complete.

I planar mapped each area of the cabinet, with more space on the UV dedicated to the more seen areas of the cabinet with less space for  areas like the back. Although the UV map is slightly messy, it should still deliver a smooth texture in the final product.

Pictured above is a simple texture that I will be using for the cabinet as a placeholder for the looming progress presentation pitch that I have next week. Although simple, this texture should hopefully give off a realistic enough look to the cabinet.

At this stage I like to export the model into UDK and build the final texture in the Unreal Content browser by creating a material. For the sake of this blog post I will apply the texture in Maya and render it out to deliver a better lit version of the final model.

This is the process I will be using to create my assets for Forget-Me-Not. This may not be the most efficient way of producing assets, but this process is one I have used throughout my time working in Maya and UDK thus I have become accustomed to it. The final render looks like a convincing cabinet that wouldn't look out of place in my game environment.

I hope this insight into my development process was interesting. I really enjoyed analysing my development process as it is an area I have never really reflected on in the past. 

Quick 3D Test/Practice

A big hurdle in the project will be getting used to Maya controls and construction pipelines required for building the 3D game in Unreal Engine 4. Above are 2 screenshots of a quick 3D mock-up based on the previous concept art. By keeping the objects relatively low poly I intend to be able to produce a larger quantity of styalised assets, which should hopefully make the environments feel more 'lived in'. At this stage I intend to experiment with the production pipeline and test how quickly I can produce assets for the game to help get a better idea of how achievable the scope of the project is. In general I feel happy with the results of the test, and will attempt the next stage of the production pipeline.