Quite a large update for this week seeing as we have a demo-day this Friday; some new features and some bug fixes. This week I had finally gotten round to modelling the new couch and chair and implemented a new 'Object Inspection' mechanic for key objects in the game.
Models:
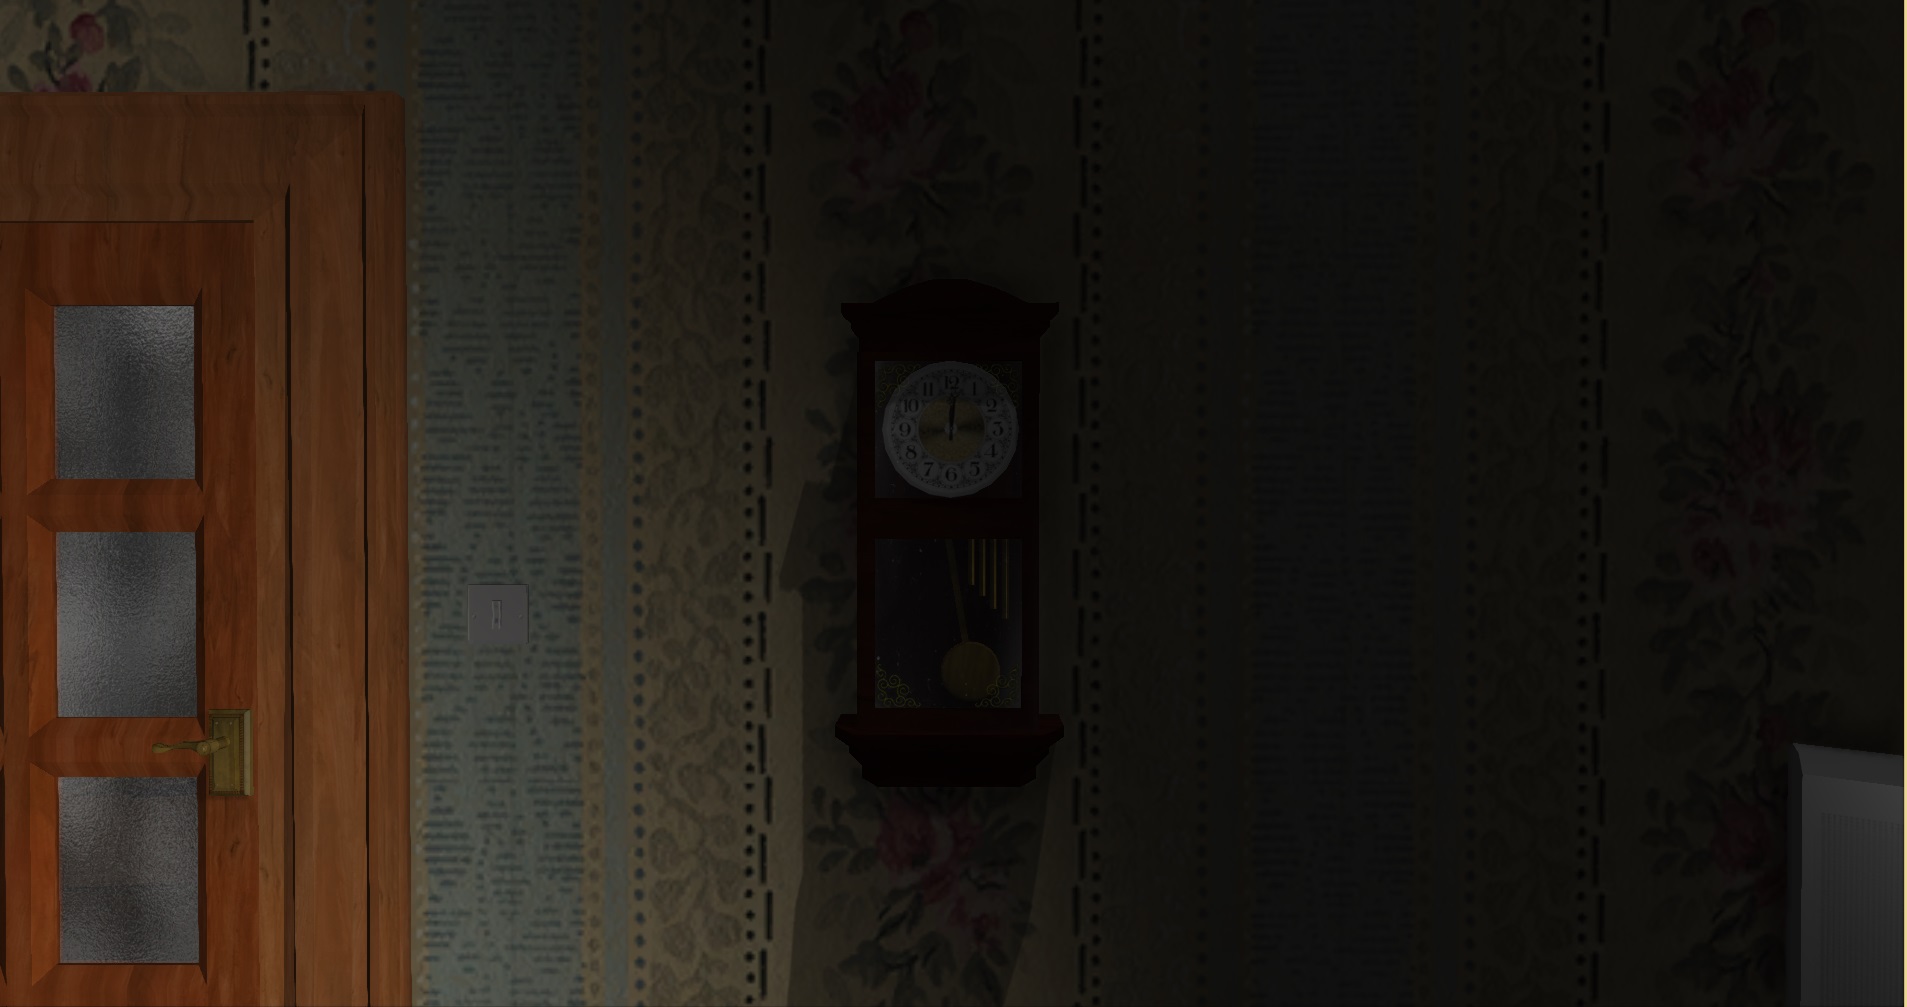
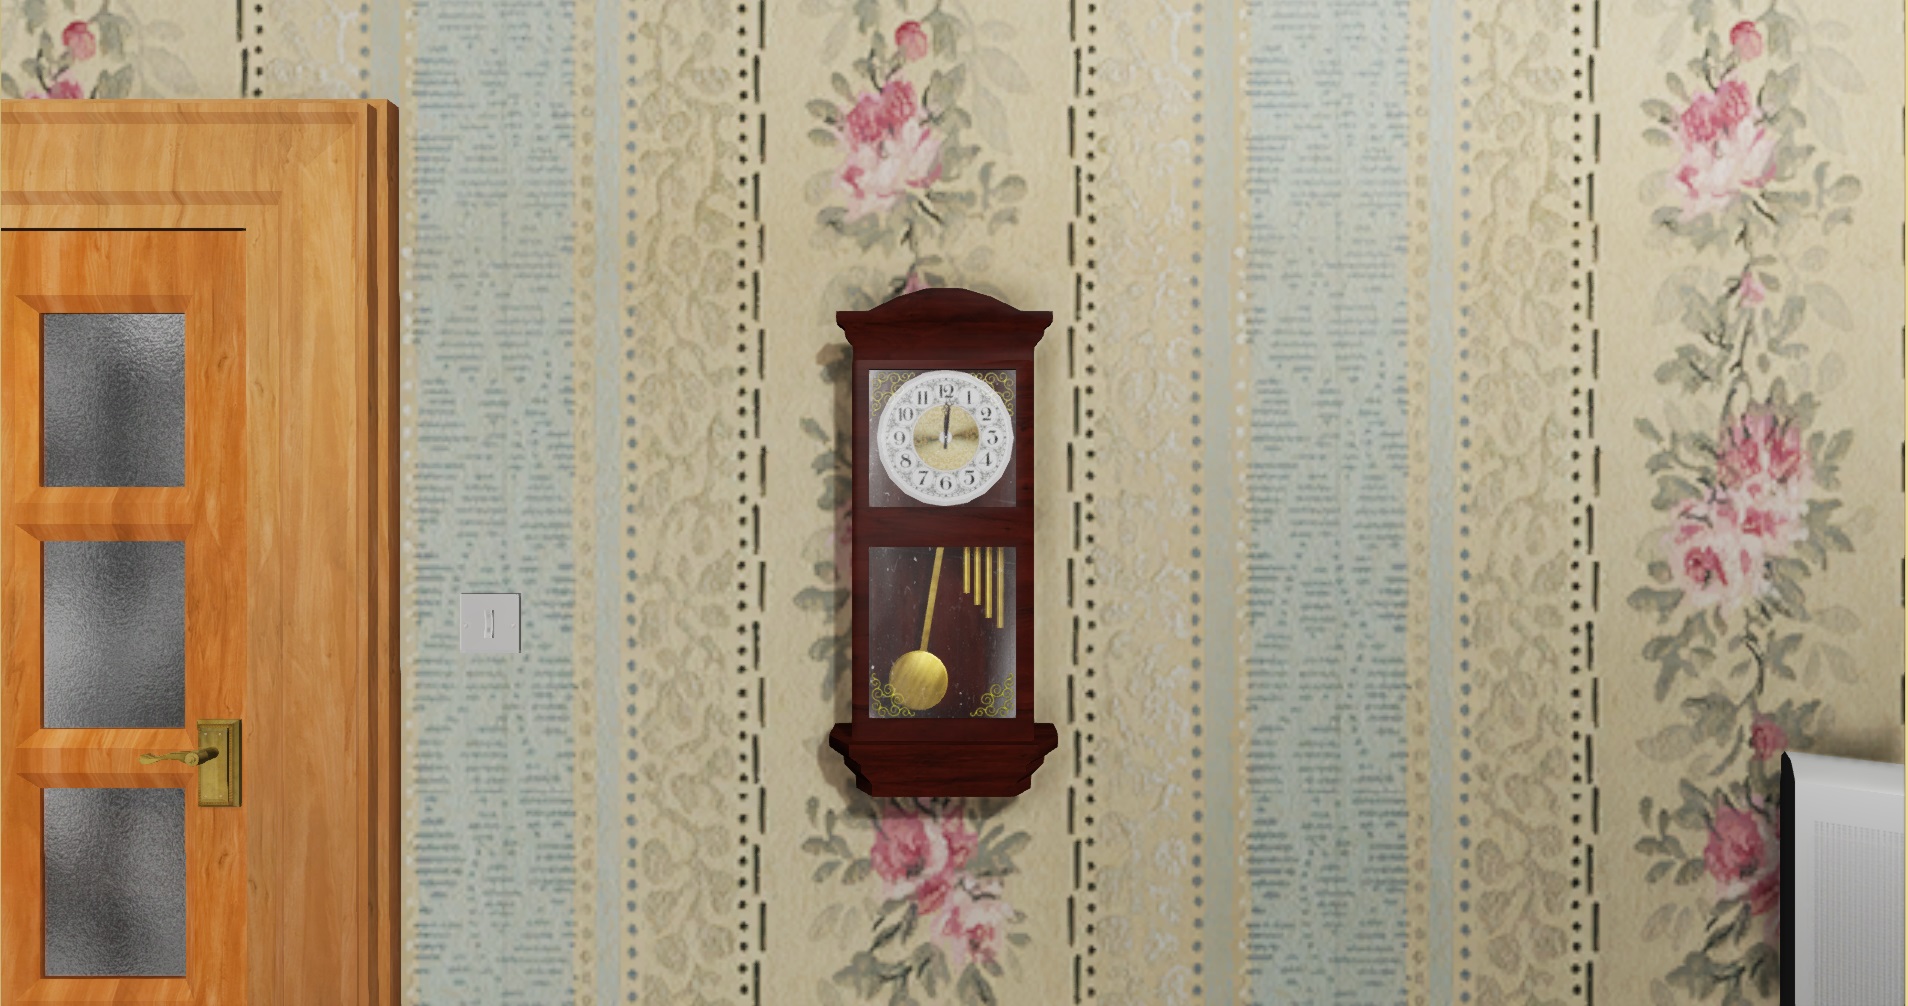
- Clock (Hands set to "One Past Midnight"- Reference to Andrew Lindsay's Project)
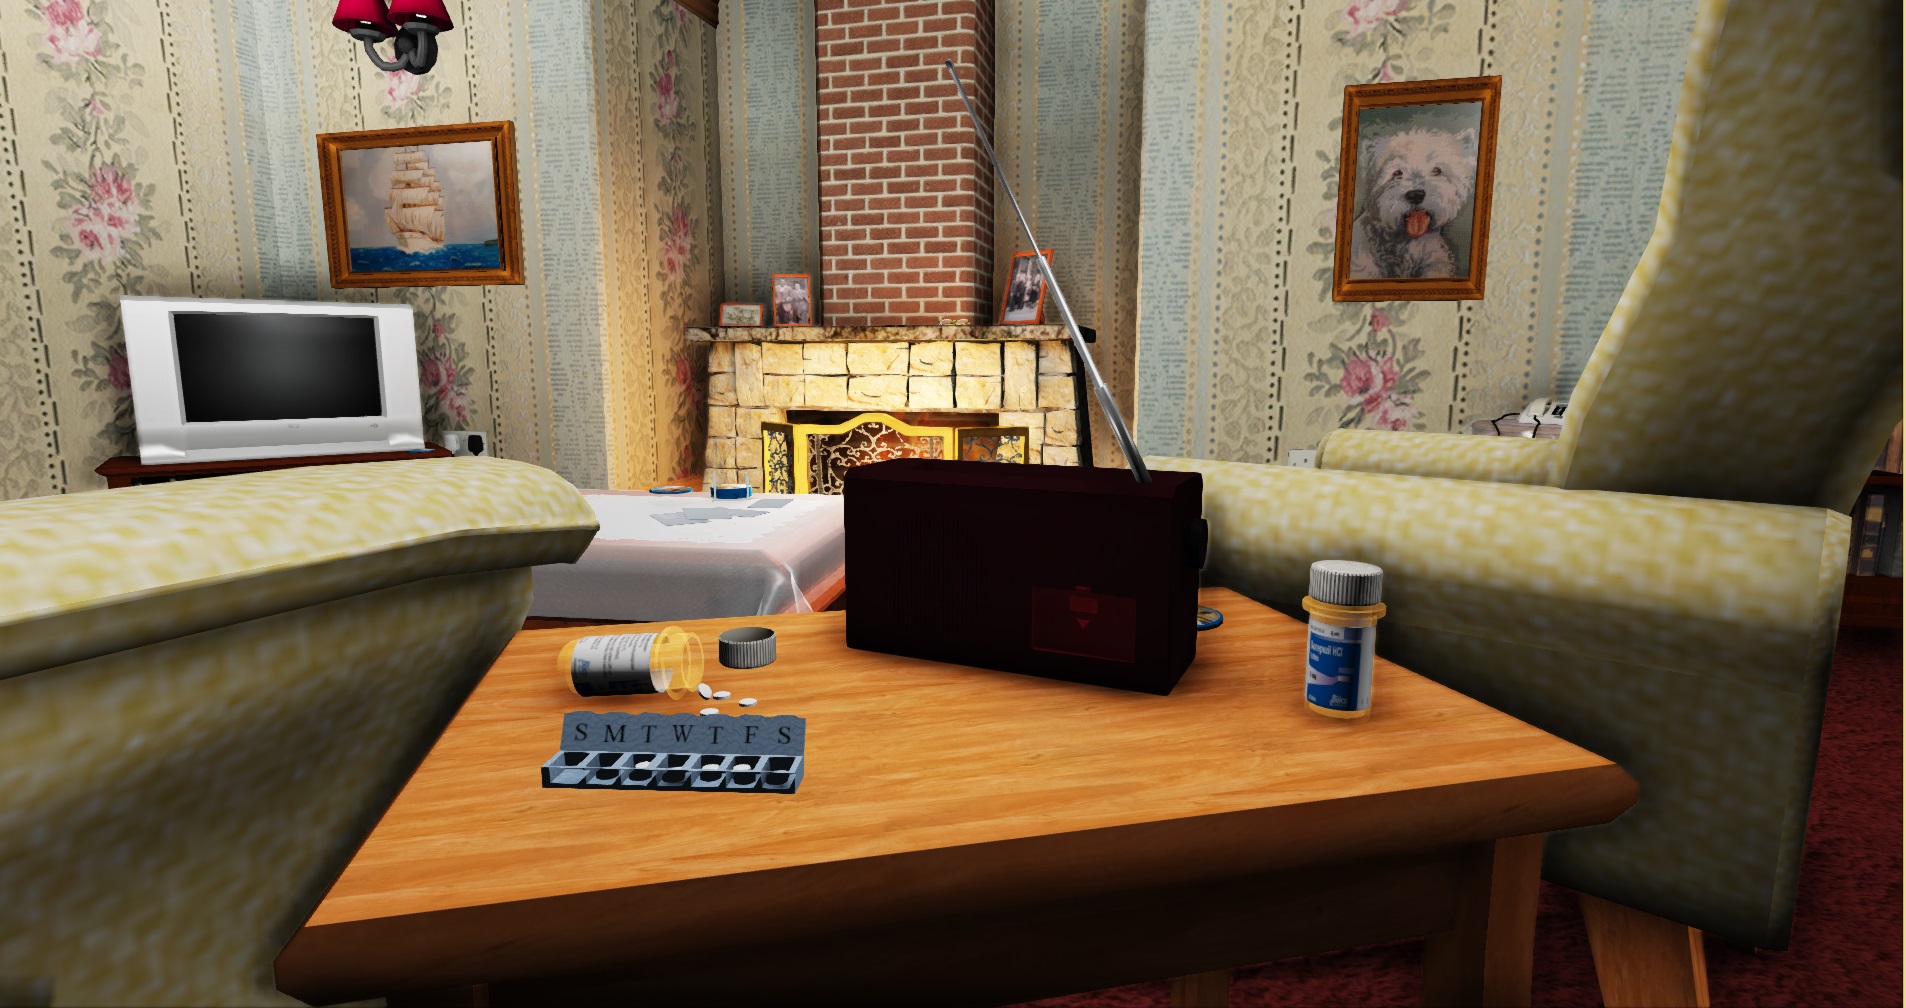
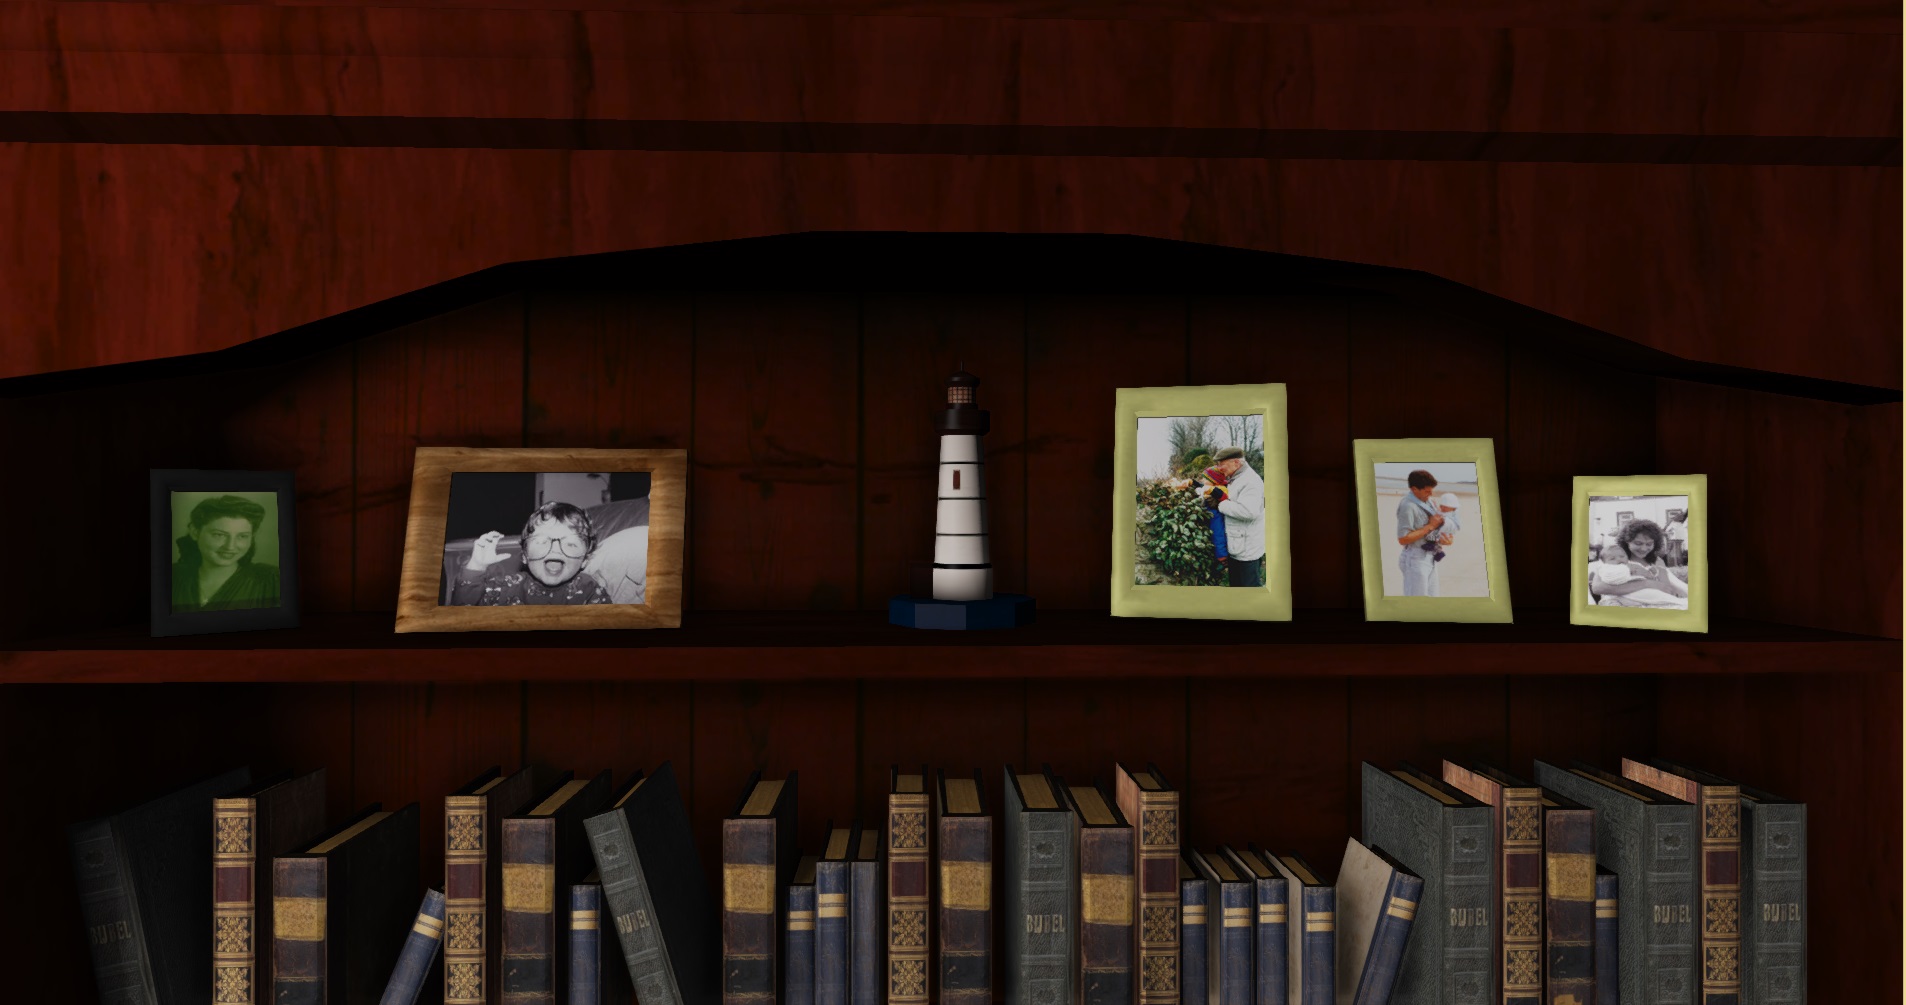
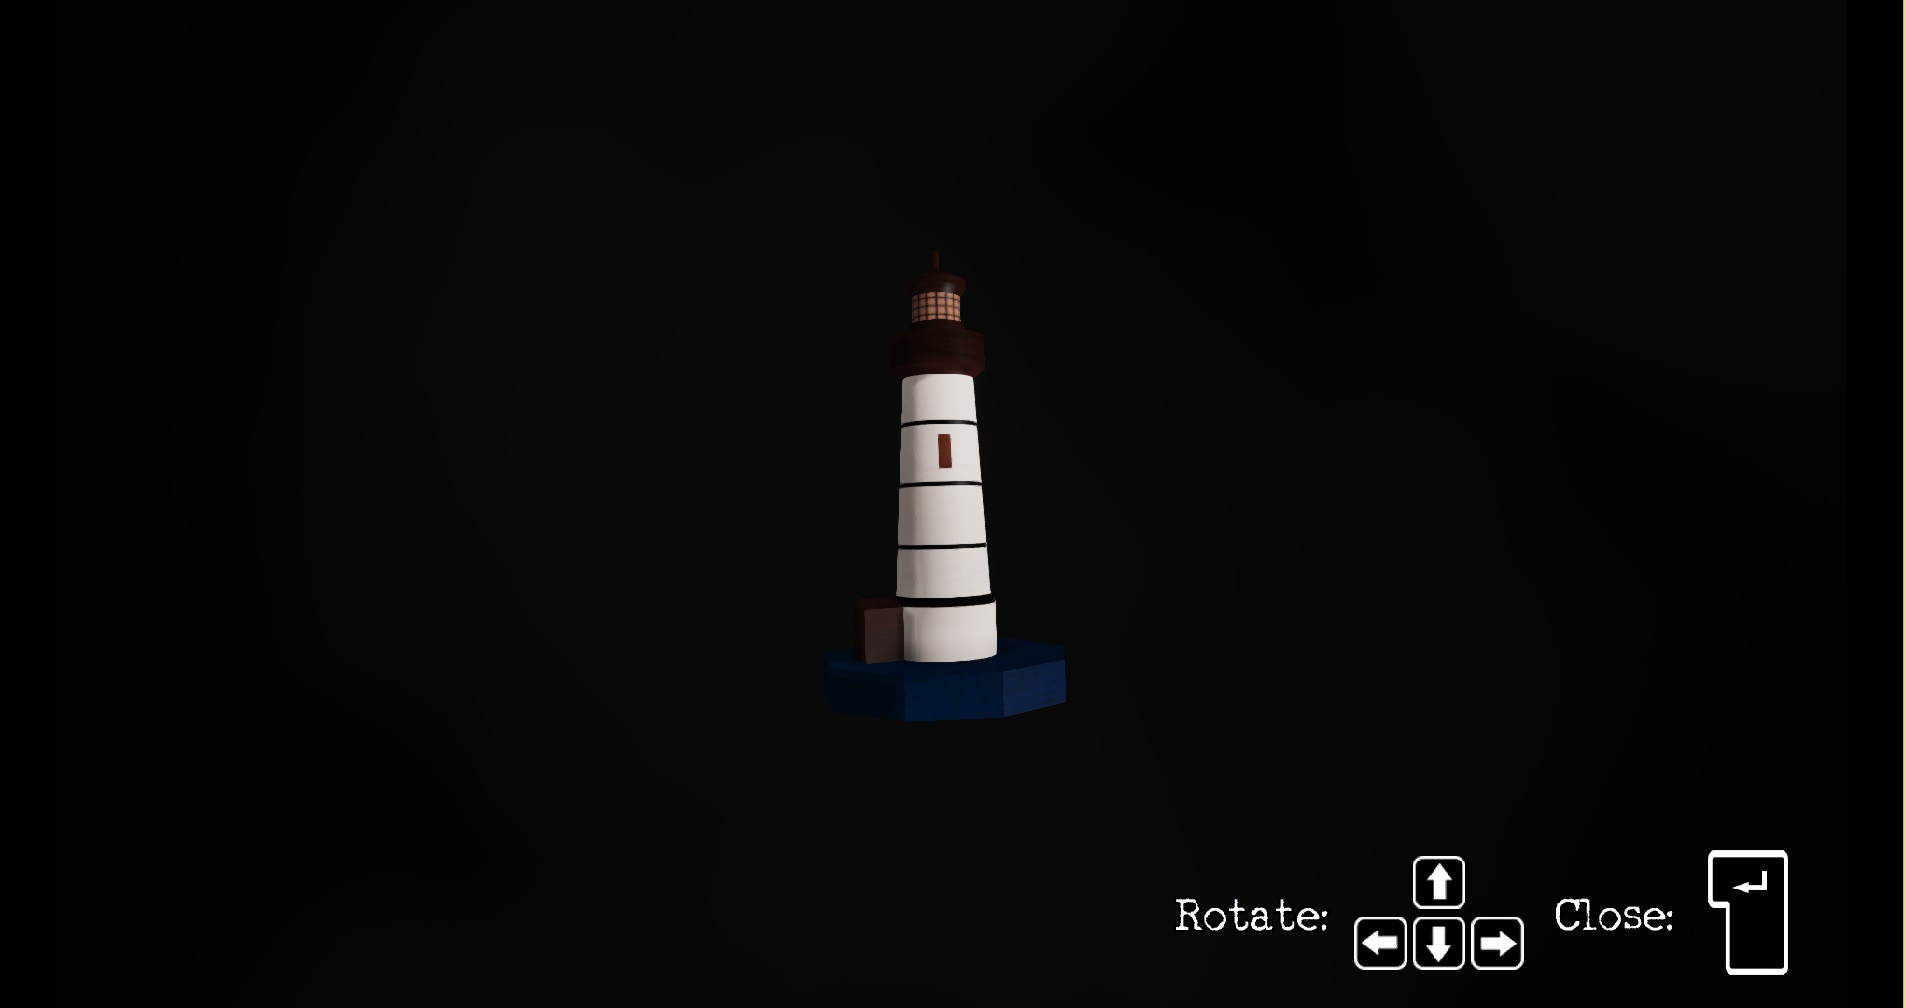
- Lighthouse Ornament (Last Solus - Reference to Jamie King's Project)
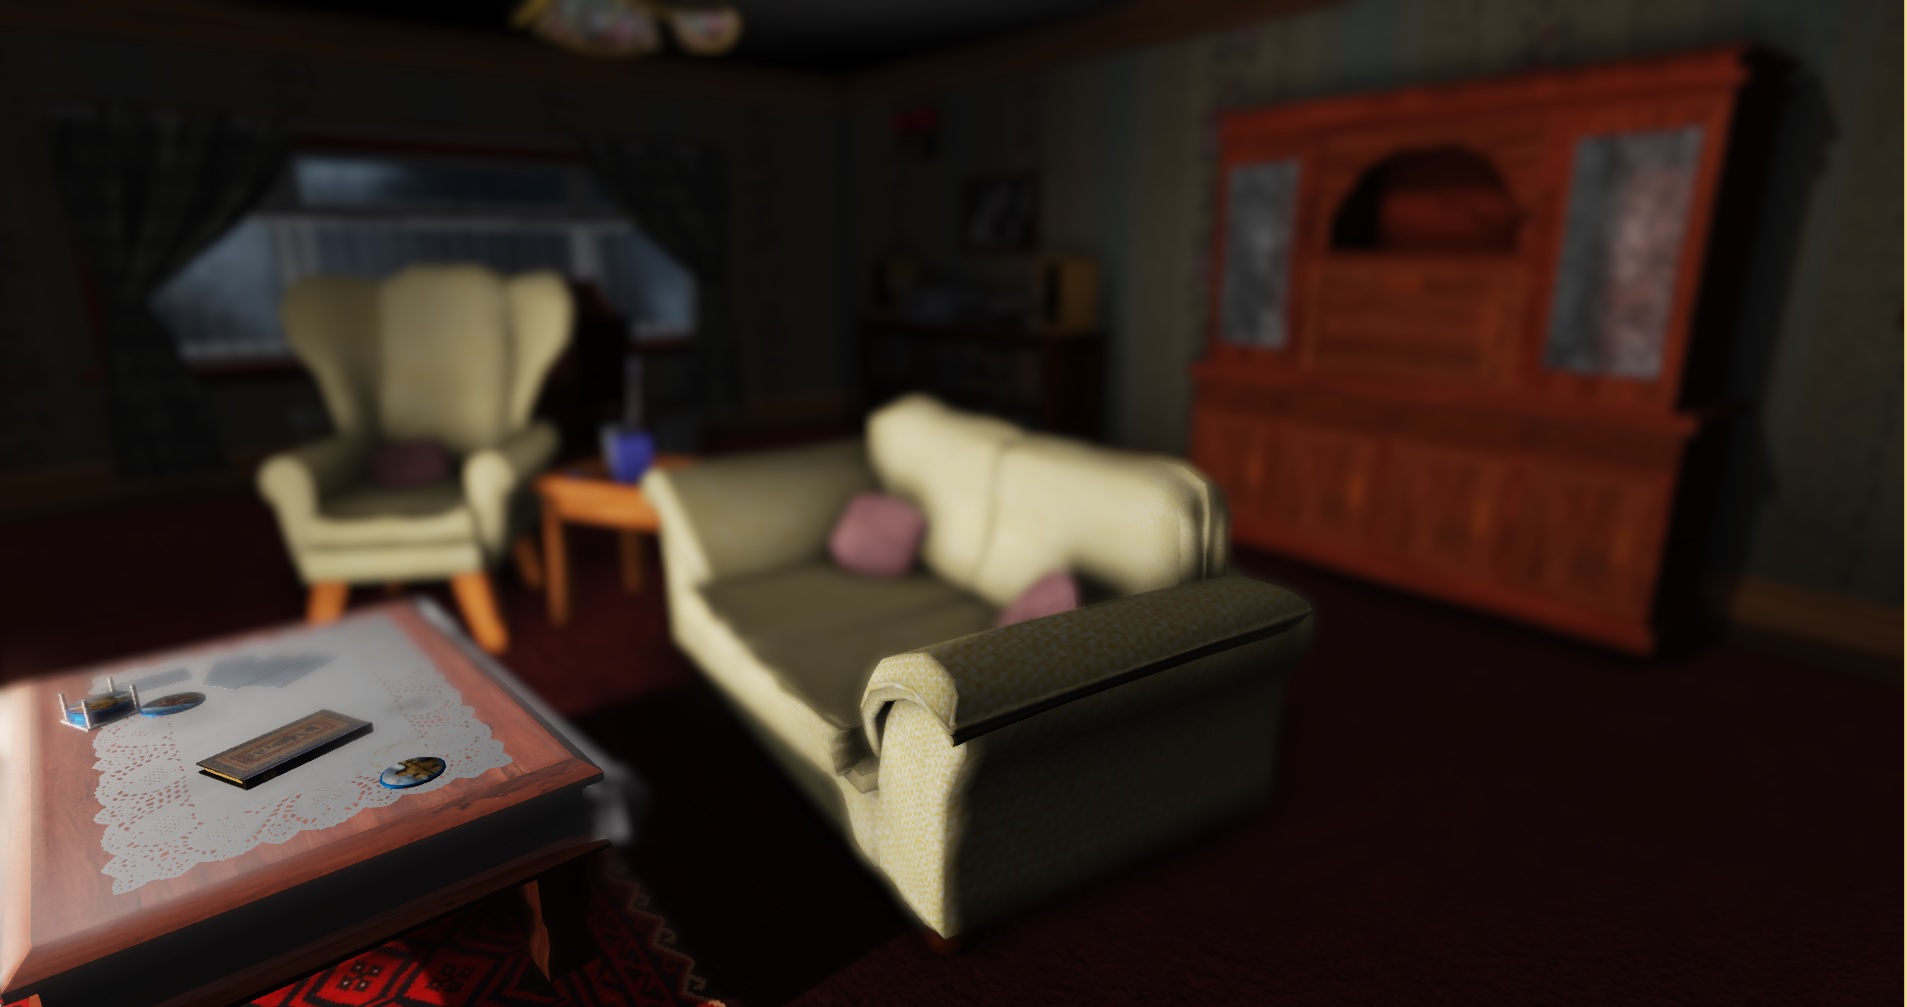
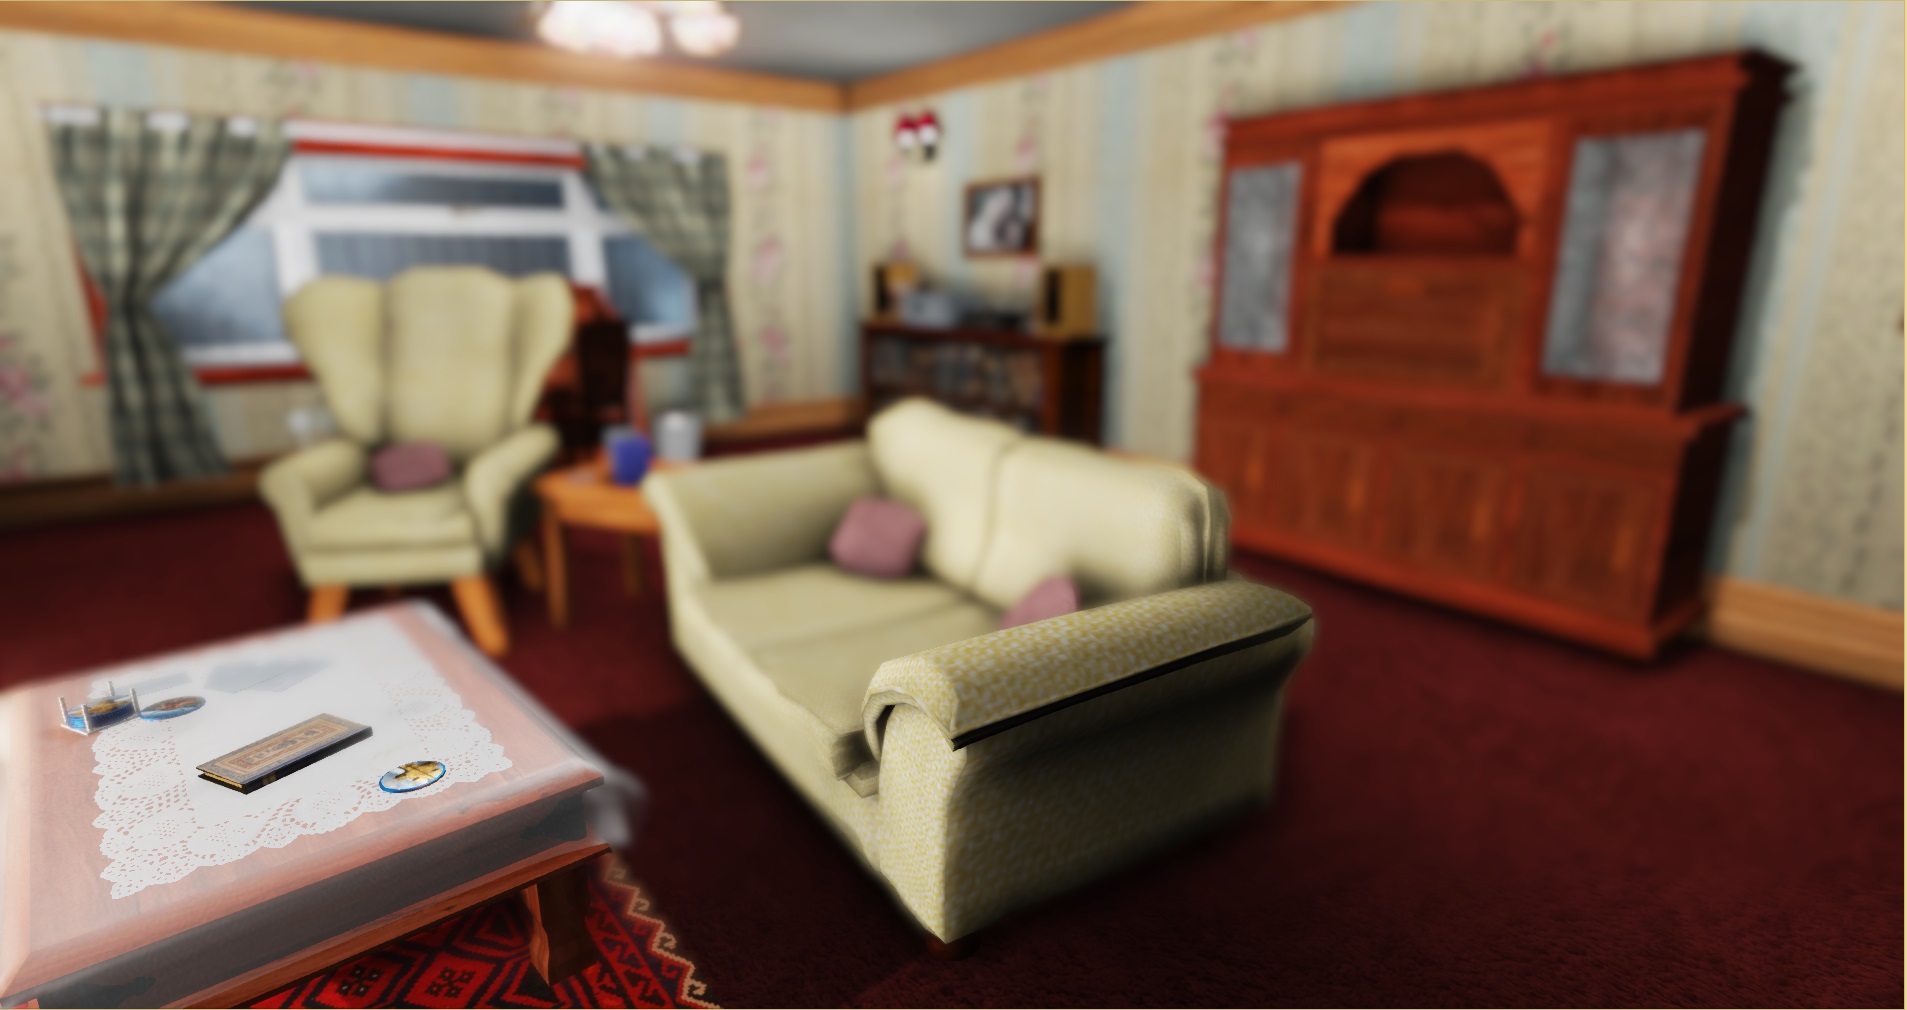
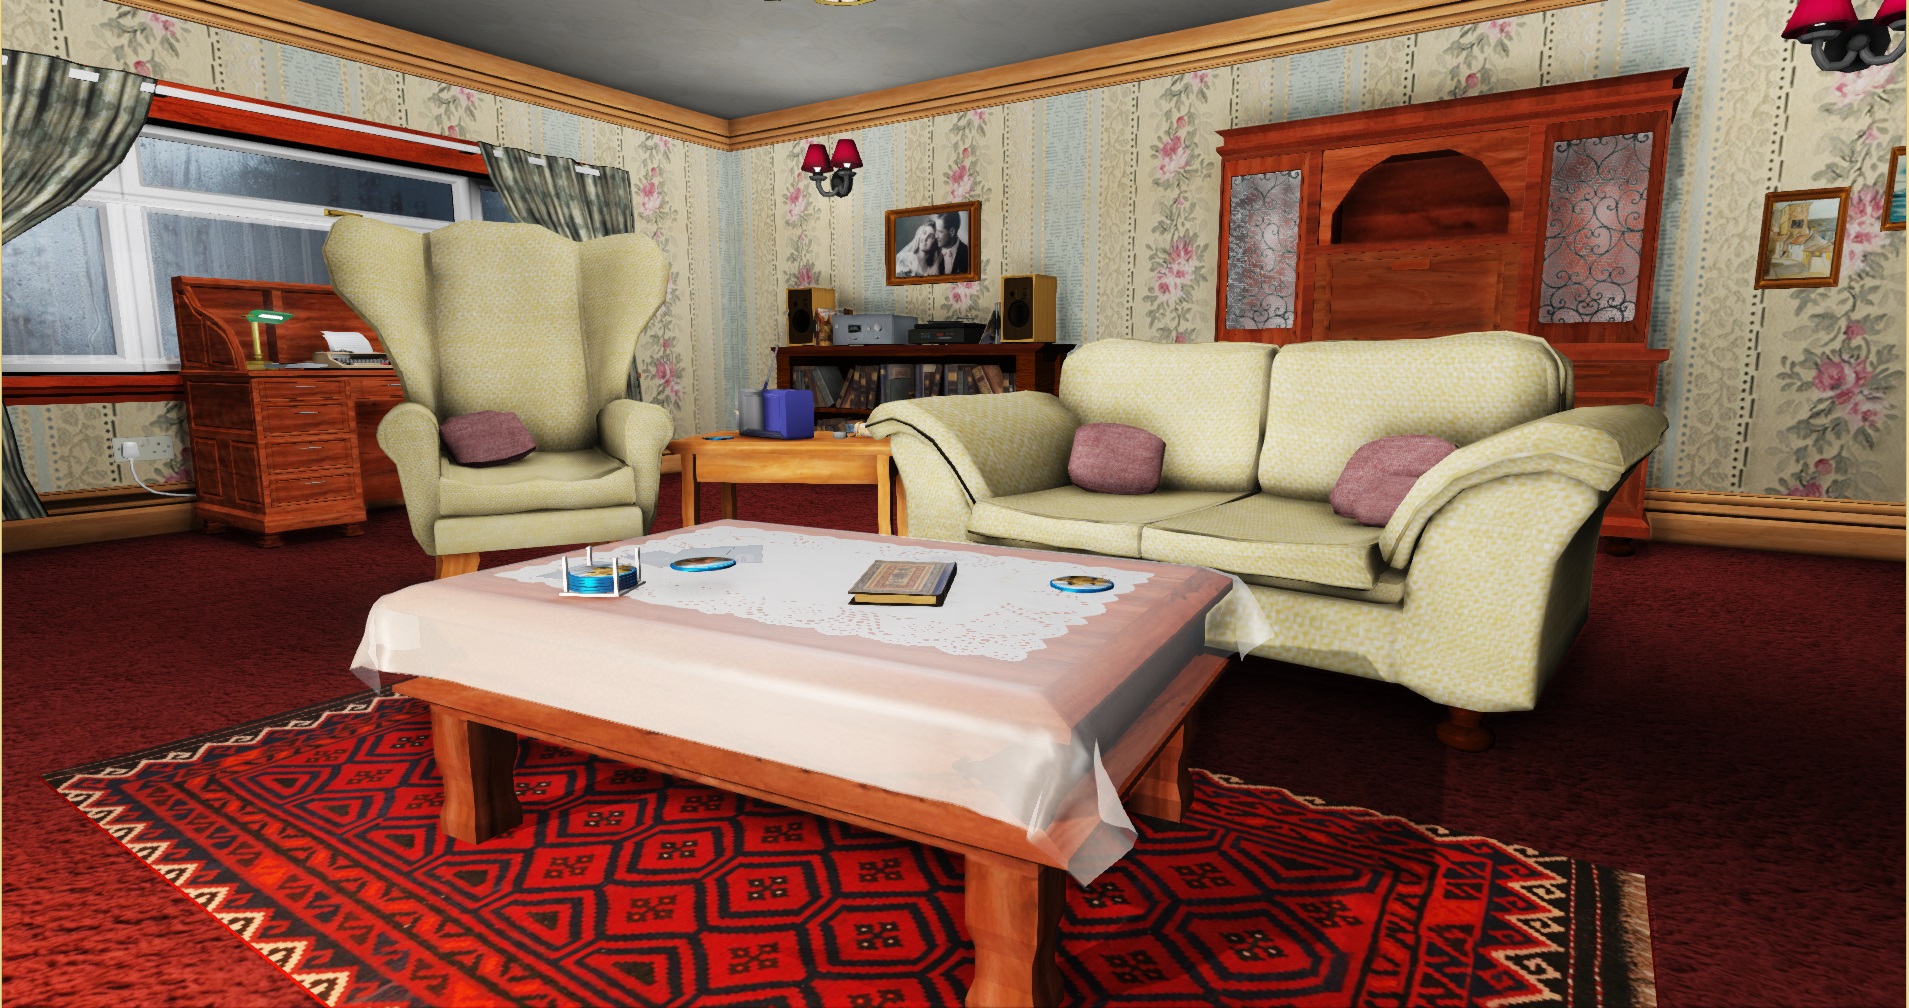
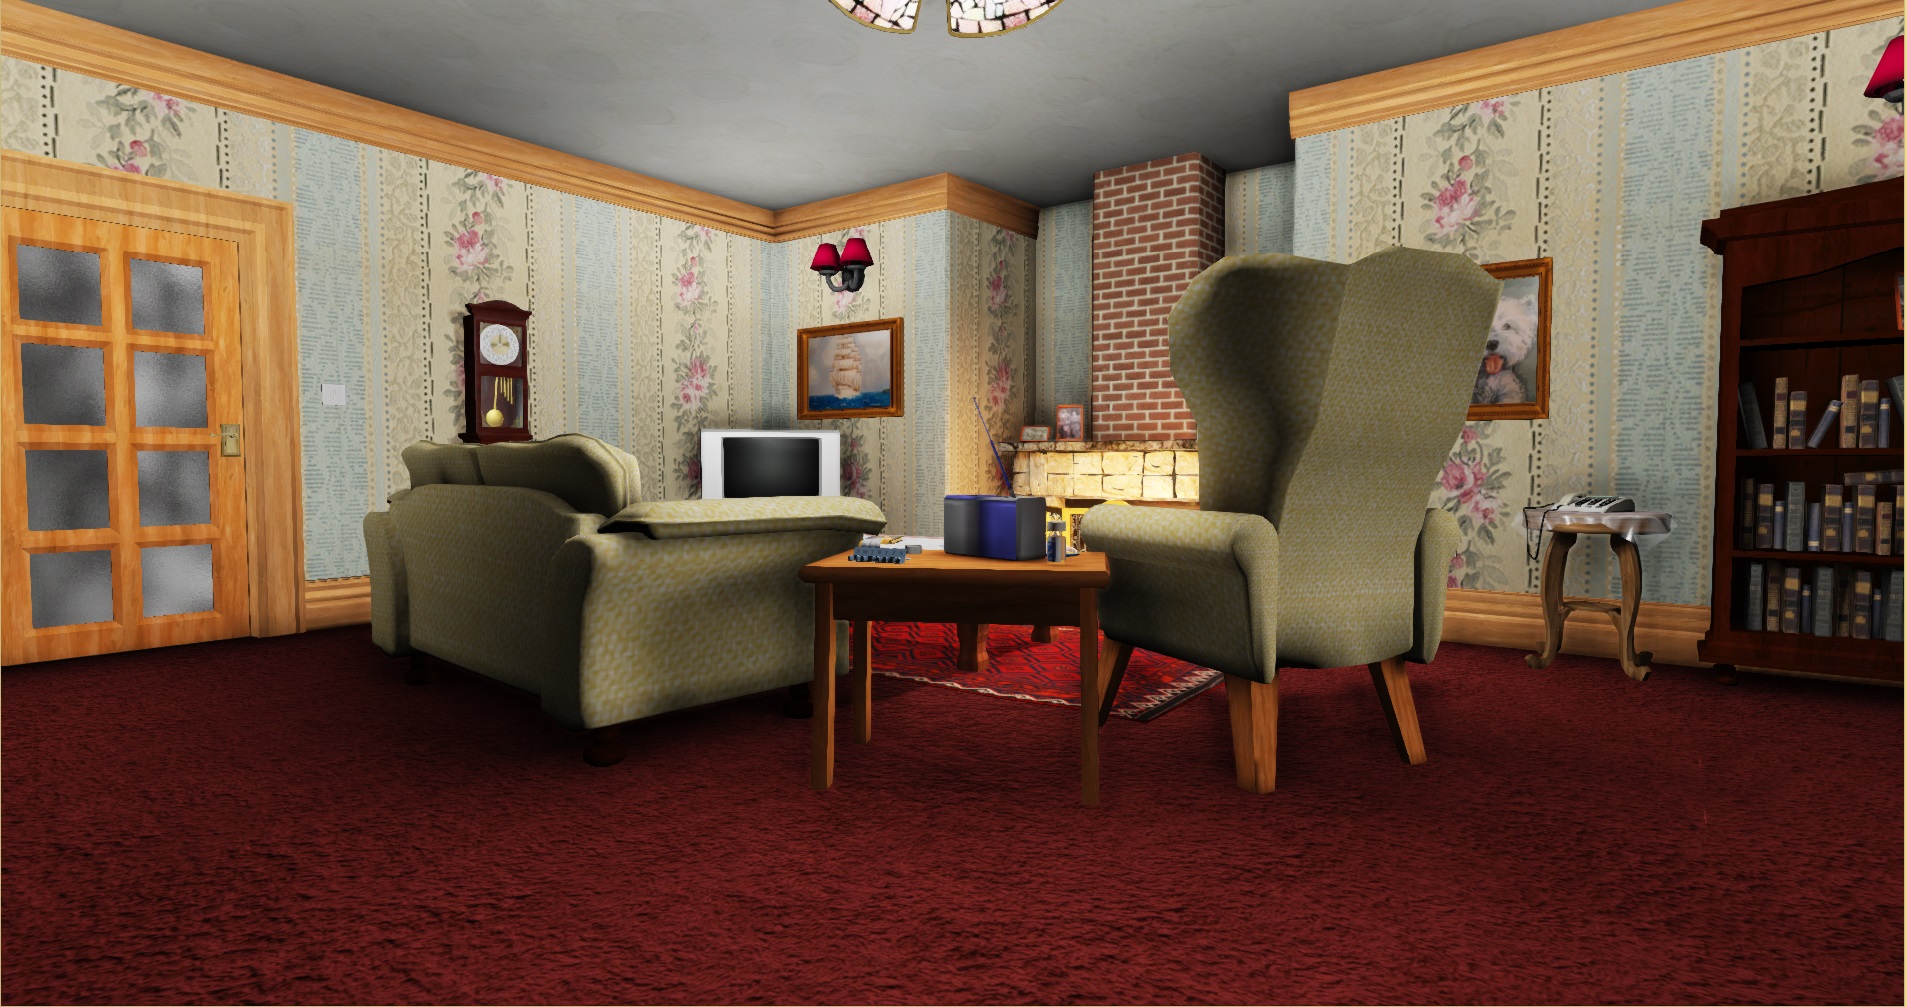
- High-Backed Chair
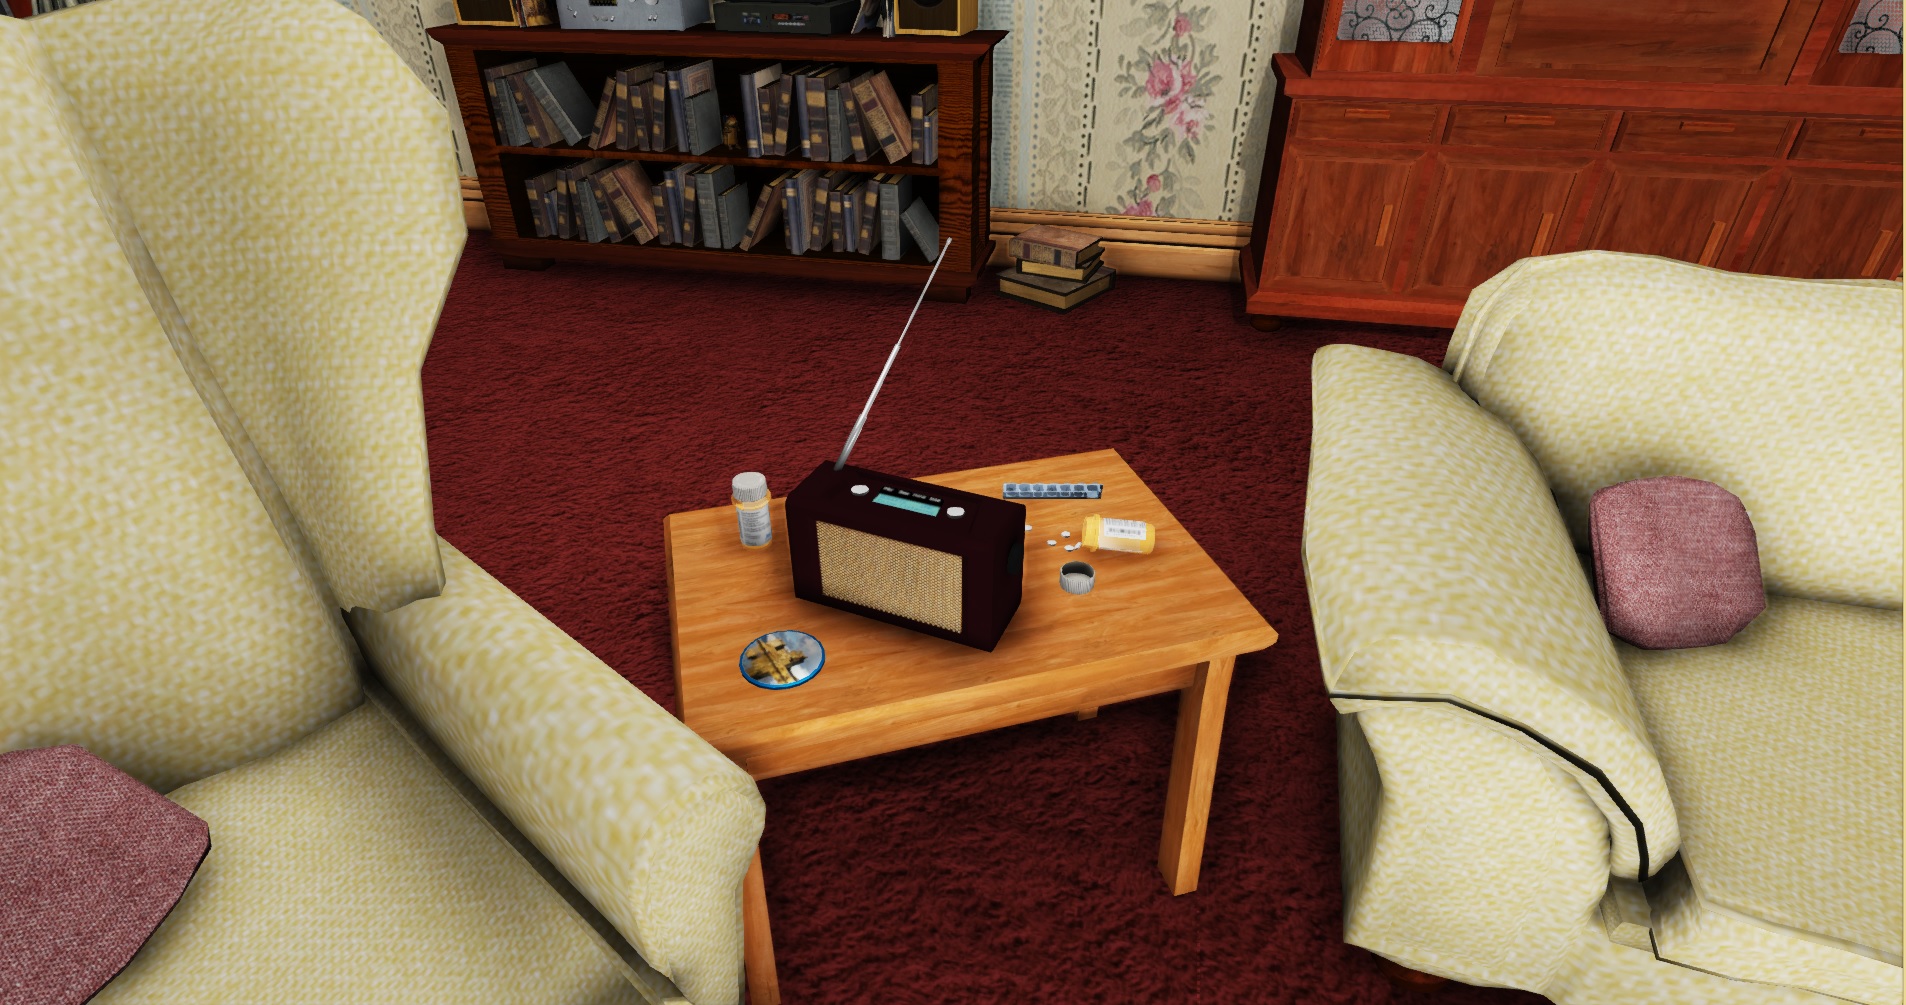
- Couch
- Side-Table
- Cushion
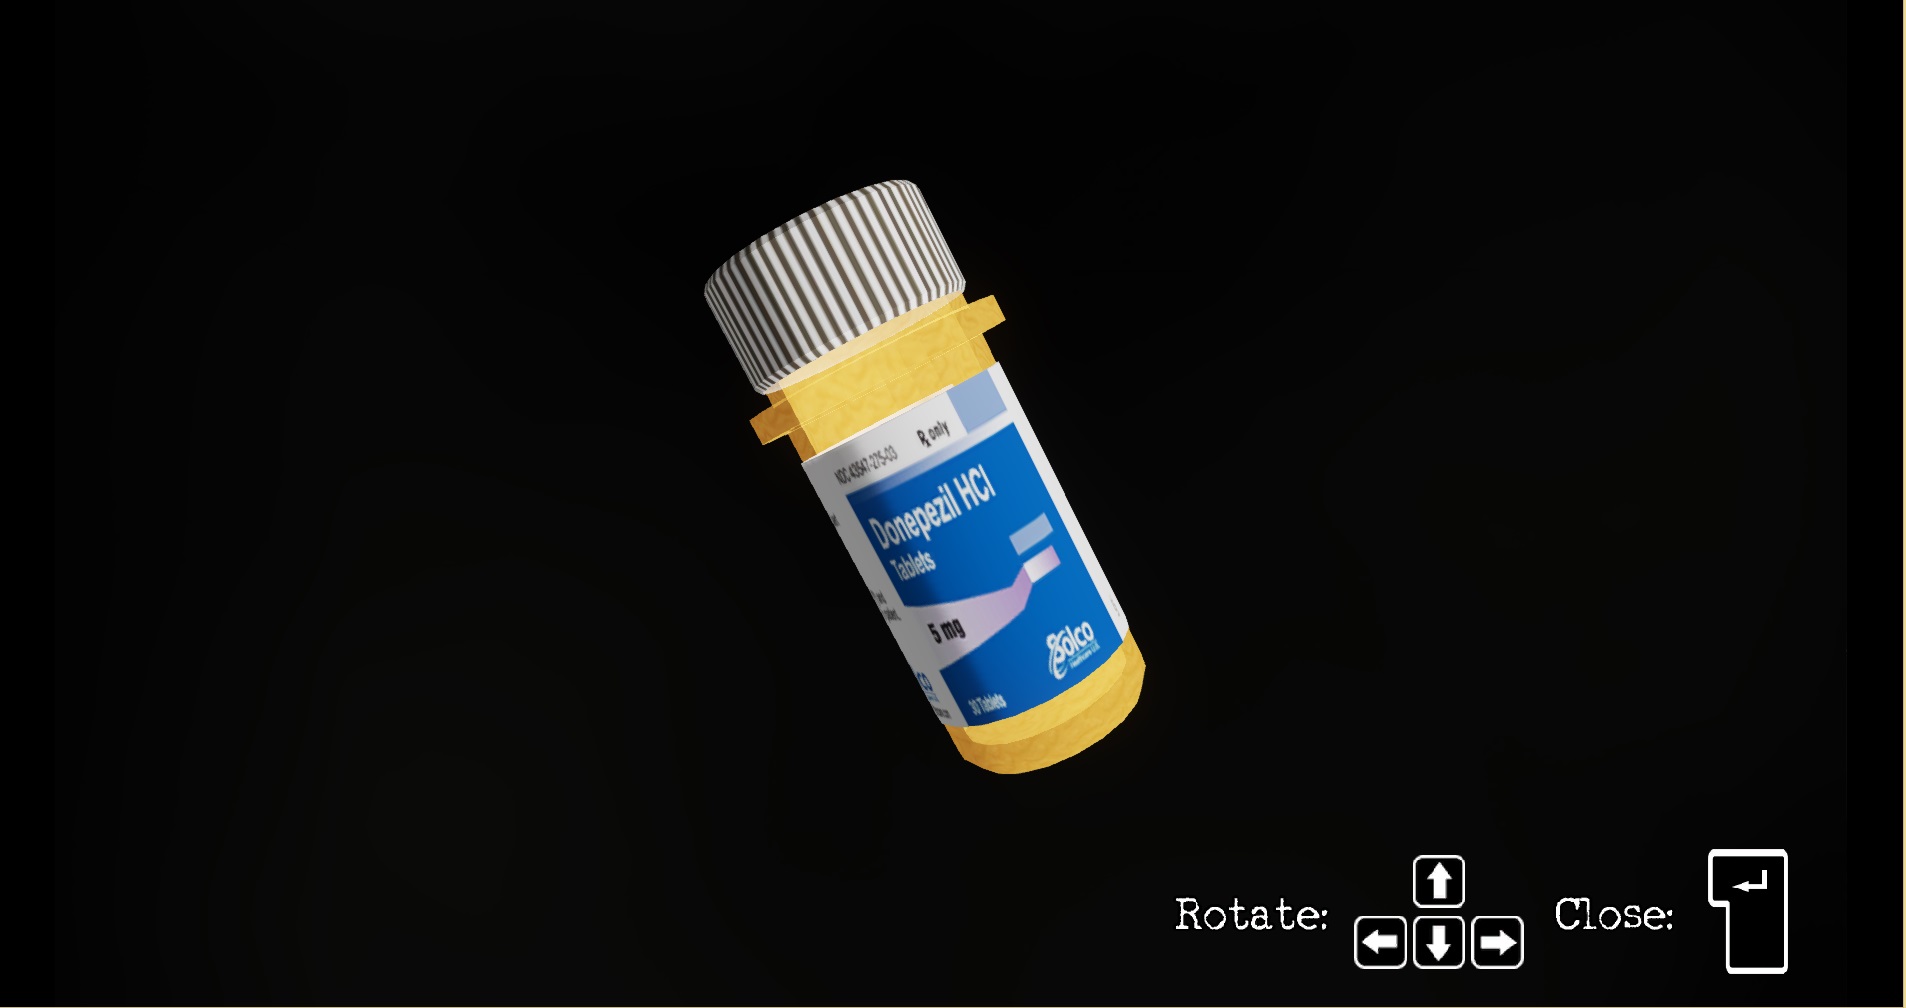
- Medicine Container + Tablet
- Pill Organiser
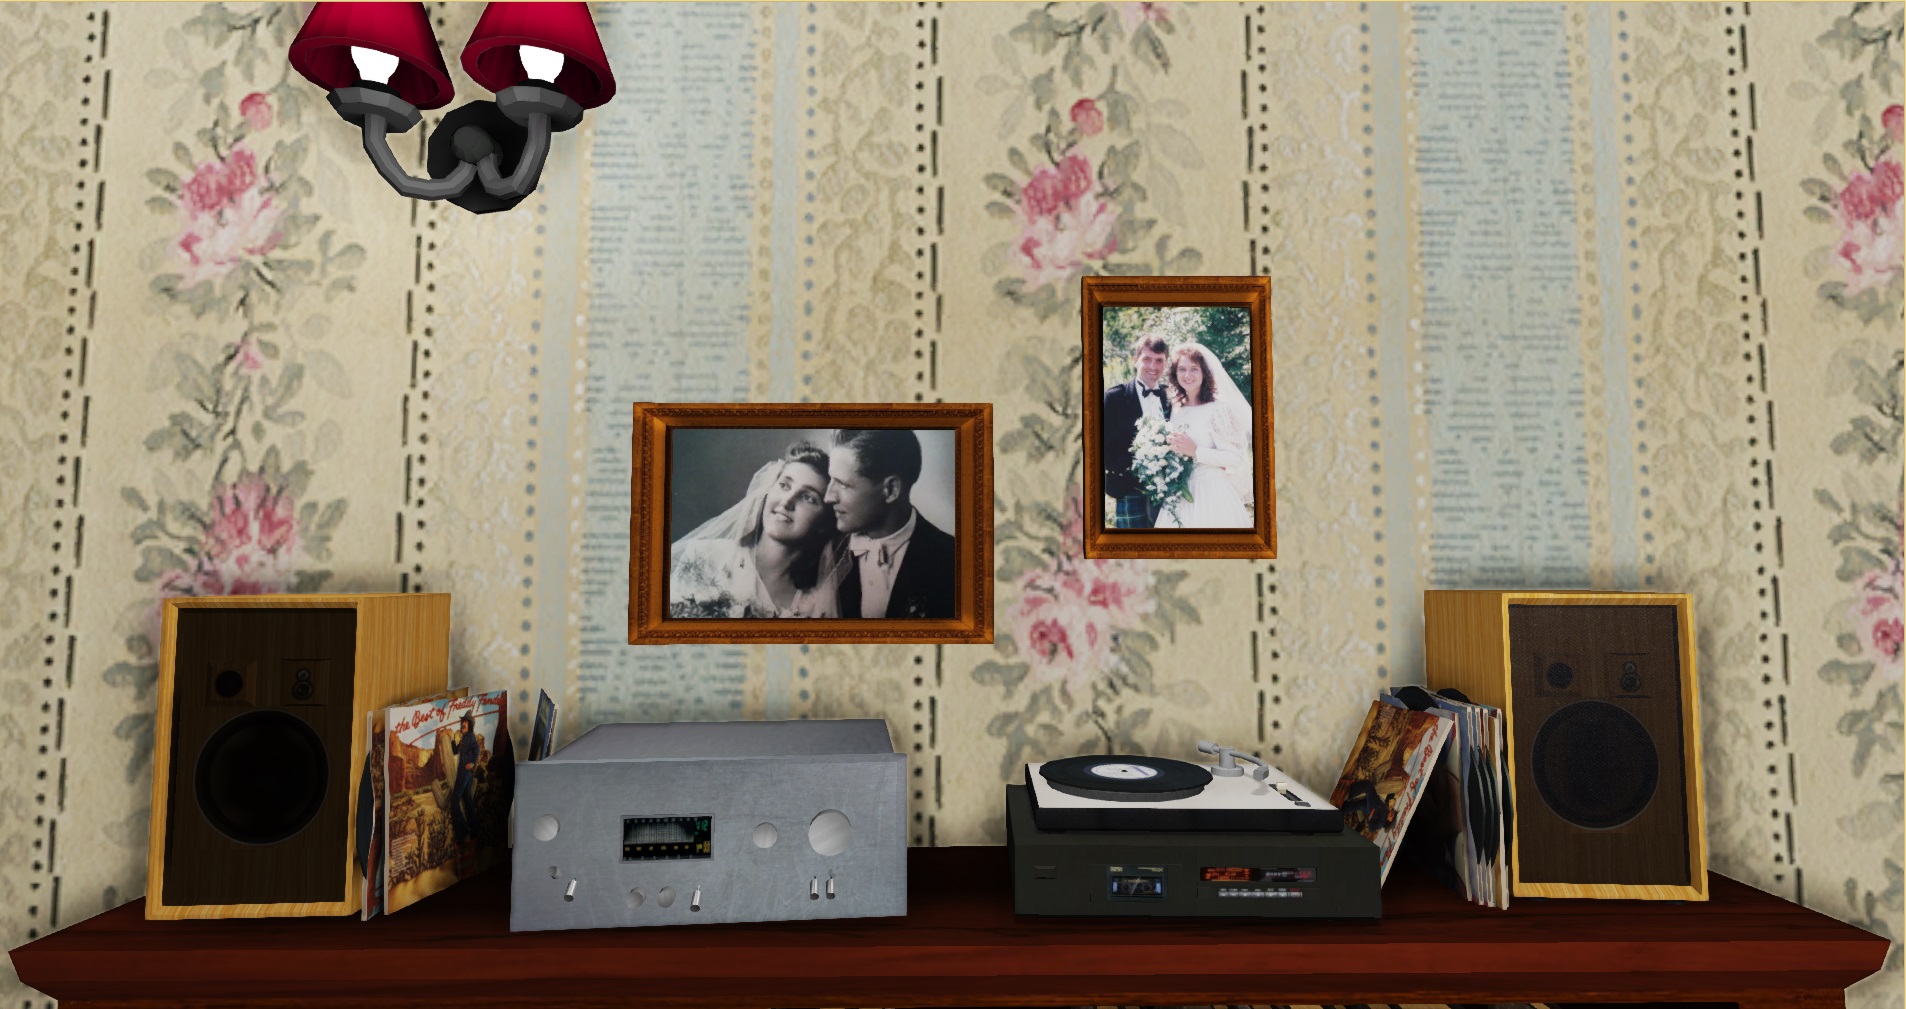
- Radio
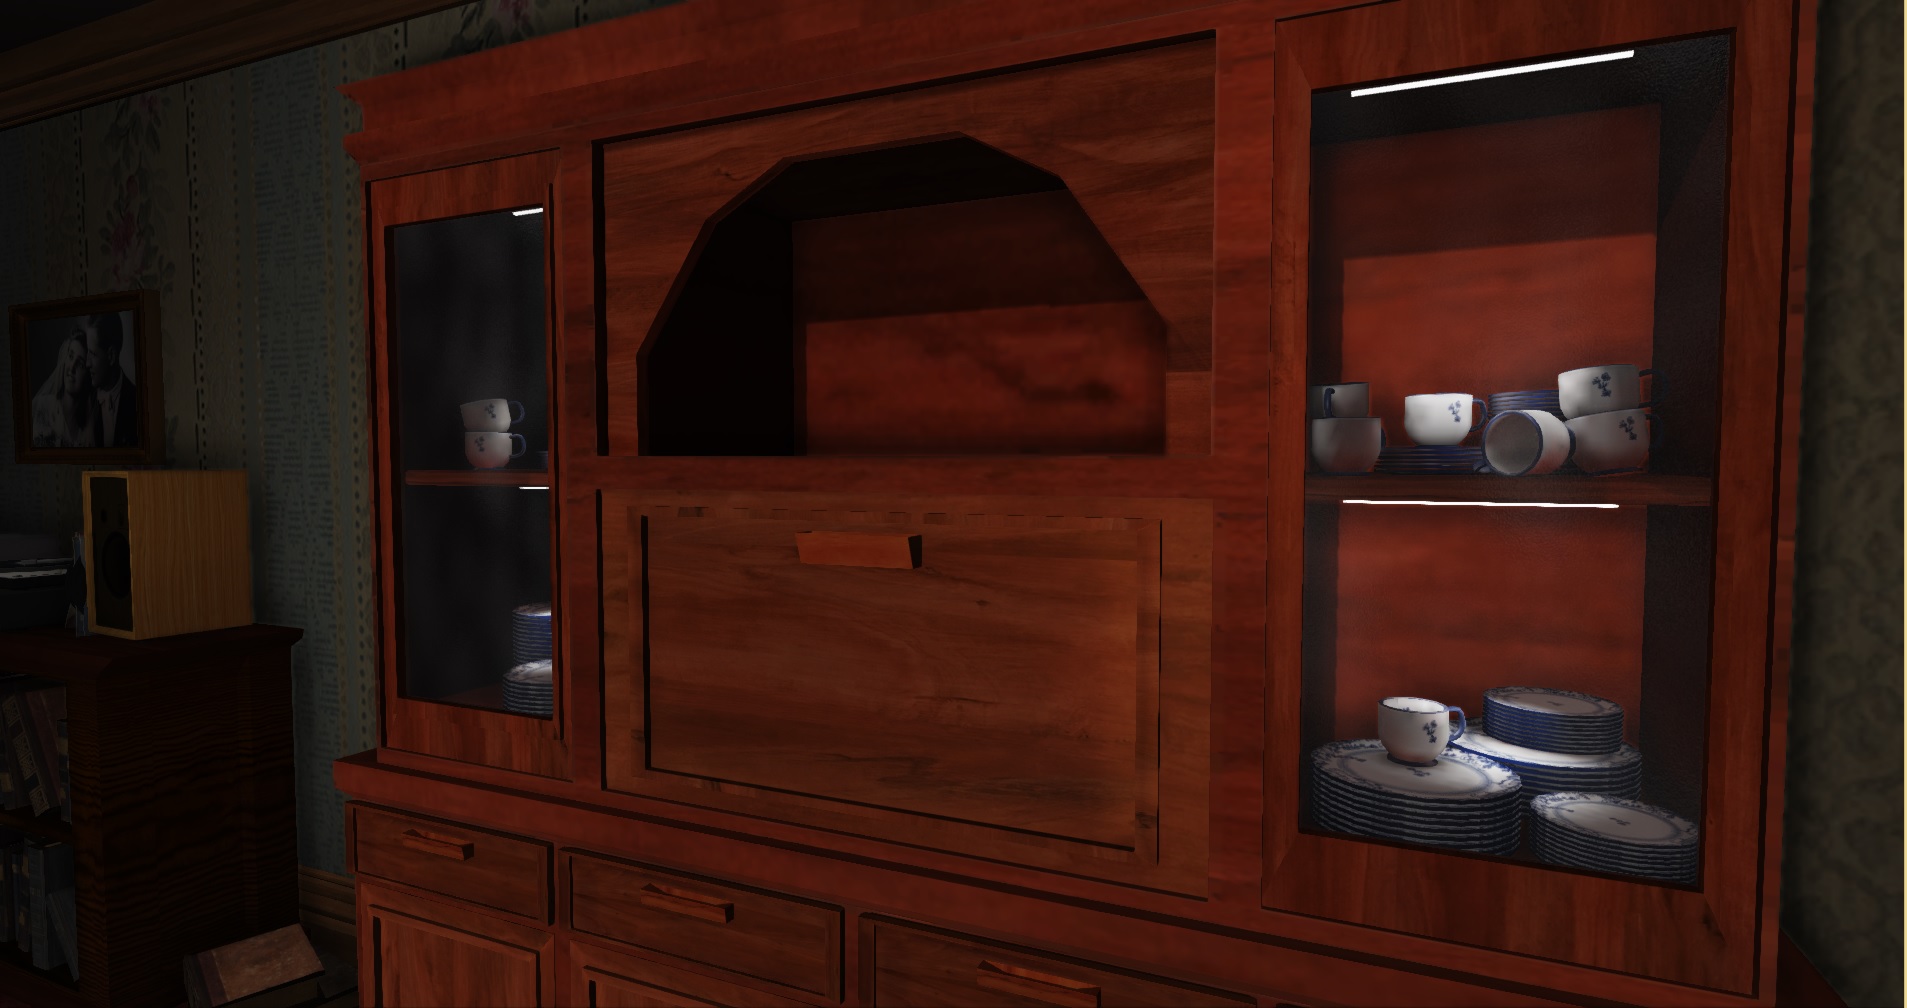
- Cup
- Plate/Saucer
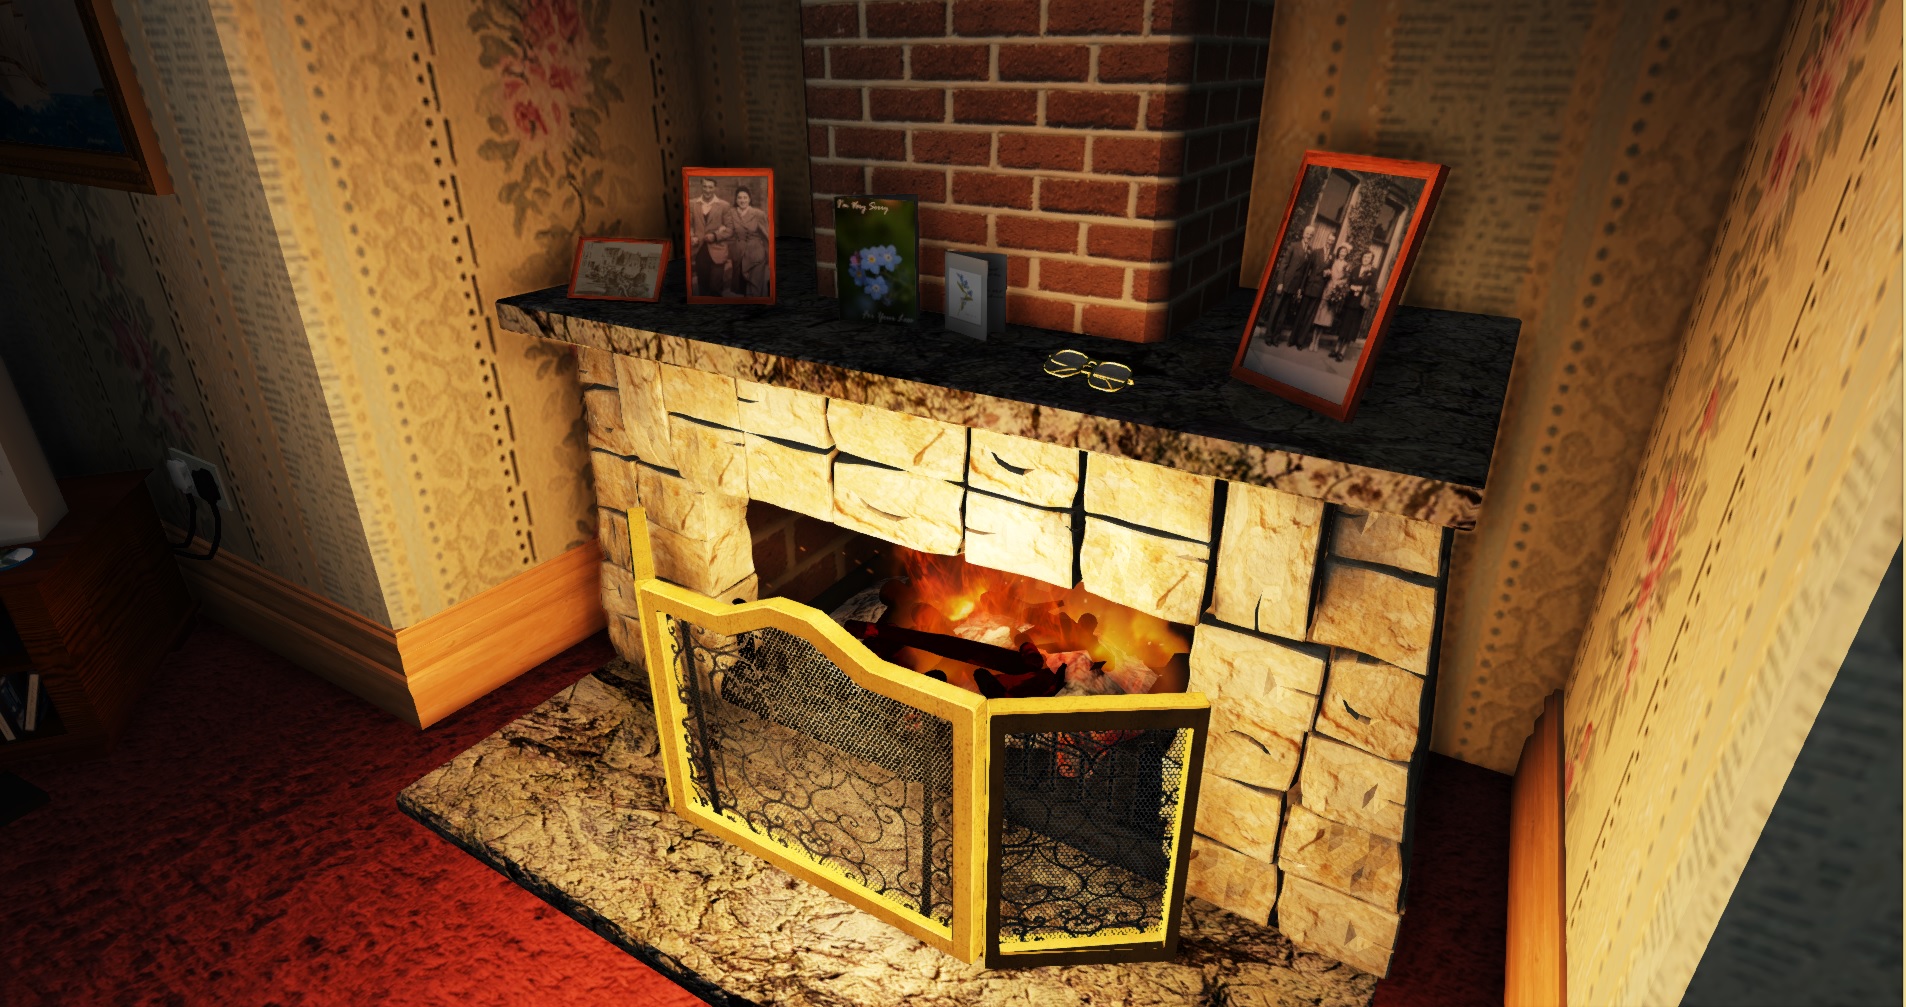
- Log
- Ash
- Firepit thing
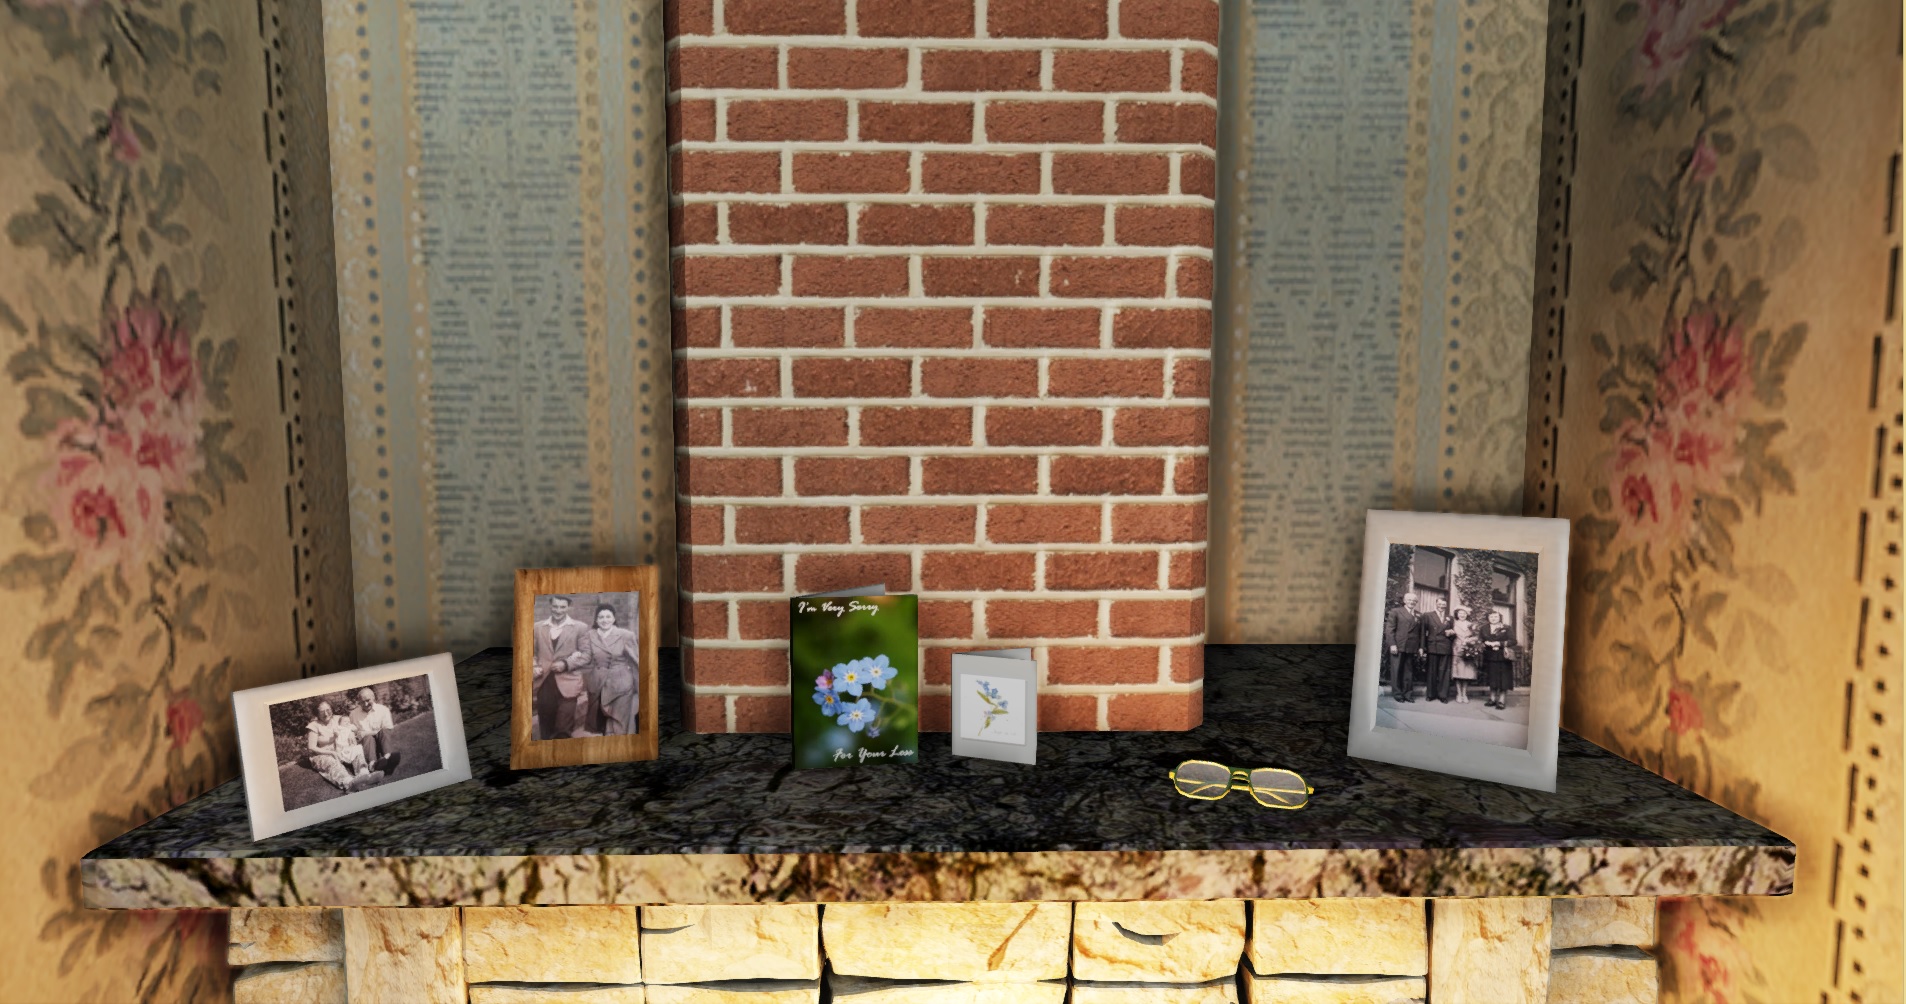
- Card x2
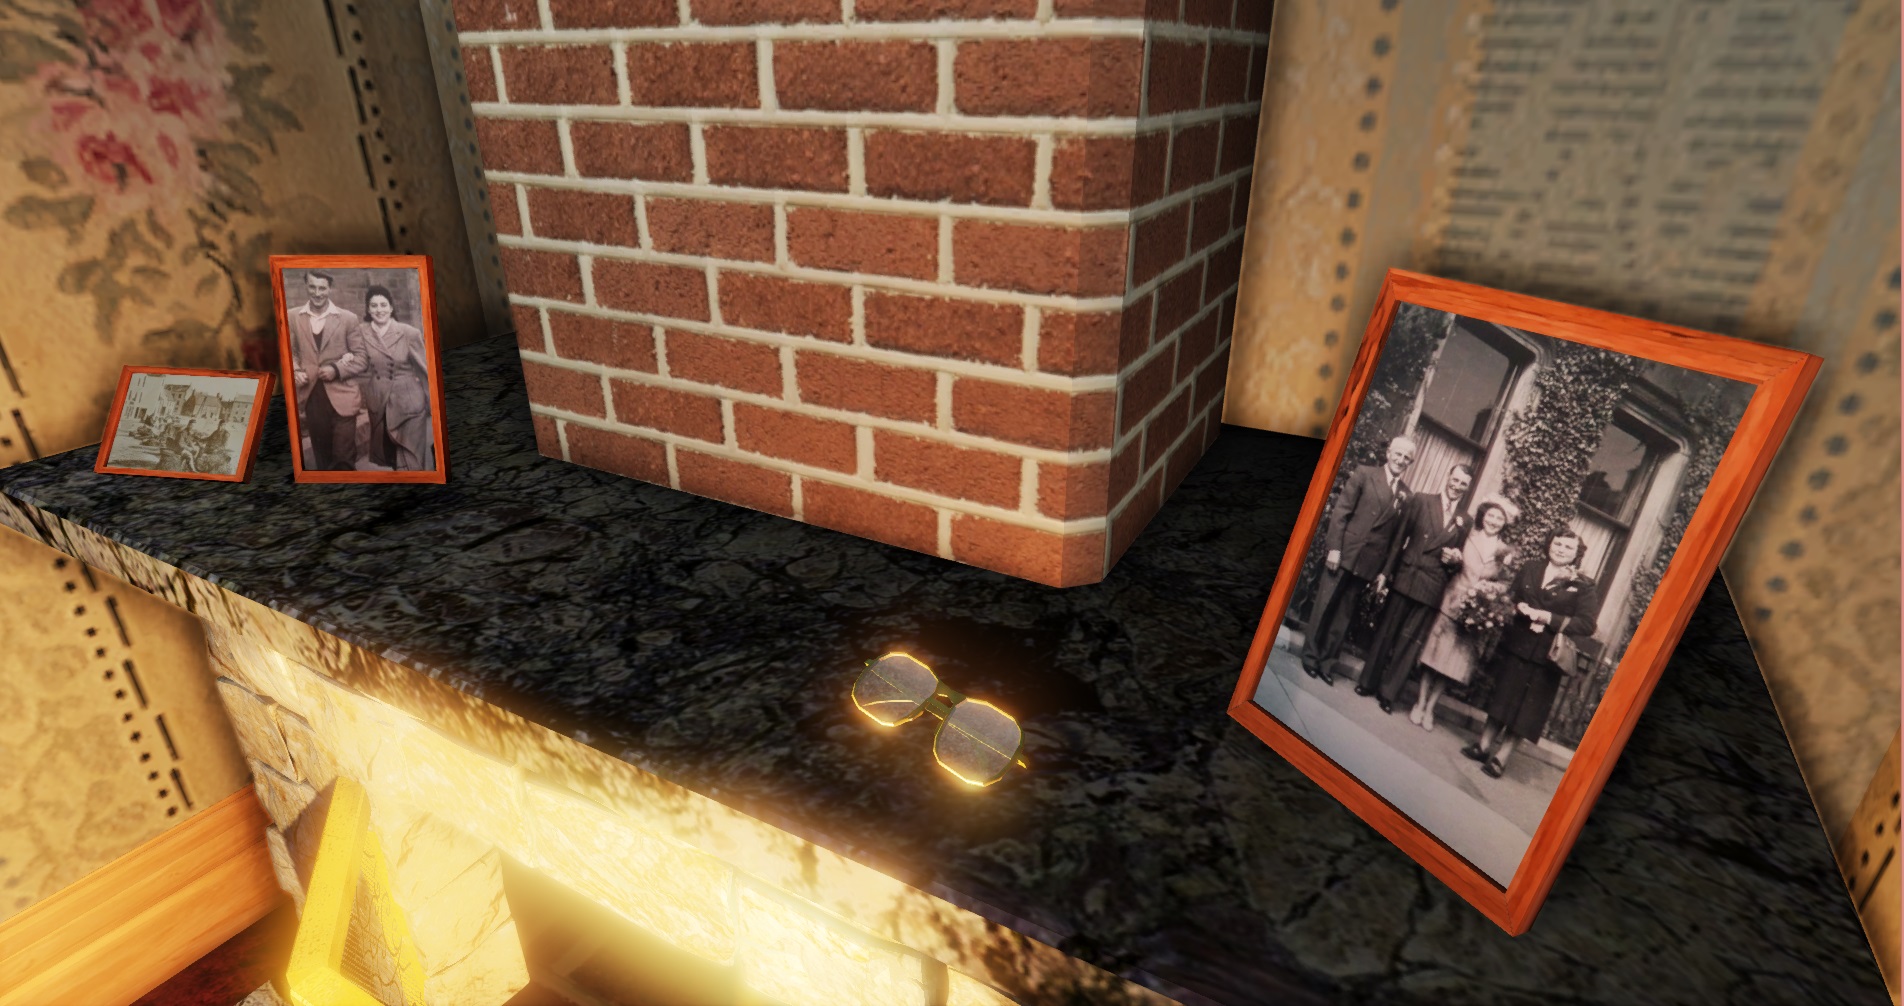
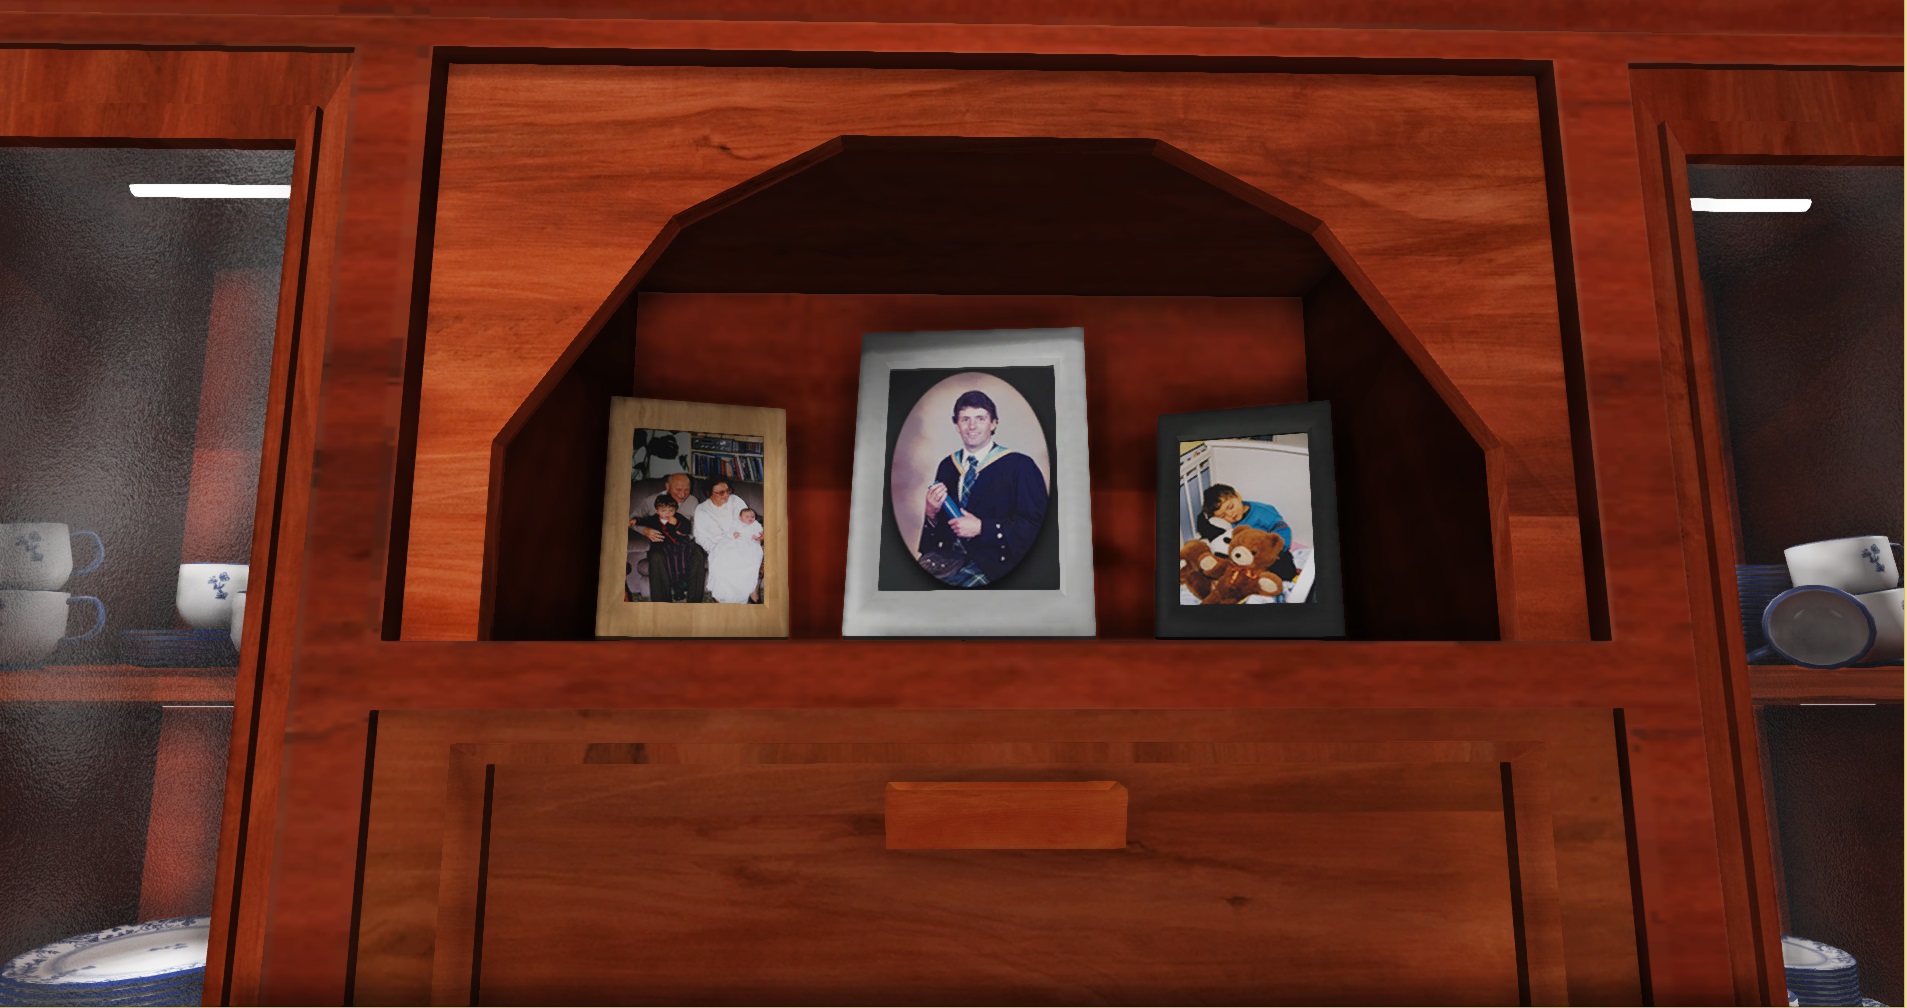
- Picture Frame (Free-Standing) - Visual Update
Textures & Materials:
- Clock (Face, Body, Glass, Door)
- Lighthouse Ornament
- High-Backed Chair & Couch (Sharing the same material for the time being - Placeholder)
- Side-Table
- Cushion (Placeholder)
- Medicine Container
- Pill Organiser
- Radio
- Cup
- Plate/Saucer
- Log
- Ash
- Firepit thing
- Card x2
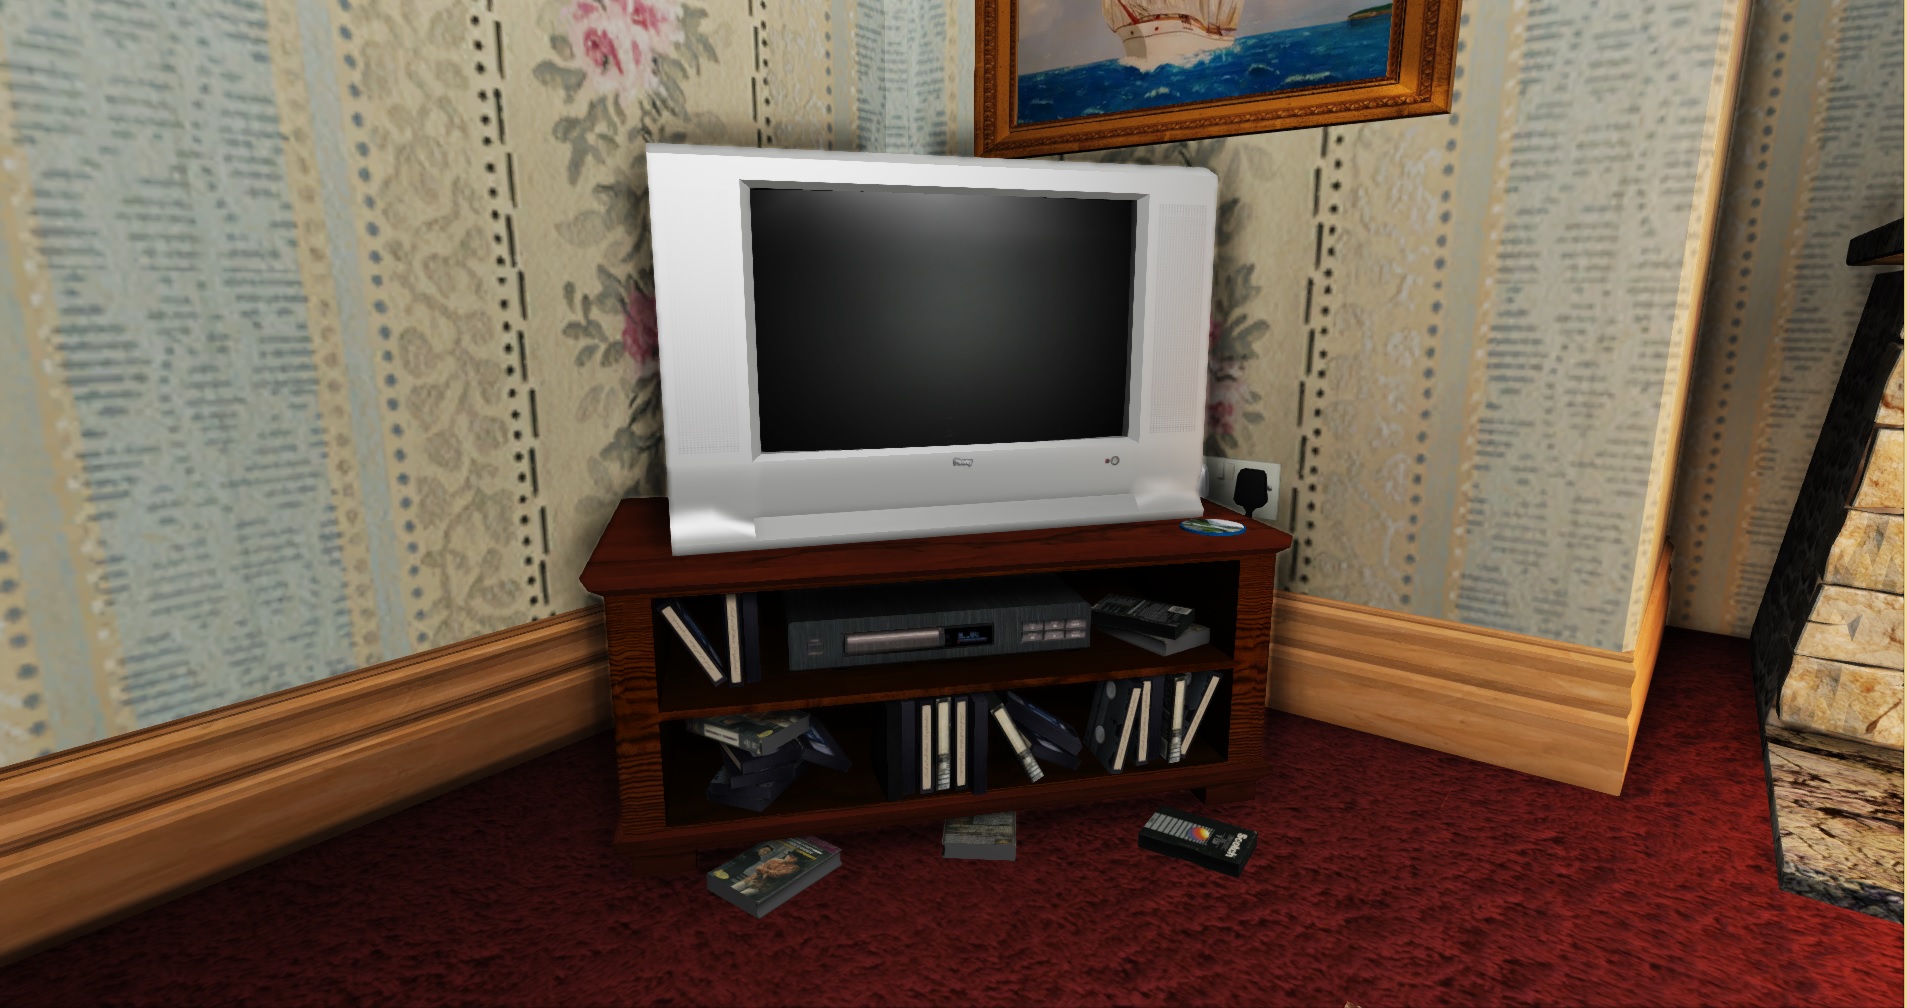
- Video Tape Box x2
- Picture Frame Texture (Small) x12
- Large Picture x1
Lighting:
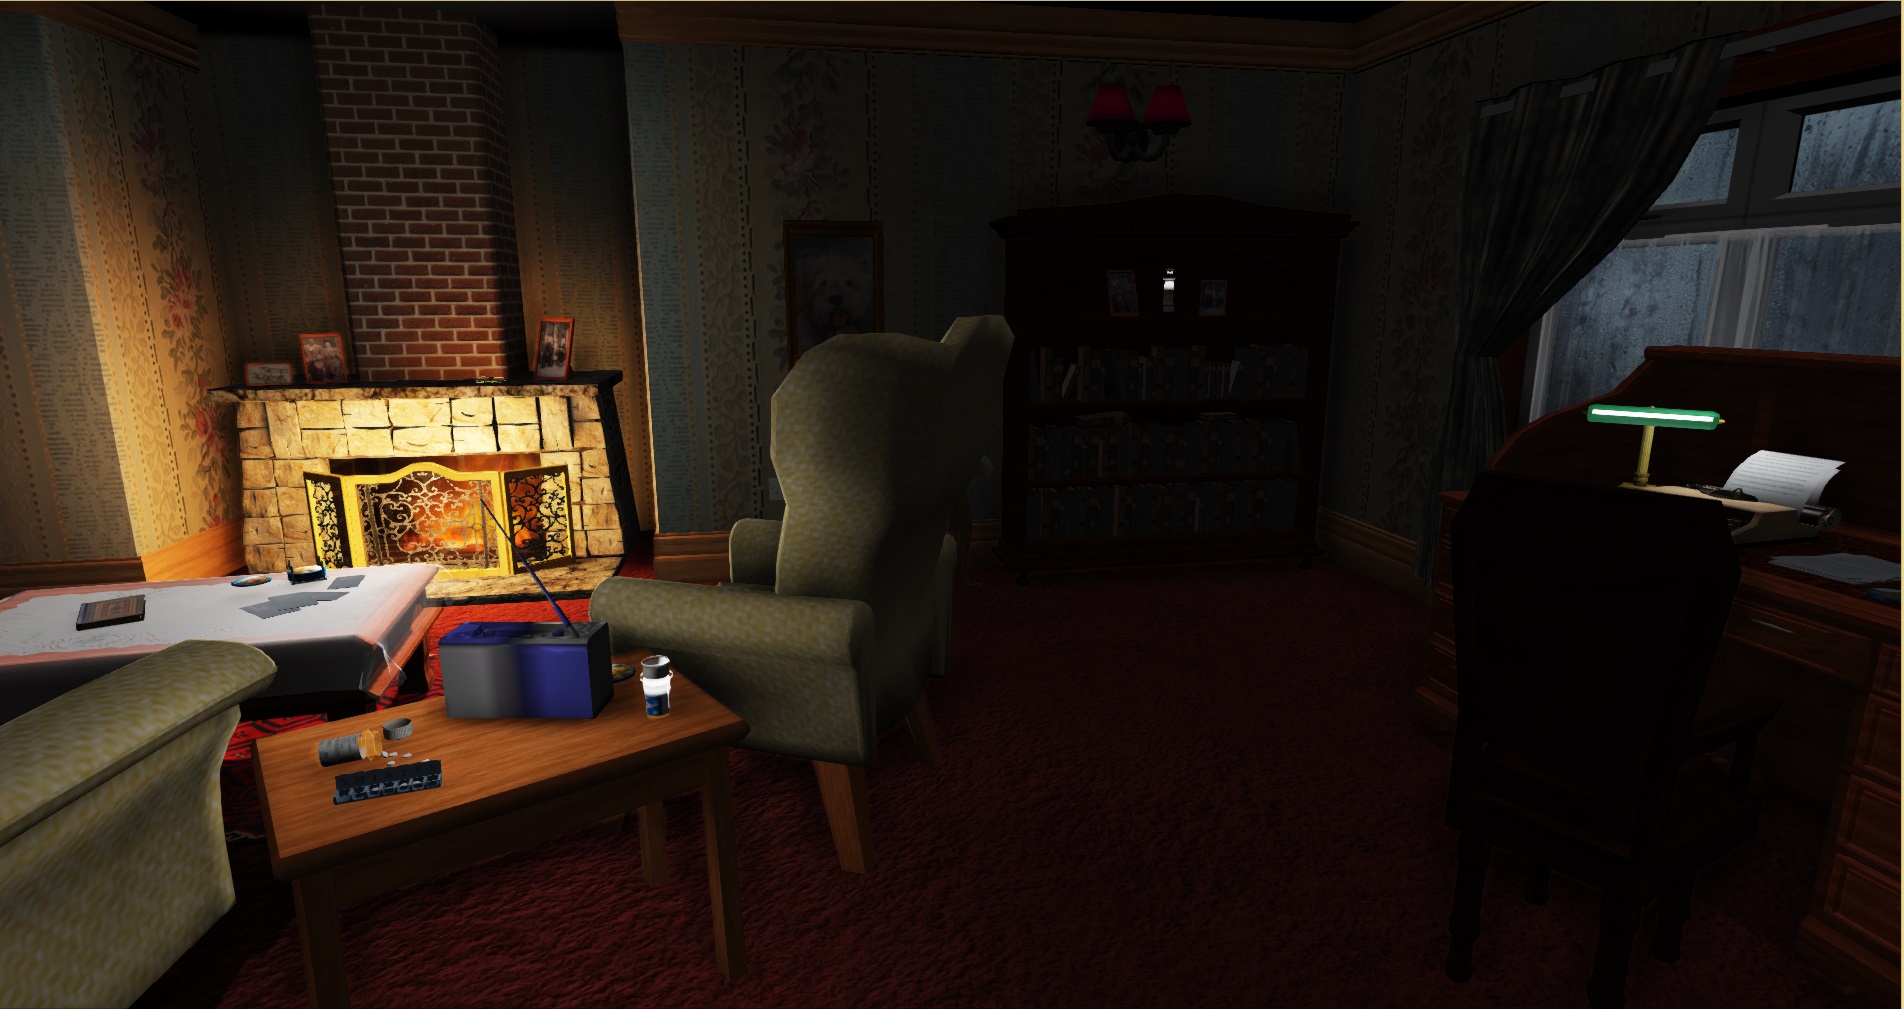
- I have removed the ambient point lights that illuminate the room when the main lights are off. They have now been replaced with a togglable sky light to make the lighting model less 'patchy'.
Interaction:
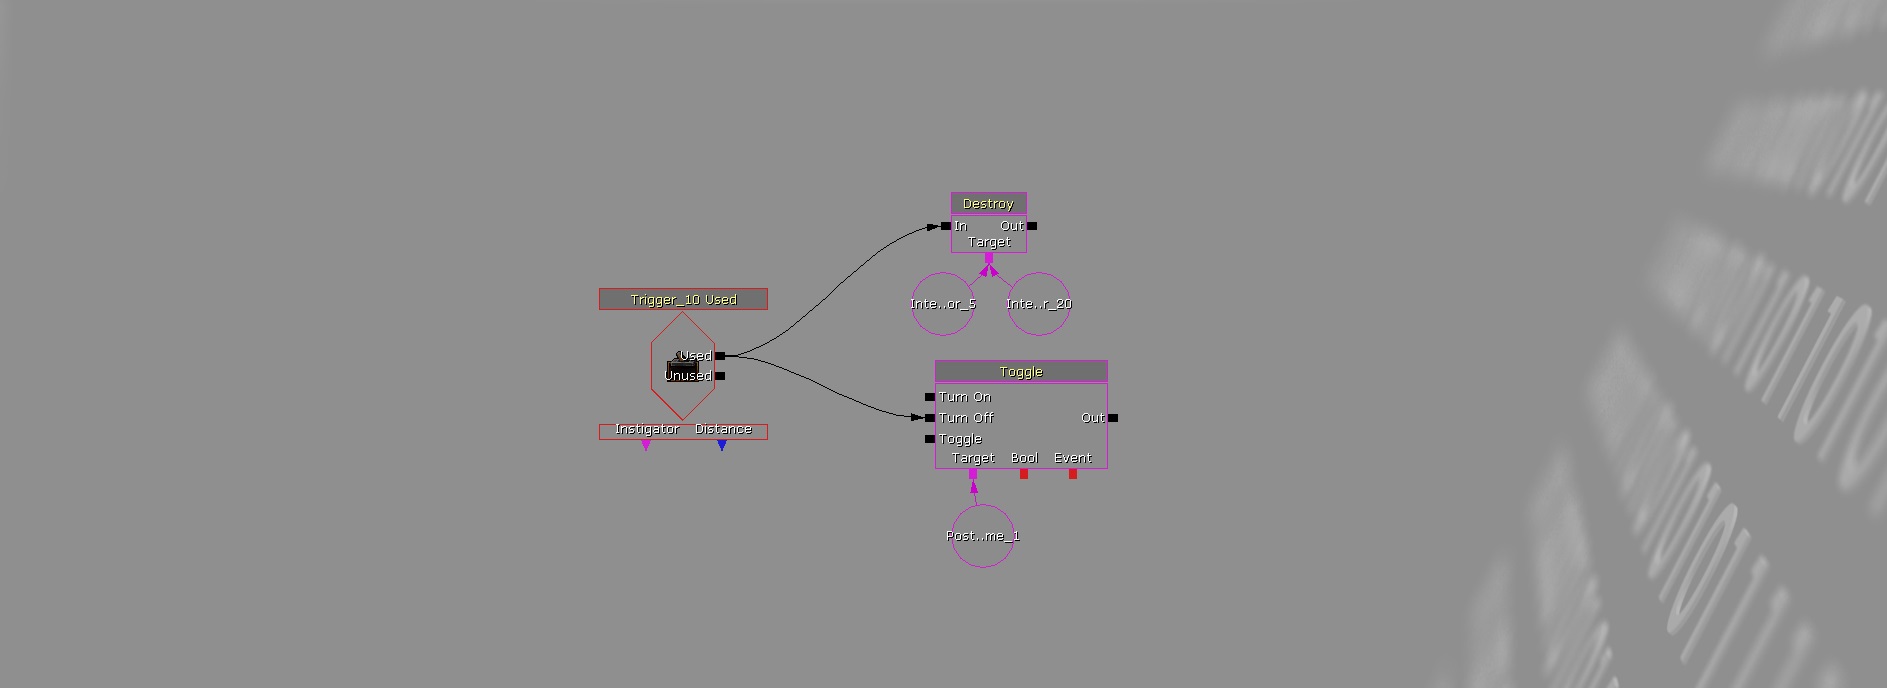
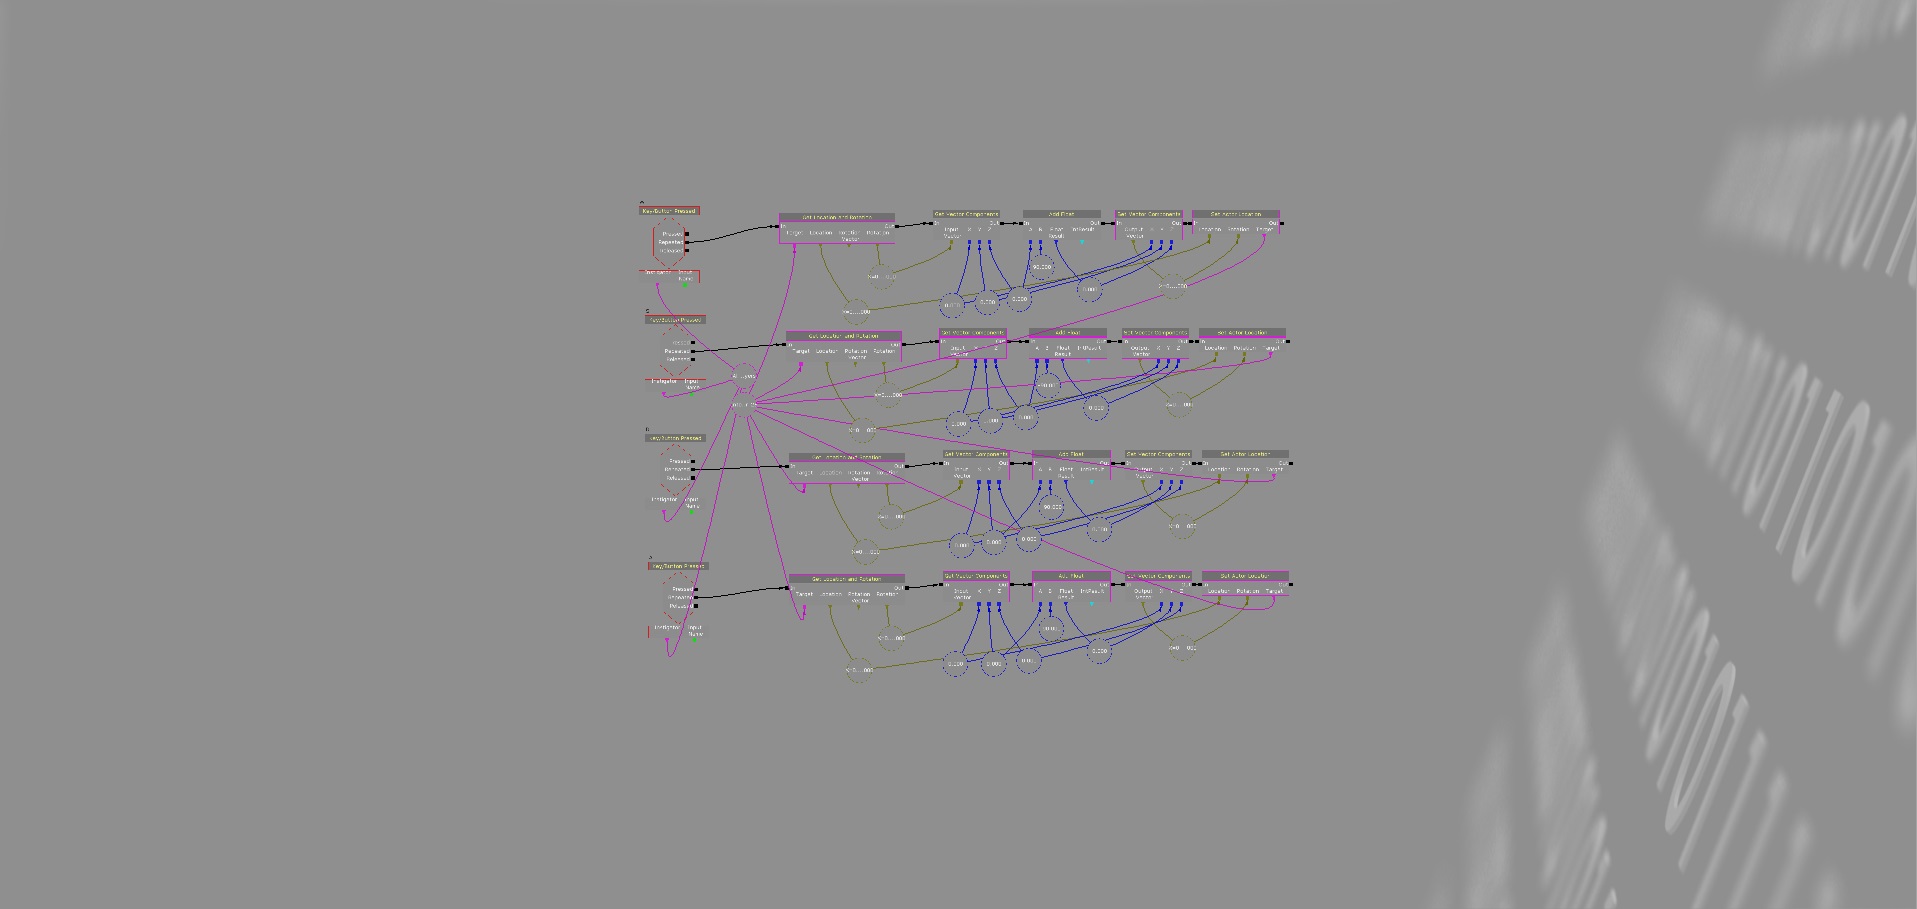
- This week I made good progress on the new mechanic where the player can "inspect" key objects in the scene (Started last week). There was little/no documentation on how to achieve this mechanic online through kismet so I spent most of this week and last trying to get this to work. When the player presses "E" on a key object they be able to view the model in a full 360*. The player controls the object using the arrow keys and leaves the viewer by pressing the "Enter" key.
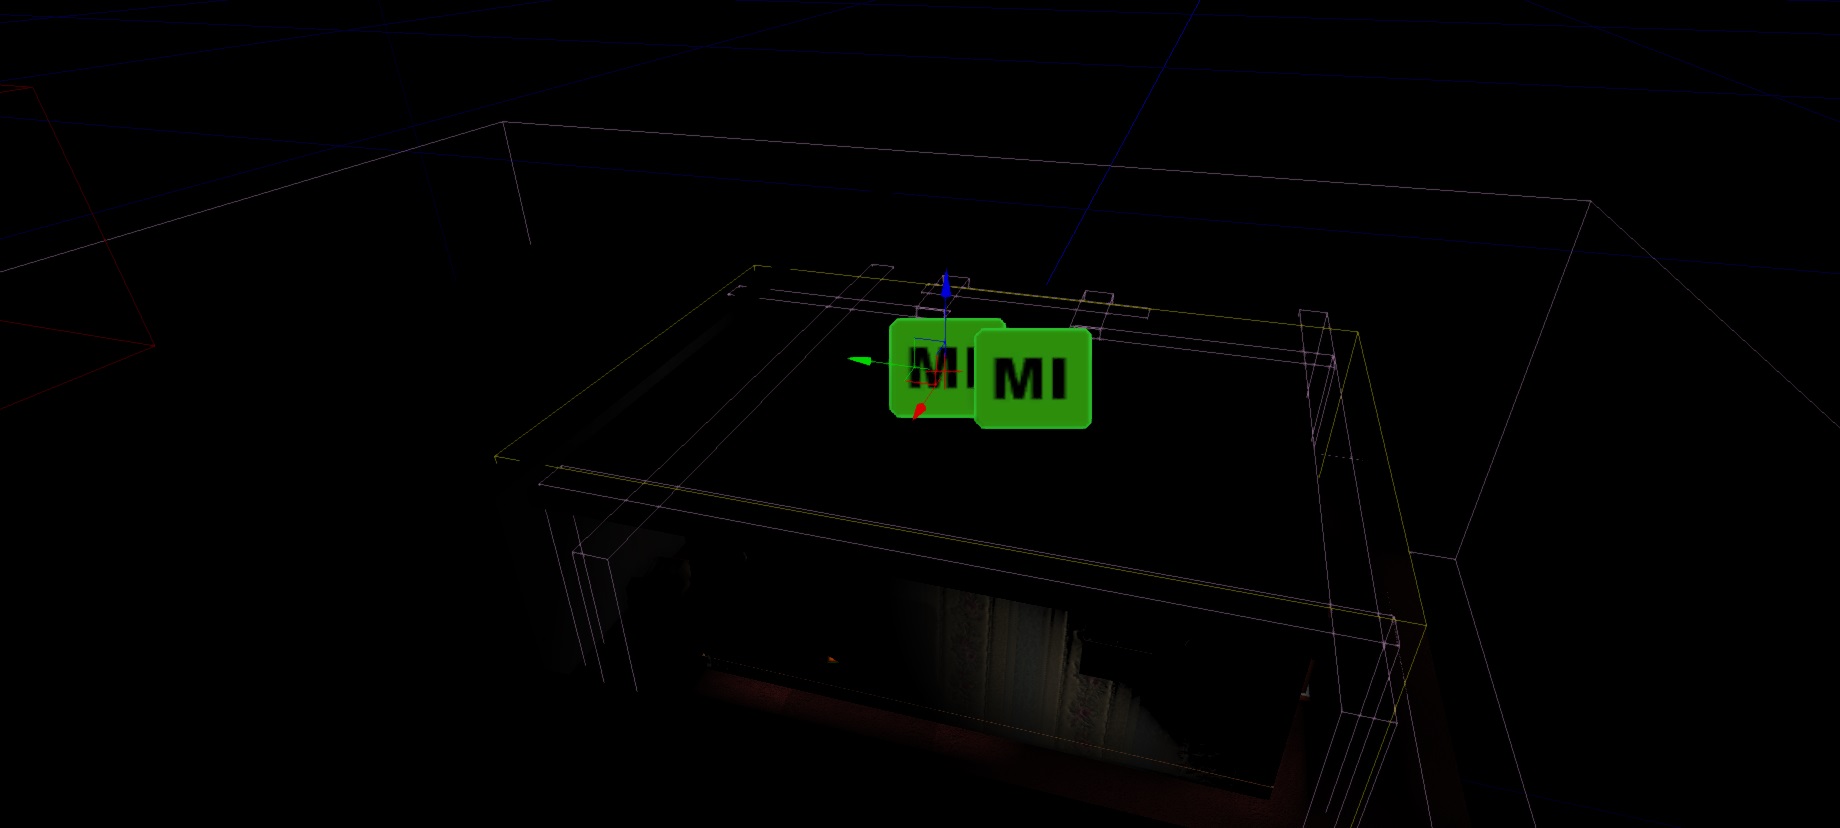
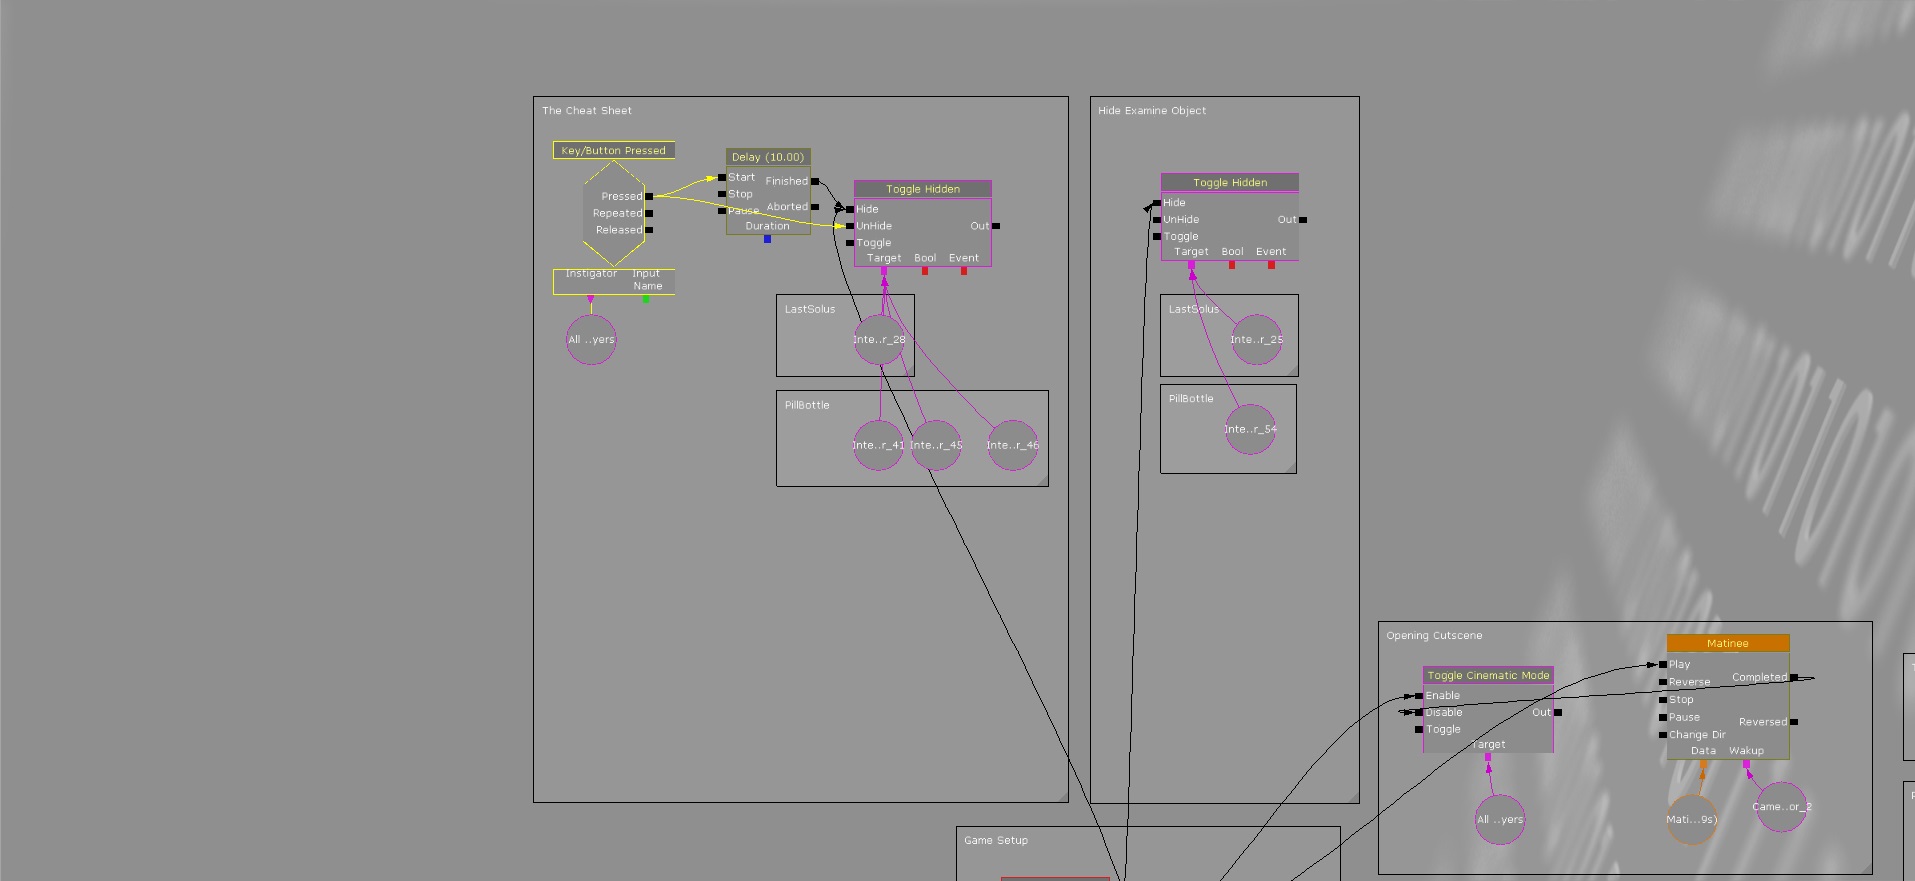
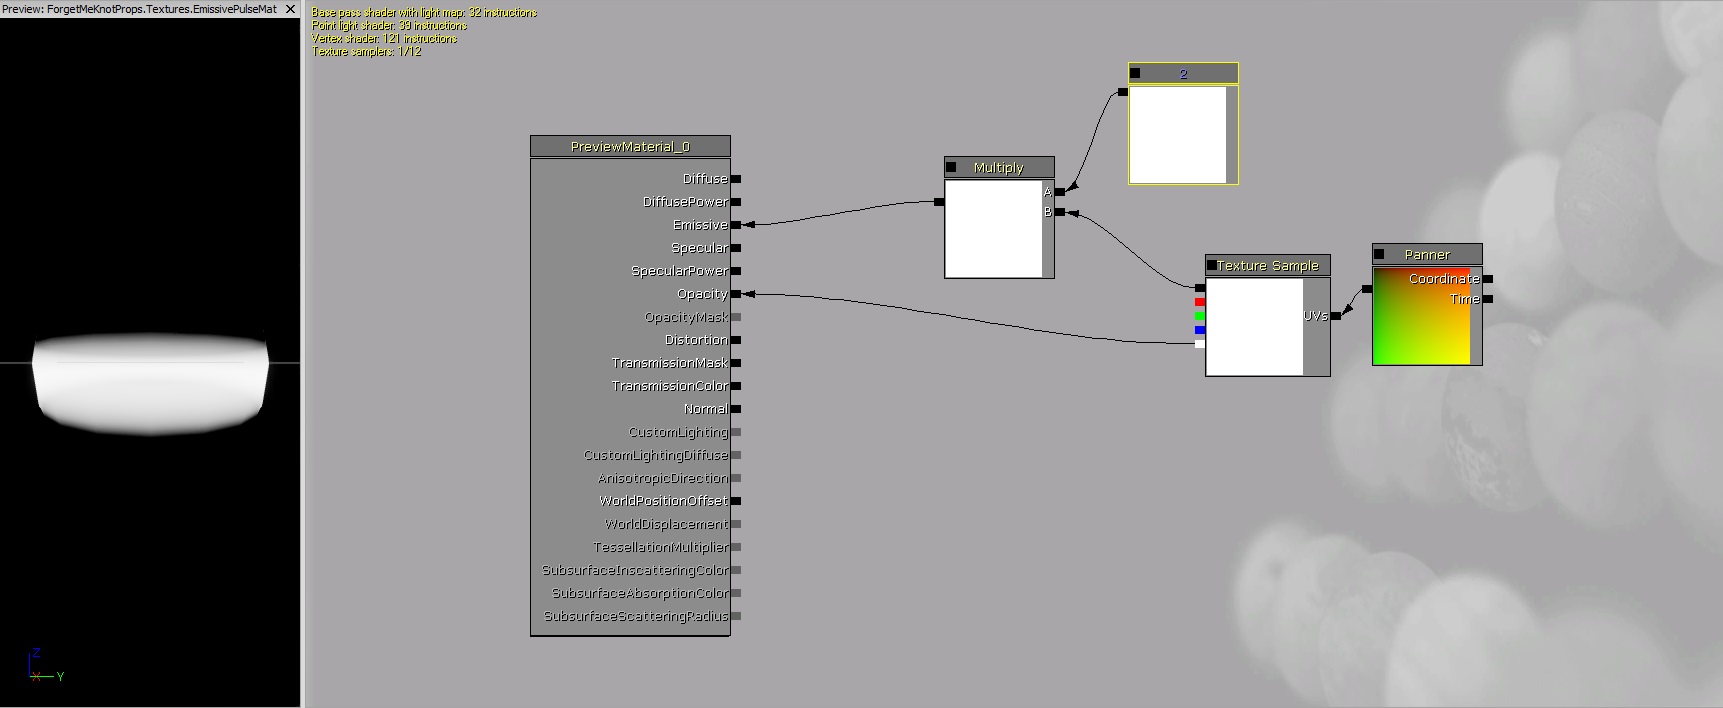
- Pressing the "H" key displays a hint to the player showing which key objects they can inspect. This hint mechanic is implemented by having a secondary model (slightly larger) that is toggled on when the "H" key is pressed: This model has a scrolling white emissive material that should make the interact-able object temporarily more visible.
SFX:
- Clock Tick
- Clock Chime
- Light Switch (On + Off)
Animation:
- Initial "Waking Up" cut-scene has been updated.
- Clock Pendulum (Attempted to Sync with Clock Tick Audio, still not 100% synced)
- Fade transition between main scene and object inspection scene.
Fixes:
- Fixed some unintentional hard edges, overlapping UV's and lightmaps.
GALLERY OF UPDATES:
OBJECT INSPECTION:

HINT MECHANIC:
SUMMARY:
This week's work has been some of the most rewarding so far. Managing to get my object inspection kismet sequence working was difficult (and its still got bugs!) but having that extra mechanic in there gives my honours project another layer of depth and interaction. The animated clock pendulum and sound of the clock ticking make the room feel more "alive" which is a nice touch in my opinion. I'm pleased with how it's going so far and hope that my project goes down well during the demo-day. Over the next week work on the honours project shall start to slow down drastically due to shifting focus to other course work. I feel that the honours project in its current state is "Submit-able" whereas the rest of my coursework is not. I would like to add more notes, some audio narrative and extra environmental objects at a later date.
NEXT STEPS:
Models:
- Dog Bed
- Dog Toys
- Plates
- Cups
- Folded Linen
- Notes
- Pocket Watch
- Key
- Phone Plug (Currently just plugged into power)
Textures:
- Dog Bed
- Dog Toys
- Plates
- Cups
- Folded Linen
- Notes
- Pocket Watch
- Key
- Phone Plug
Interaction:
- Fix bug with Object Inspection mechanic.